BEVERAGES
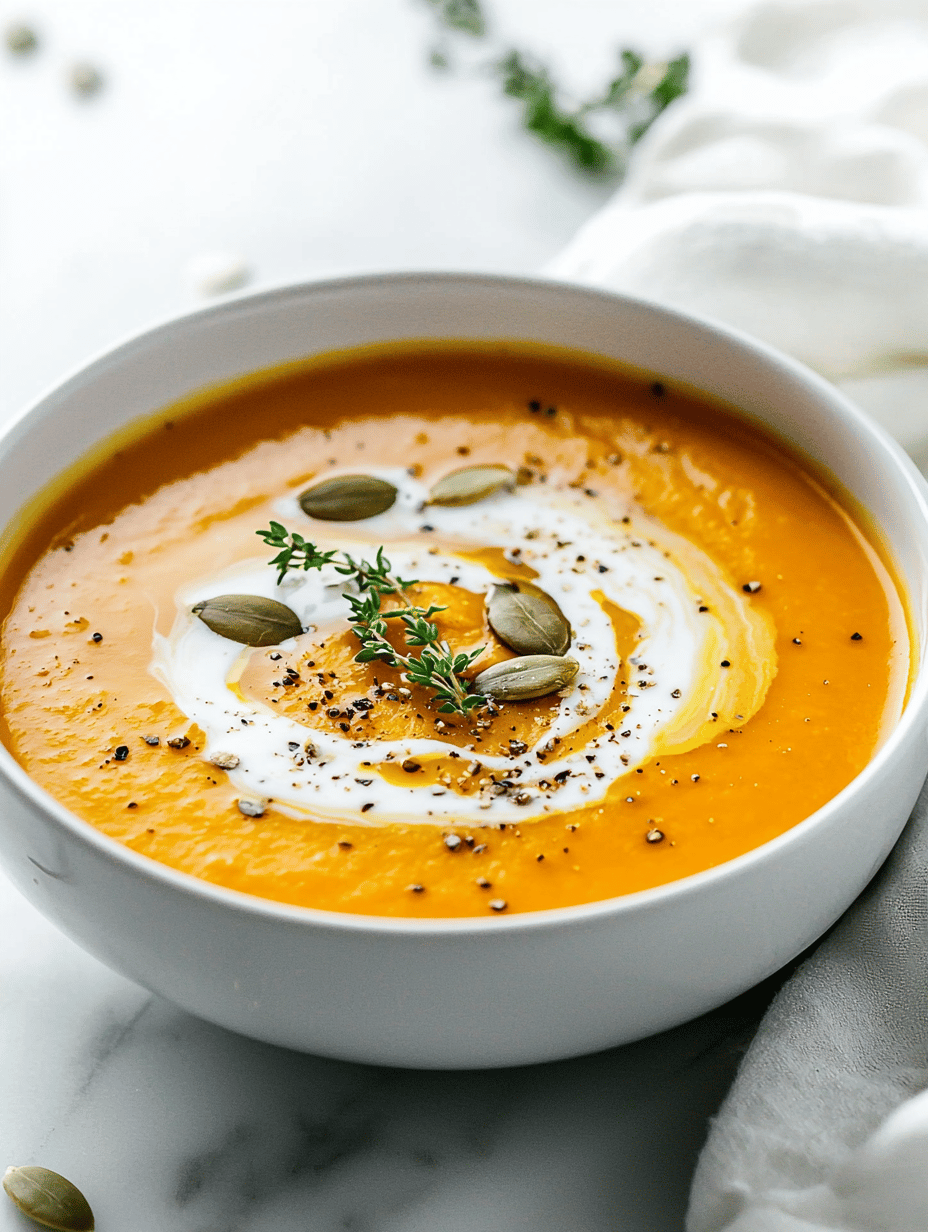
Silent Forest Flavors: The Unexpected Elegance of Roasted Pumpkin Soup
As the leaves crunch beneath my boots, I often notice how the aroma of roasting pumpkin mingles with the crisp, ...
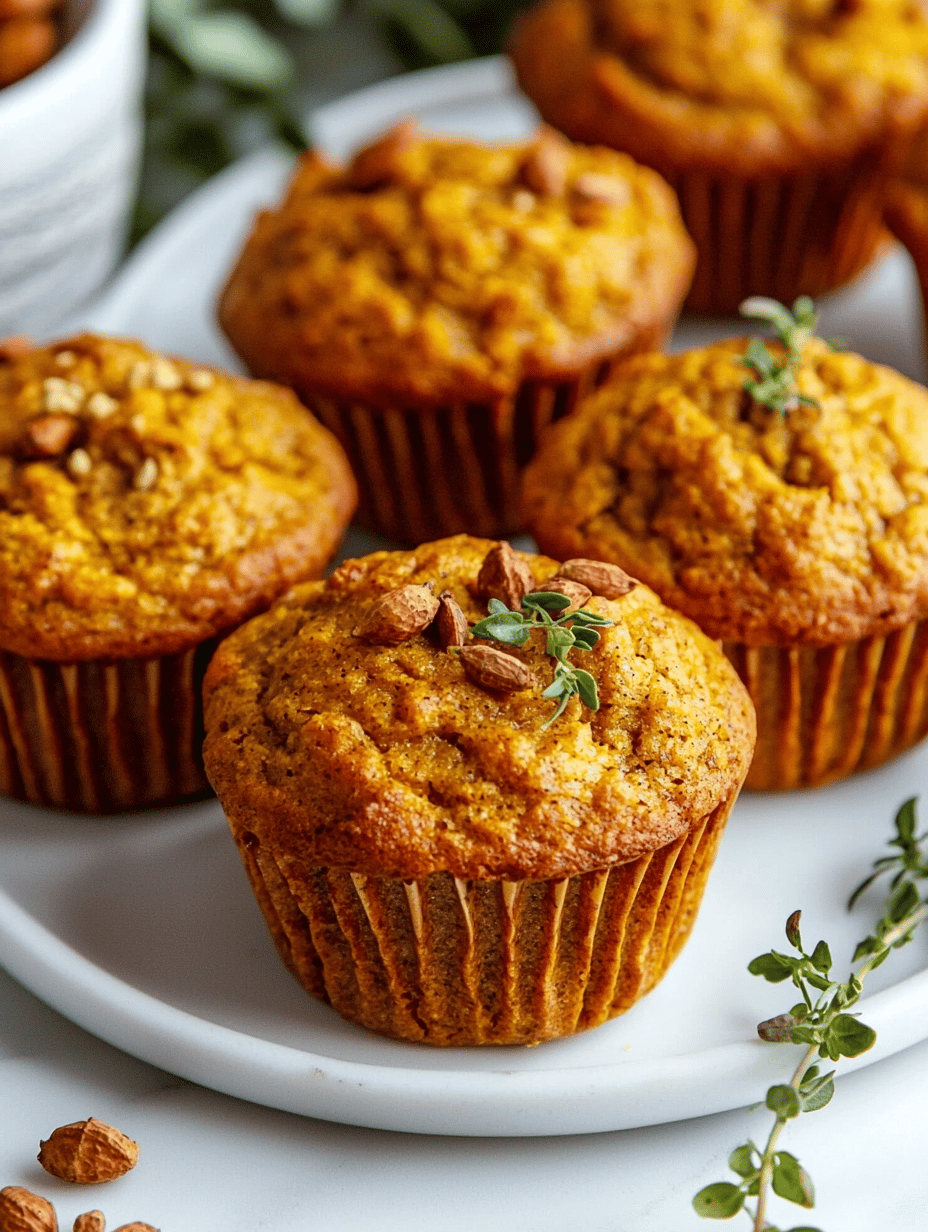
The Secret Spice That Transforms Gluten-Free Pumpkin Muffins Into Autumn’s Hidden Treasure
In the quiet hours of early fall, the scent of cinnamon, cloves, and roasted pumpkin drifts through my kitchen. I ...
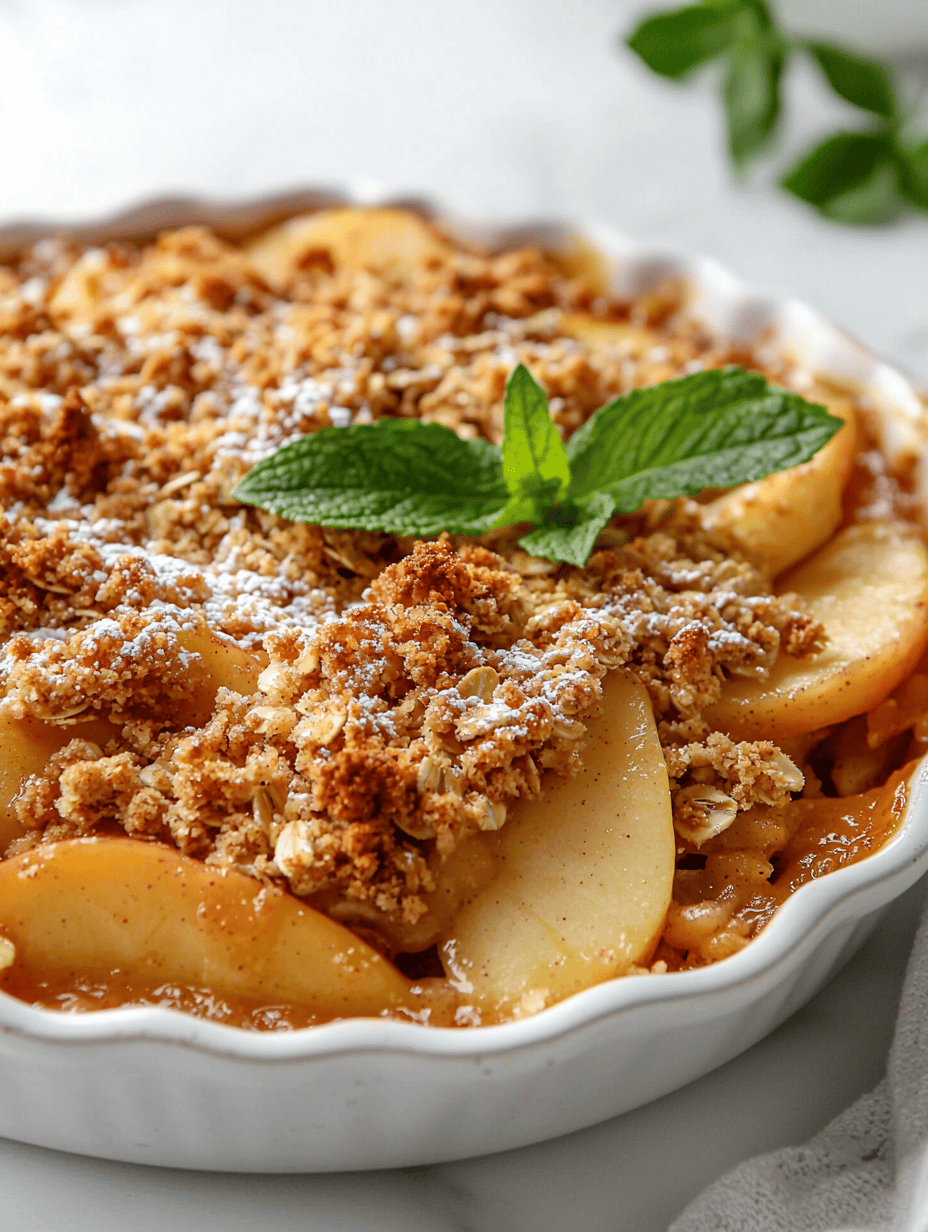
Vegan Apple Crisp: A Cozy Fall Ritual with a Twist
When the air turns crisp and leaves crunch underfoot, I find myself craving more than just the usual apple desserts. ...
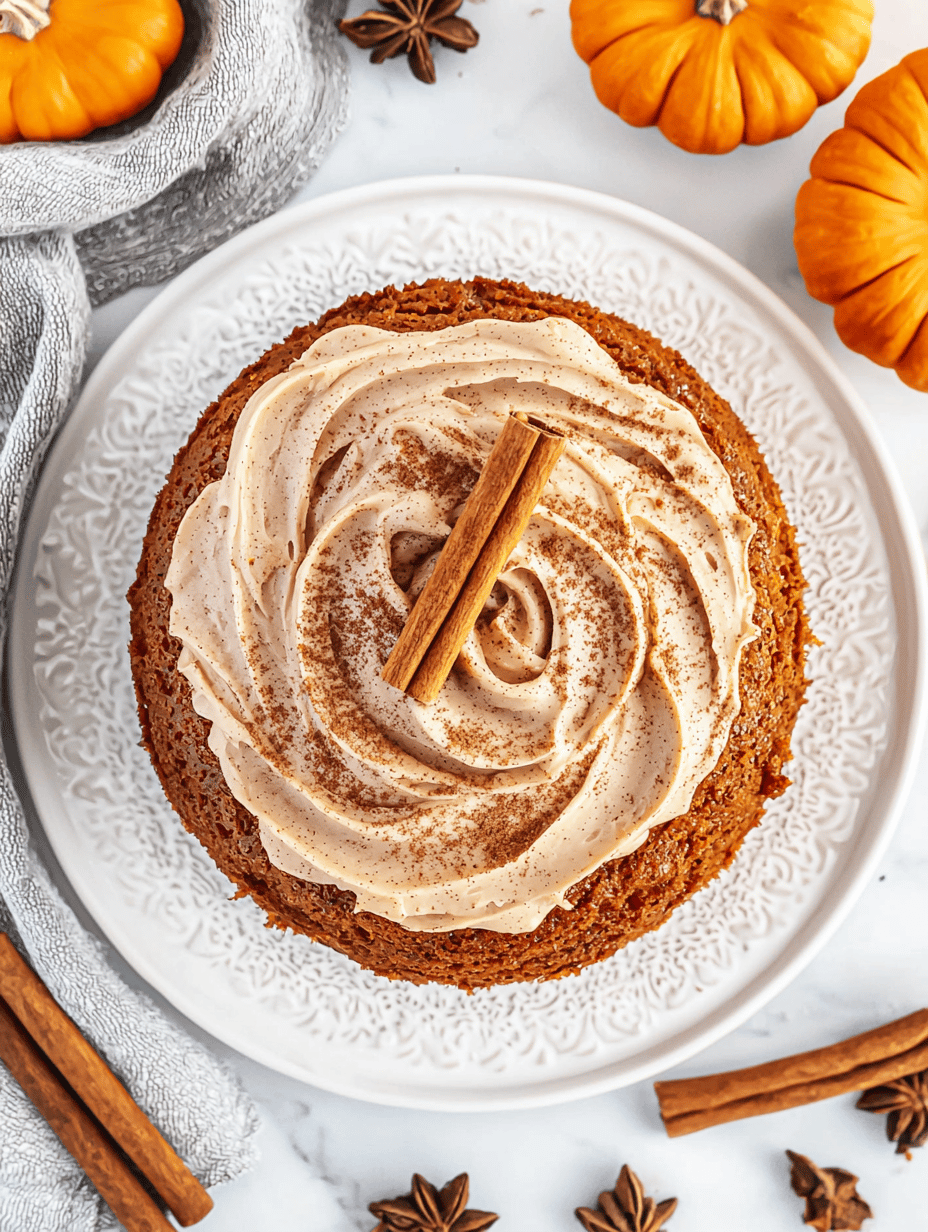
Baking a Fall Fable: Pumpkin Cake with Cinnamon Frosting That Tells a Story
The scent of baked pumpkin lingers in my kitchen, interwoven with the aroma of cinnamon and nutty spices. It’s not ...
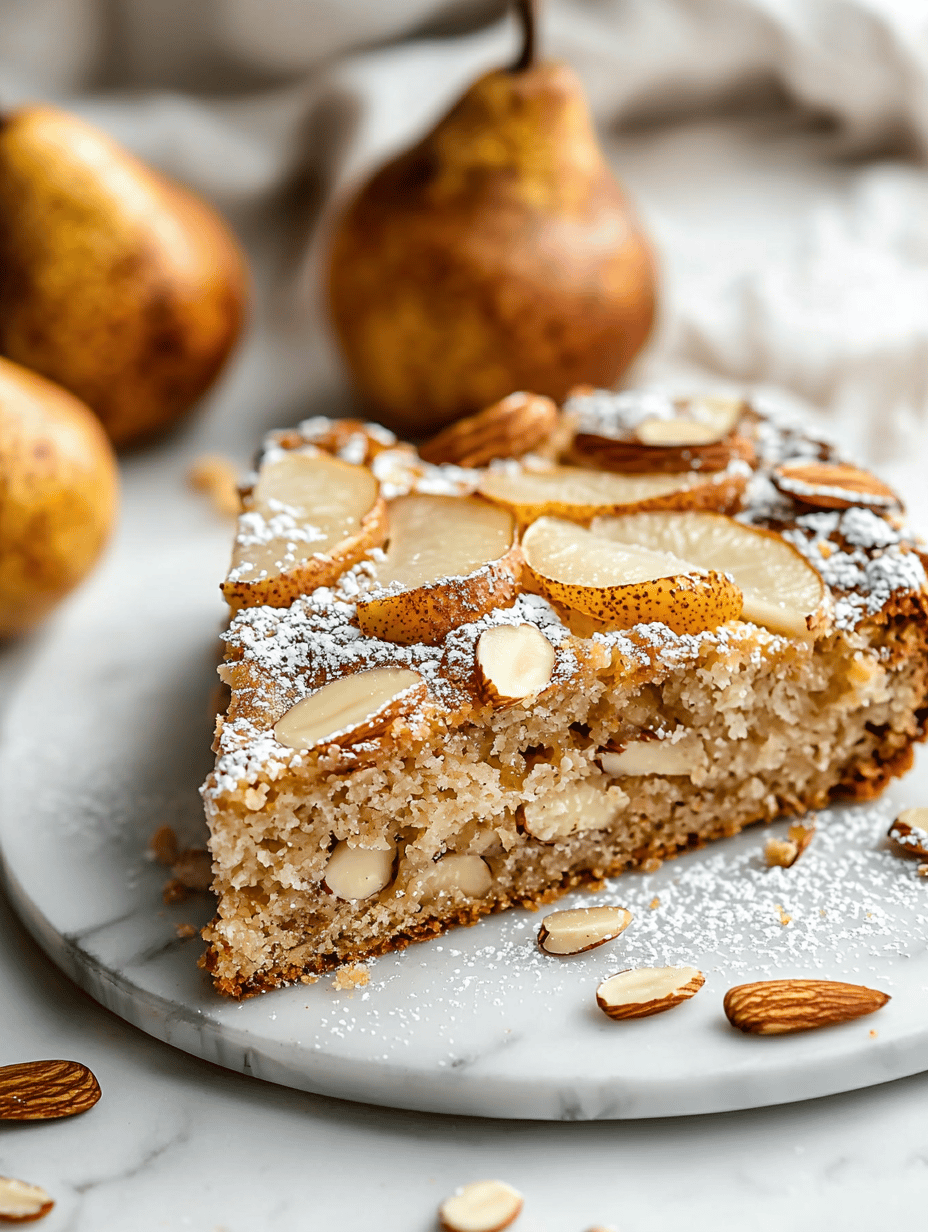
Heavenly Roasted Pear & Almond Cake: A Cozy Fall Surprise
Each fall, I find myself craving the faint, caramelized aroma of roasted pears—their flesh softens and releases a sweet, tender ...
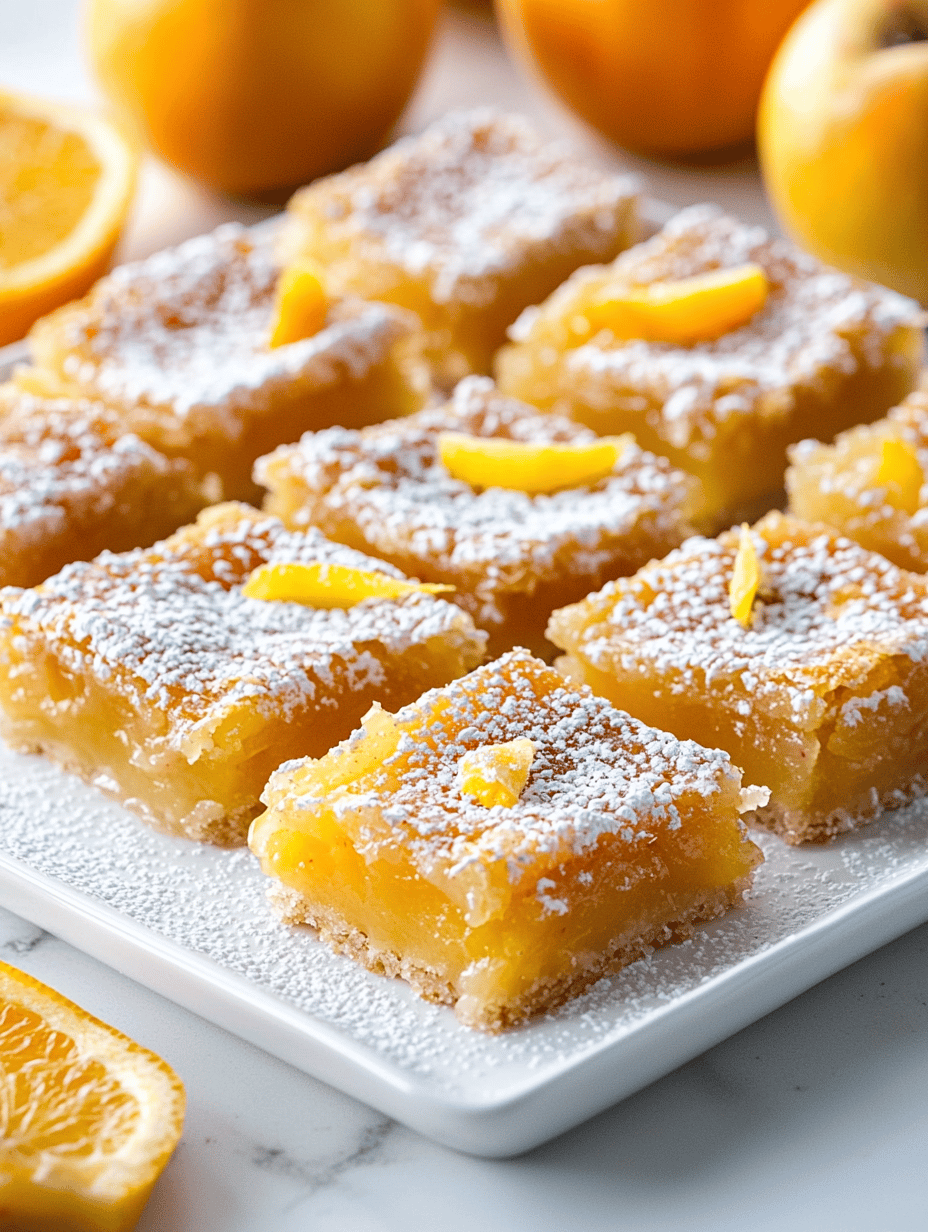
Unconventional Apple Pie Bars: A Nostalgic Twist with a Citrus Zest Kick
Carrying a whiff of baked apples mingled with the pop of citrus zest, these apple pie bars bring a fresh ...
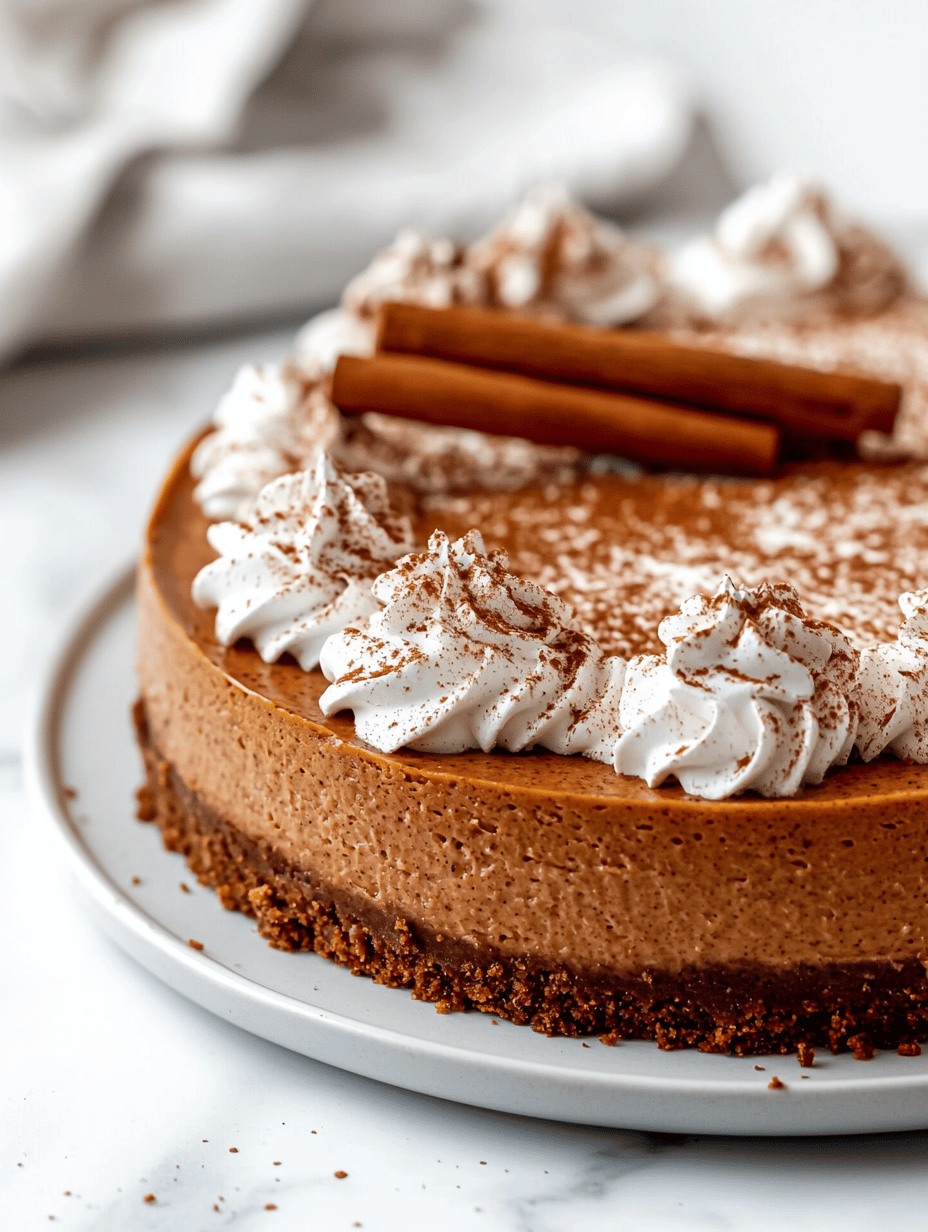
A Cozy Twist: Pumpkin Spice Cheesecake with a Crunchy Gingersnap Crust
Autumn afternoons often smell like cinnamon, nutmeg, and the faint scent of baking spices in the air. I love how ...
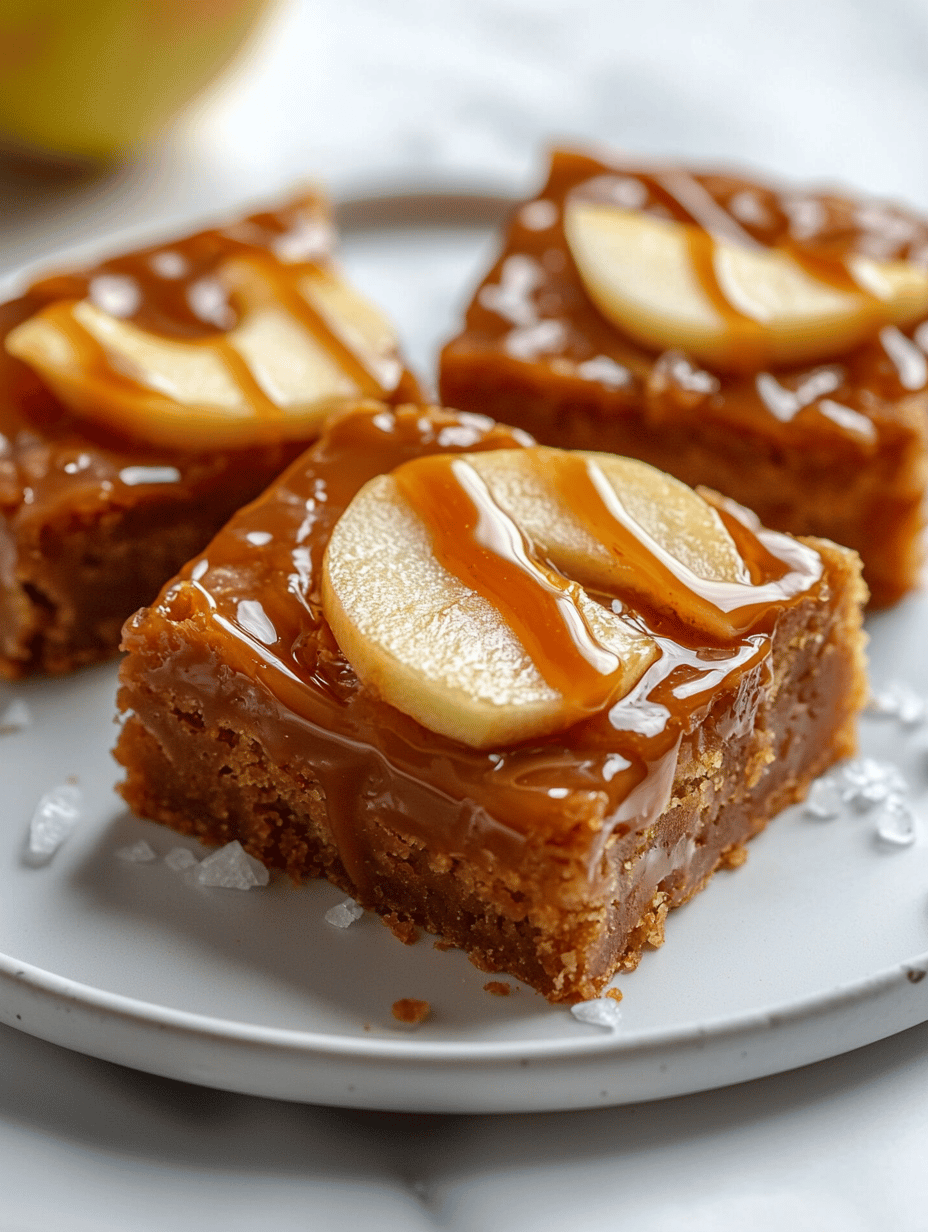
Caramel Apple Blondies: A Fall-Inspired Sweet Symphony
As the air turns crisp and the scent of spiced apples fills the kitchen, I find myself craving a dessert ...
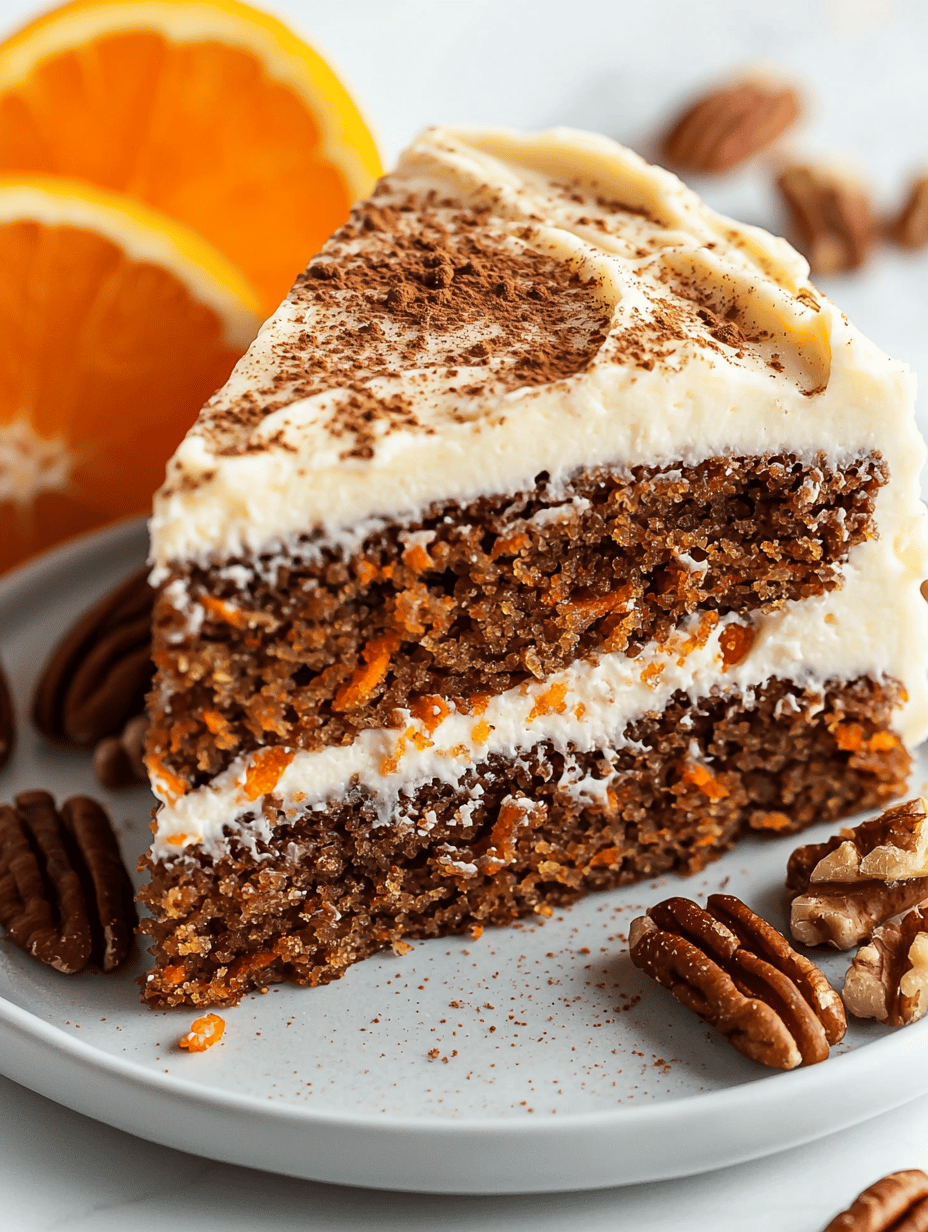
Autumn Spice Cake with Cream Cheese Frosting: A Nostalgic Twist on Fall’s Flavors
As the air turns crisp and leaves crunch underfoot, I find myself craving more than just pumpkin lattes. This cake ...
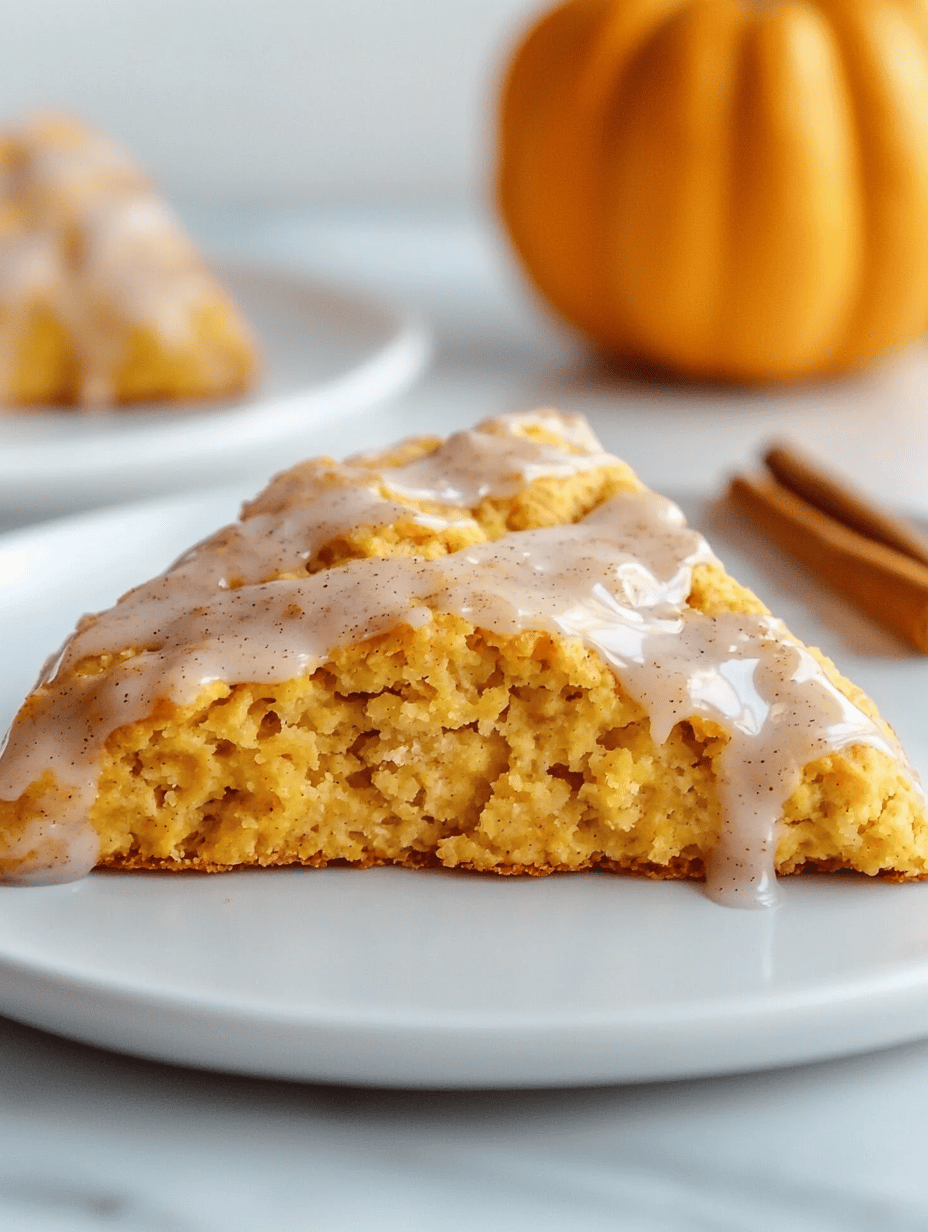
Maple Glazed Pumpkin Scones: A Cozy Fall Dawn
Walking through early autumn mornings, I notice the sharp scent of cinnamon and roasted pumpkin filling the air. These scones ...
Silent Forest Flavors: The Unexpected Elegance of Roasted Pumpkin Soup
As the leaves crunch beneath my boots, I often notice how the aroma of roasting ...
READ MOREFall Dessert and Baking Recipes
The Secret Spice That Transforms Gluten-Free Pumpkin Muffins Into Autumn’s Hidden Treasure
In the quiet hours of early fall, the scent of cinnamon, cloves, and roasted pumpkin ...
READ MOREFall Dessert and Baking Recipes
Vegan Apple Crisp: A Cozy Fall Ritual with a Twist
When the air turns crisp and leaves crunch underfoot, I find myself craving more than ...
READ MOREFall Dessert and Baking Recipes
Baking a Fall Fable: Pumpkin Cake with Cinnamon Frosting That Tells a Story
The scent of baked pumpkin lingers in my kitchen, interwoven with the aroma of cinnamon ...
READ MOREFall Dessert and Baking Recipes
Heavenly Roasted Pear & Almond Cake: A Cozy Fall Surprise
Each fall, I find myself craving the faint, caramelized aroma of roasted pears—their flesh softens ...
READ MOREFall Dessert and Baking Recipes
Unconventional Apple Pie Bars: A Nostalgic Twist with a Citrus Zest Kick
Carrying a whiff of baked apples mingled with the pop of citrus zest, these apple ...
READ MOREFall Dessert and Baking Recipes
A Cozy Twist: Pumpkin Spice Cheesecake with a Crunchy Gingersnap Crust
Autumn afternoons often smell like cinnamon, nutmeg, and the faint scent of baking spices in ...
READ MOREFall Dessert and Baking Recipes
Caramel Apple Blondies: A Fall-Inspired Sweet Symphony
As the air turns crisp and the scent of spiced apples fills the kitchen, I ...
READ MOREFall Dessert and Baking Recipes
Autumn Spice Cake with Cream Cheese Frosting: A Nostalgic Twist on Fall’s Flavors
As the air turns crisp and leaves crunch underfoot, I find myself craving more than ...
READ MOREFall Dessert and Baking Recipes
Maple Glazed Pumpkin Scones: A Cozy Fall Dawn
Walking through early autumn mornings, I notice the sharp scent of cinnamon and roasted pumpkin ...
READ MORE