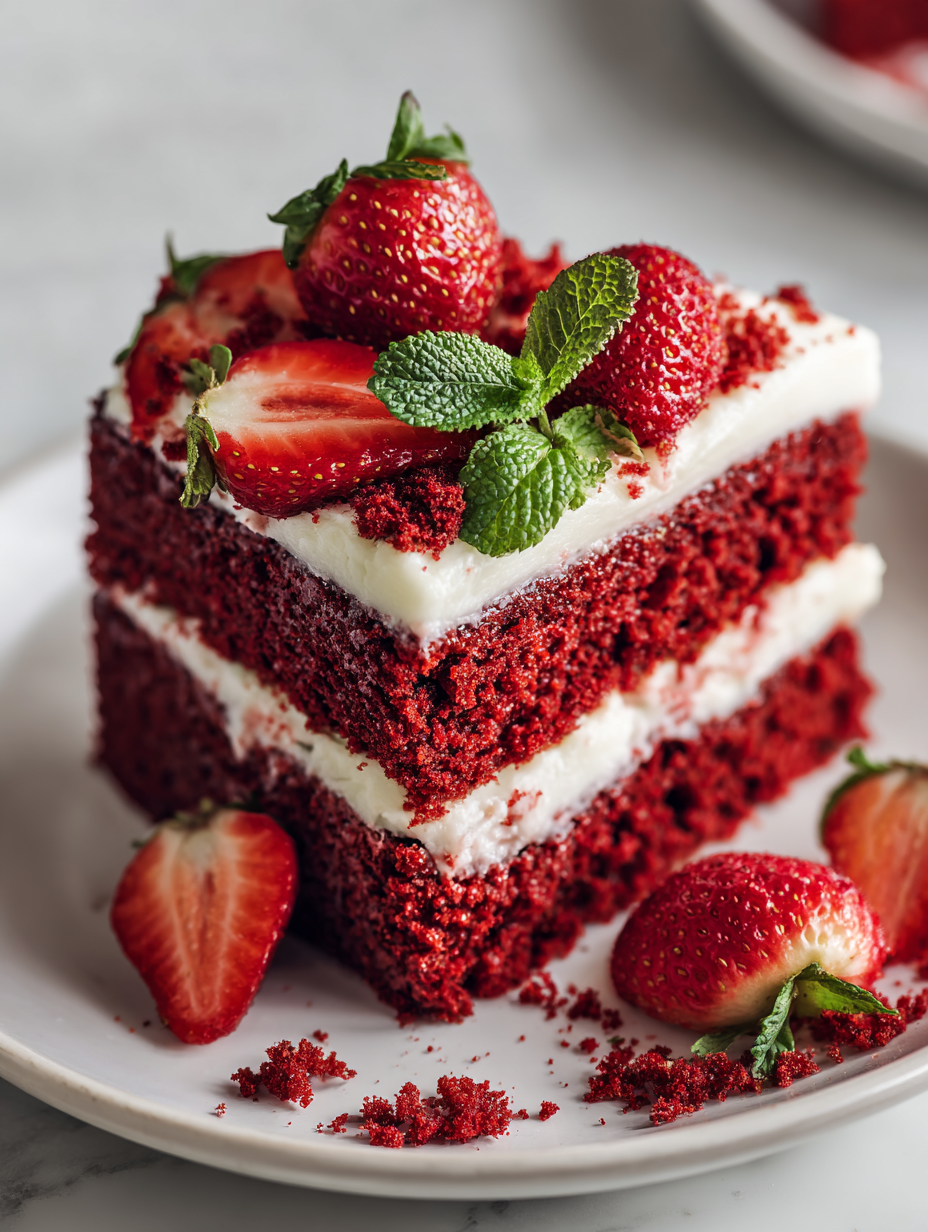
This Red Velvet Strawberry Cake isn’t your typical layered dessert. It’s a surprising combo I stumbled on when I was looking to brighten up a winter gathering with something a little different. The deep cocoa richness of the red velvet pairs unexpectedly well with the fresh, tangy strawberries, creating a balance that feels both indulgent and refreshing at the same time.
What really keeps me coming back to this cake is how the strawberries cut through the richness of the cream cheese frosting, making each bite feel lighter, almost like a seasonal wake-up call for your taste buds. It’s a cake that feels special but also easy enough to whip up on a weekday when you want something a little different for dessert or tea.
Plus, it’s a reminder that fruit and chocolate don’t have to be a dinner plate only — they can dance together in a cake, bringing a burst of color and bright flavor to any table.
Focusing on the unexpected pairing of rich, velvety red velvet cake with fresh, bright strawberries, highlighting how the fruit cuts through the cocoa and cream for a balanced, seasonal treat.
The story behind this recipe
- This cake idea came from a summer baking session where I was craving something fruity but decadent. I’d been playing with the idea of combining berries with classic red velvet for a while, but it finally clicked when I saw a basket of ripe strawberries sitting on my counter. The marriage of that velvety cocoa crumb with fresh, juicy strawberries felt like a natural evolution of flavors I love.
- I remember the first time I made it — the smell of cocoa and strawberries mingling in the oven, a bit chaotic but utterly inviting. It’s one of those recipes that’s simple enough for a weekend but feels special enough for celebrations. Each bite reminds me that a little unexpected pairing can turn something familiar into a fresh, vibrant experience.
- heading
- story_type
Key Ingredients in Focus
- Cream Cheese: I love how its tangy richness makes the frosting velvety smooth; use full-fat for that creamy bite, or try mascarpone for a milder, silkier finish.
- Strawberries: Fresh, ripe berries give that bright, juicy pop; opt for berries with a deep red hue and a sweet scent, or swap in frozen if out of season but note the extra moisture.
- Red Food Coloring: It’s what gives the cake that iconic hue; I prefer gel for deep, vibrant color without thinning the batter—liquid dyes can dilute and water down the crumb.
- Cocoa Powder: Unsweetened and pure, it adds depth; Dutch-processed cocoa is smoother, but natural cocoa gives a brighter, more pungent chocolate flavor—choose based on your vibe.
- Buttermilk: It tenderizes and adds a slight tang; if you don’t have any, a splash of milk with a teaspoon of vinegar or lemon juice works, but the cake might be a tad less moist.
- Cake Flour: I find it gives a lighter crumb than all-purpose; if you only have all-purpose, swap with 1 cup minus 2 tablespoons, plus cornstarch to mimic cake flour texture.
- Sugar: Granulated for sweetness, but try coconut sugar for a caramel undertone that pairs beautifully with the cocoa and strawberries.
Spotlight on key ingredients
Cream Cheese:
- Strawberries: I love how their juicy brightness balances the rich cocoa; ripe, fragrant berries with a deep red hue are best, or frozen berries can work in a pinch, but expect more moisture and slightly muted flavor.
- Its tangy, velvety texture makes the frosting pop; full-fat is essential for richness, while mascarpone offers a milder, silkier finish—either way, it’s the creamy glue that holds the cake together.
Cocoa Powder:
- Red Food Coloring: It’s what creates that vibrant, eye-catching hue; gel food coloring gives a deep, consistent color without watering down the batter, unlike liquid dyes which can dilute and weaken the crumb.
- Unsweetened and potent, it adds depth and a slightly bitter edge; Dutch-processed gives a smooth, mellow chocolate flavor, while natural cocoa offers a brighter, more pungent kick—choose based on your flavor vibe.
Notes for ingredient swaps
- Dairy-Free: Swap cream cheese with coconut cream or vegan cream cheese for a dairy-free frosting, which will be slightly sweeter and coconut-y.
- Gluten-Free: Use almond flour or a gluten-free baking blend instead of cake flour; the texture will be a bit denser but just as flavorful.
- Sugar Alternatives: Substitute granulated sugar with honey or maple syrup—expect a richer, more caramel-like sweetness and slightly moister crumb.
- Vinegar: Replace white vinegar with apple cider vinegar for a milder tang that won’t overpower the chocolate and strawberries.
- Food Coloring: Use beet juice or natural red powder instead of synthetic gel; color may be subtler and slightly earthy, but still vibrant.
- Strawberries: Swap fresh strawberries with frozen, thawed berries; they’ll release more juice, so reduce added liquid slightly.
- Cocoa Powder: Use dark chocolate cocoa or dutch-processed cocoa for a deeper, smoother chocolate flavor, adjusting sweetness if needed.
Equipment & Tools
- Oven: Bake the cake layers evenly.
- Mixing bowls: Combine ingredients separately for better texture.
- Sifter: Aerate dry ingredients for a fine crumb.
- Spatula: Fold ingredients gently and spread frosting.
- Cake pans (20cm/8-inch): Shape the cake layers.
- Cooling rack: Cool cakes evenly and prevent sogginess.
- Offset spatula: Apply and smooth frosting.
Step-by-step guide to Red Velvet Strawberry Cake
- Preheat your oven to 175°C (350°F). Grease two 20cm (8-inch) round cake pans and line the bottoms with parchment paper. This setup ensures easy release and a neat crumb.
- In a large bowl, sift together 2 1/2 cups (310g) cake flour, 1 1/2 cups (300g) sugar, 1 teaspoon baking soda, 1 teaspoon salt, and 1/4 cup (25g) unsweetened cocoa powder. Mix well to distribute ingredients evenly.
- In a separate bowl, whisk together 1 cup (240ml) buttermilk, 1/2 cup (120ml) vegetable oil, 2 large eggs, 2 teaspoons vanilla extract, and 1-2 drops red gel food coloring until smooth. The color should be vibrant but not runny.
- Gradually add the wet ingredients into the dry, folding gently until just combined. Do not overmix; a few lumps are fine. The batter will be thick and velvety.
- Fold in 1 cup (150g) chopped fresh strawberries or 1/2 cup frozen (thawed) for an extra burst of fruit flavor. Be gentle to keep the batter airy.
- Divide the batter evenly between the prepared pans. Smooth the tops with a spatula and tap the pans on the counter to remove air bubbles.
- Bake in the preheated oven for 25-30 minutes. Check for doneness by inserting a toothpick into the center; it should come out clean. The cake should be risen and slightly springy to the touch.
- Remove from the oven and let the cakes cool in the pans for 10 minutes. Then, transfer to a wire rack to cool completely, about 30 minutes. This step prevents sogginess and helps the layers stay neat.
- While the cakes cool, prepare the cream cheese frosting. Beat 8 oz (225g) softened cream cheese with 1/2 cup (115g) unsalted butter until smooth. Gradually add 3 cups (360g) powdered sugar, and mix until fluffy. Lightly fold in a teaspoon of vanilla extract.
- Once the cakes are fully cooled, spread a layer of frosting on the first cake. Add a generous handful of sliced strawberries for a fresh, juicy layer. Top with the second cake layer and frost the entire cake smoothly.
- For finishing, decorate with halved strawberries on top and a light dusting of cocoa powder or pink sanding sugar if desired. Let the frosted cake rest for at least 30 minutes to set the frosting.
Allow the assembled cake to rest in the fridge for at least 30 minutes so the frosting sets. Bring to room temperature before serving for optimal flavor and texture. Slice carefully with a serrated knife to keep layers intact.
How to Know It’s Done
- Cake springs back when gently pressed, indicating doneness.
- Toothpick inserted in the center comes out clean.
- Frosting is smooth and holds shape without sagging.
Red Velvet Strawberry Cake
Ingredients
Equipment
Method
- Preheat your oven to 175°C (350°F). Grease two 20cm (8-inch) round cake pans and line their bottoms with parchment paper to ensure easy removal.
- Sift together the cake flour, sugar, baking soda, salt, and cocoa powder into a large mixing bowl. Whisk to combine and aerate the dry ingredients.
- In a separate bowl, whisk together the buttermilk, vegetable oil, eggs, vanilla, and red gel food coloring until the mixture is smooth and the color is evenly distributed.
- Gradually add the wet mixture to the dry ingredients, folding gently with a spatula until just combined. The batter will be thick and velvety with a vibrant red hue.
- Gently fold in the chopped strawberries, being careful not to crush them or deflate the batter.
- Divide the batter evenly between the prepared cake pans, smoothing the tops with a spatula. Tap the pans gently on the counter to release any trapped air bubbles.
- Bake in the preheated oven for 25-30 minutes, or until a toothpick inserted into the center comes out clean. The cakes should be risen and slightly springy to the touch.
- Remove the cakes from the oven and let them cool in the pans for 10 minutes. Then, transfer them to a wire rack to cool completely, about 30 minutes.
- Meanwhile, prepare the frosting by beating the softened cream cheese and butter together until smooth and creamy. Gradually add the powdered sugar and beat until fluffy and well combined.
- Once the cake layers are completely cooled, spread a layer of frosting on top of one layer. Add some sliced strawberries for a fresh burst of flavor. Place the second layer on top and frost the top and sides smoothly with the remaining frosting.
- Decorate the top with halved strawberries and a light dusting of cocoa powder or pink sanding sugar if desired. Chill the cake for at least 30 minutes to set the frosting before slicing and serving. Enjoy this vibrant, juicy, and decadent cake!
Pro tips for perfect cake layers
- Use room temperature eggs to ensure even mixing and a lighter batter.
- Sift cocoa powder with dry ingredients to prevent lumps and achieve a velvety crumb.
- Gently fold strawberries into the batter to keep it airy and prevent crushing the fruit.
- Tap the filled pans on the counter to release trapped air bubbles before baking.
- Use a toothpick inserted into the center; it should come out with a few moist crumbs, not wet batter.
- Cool cakes completely on a wire rack to avoid sogginess and make frosting easier to spread.
- For vibrant color, opt for gel food coloring; a little goes a long way without thinning the batter.
Common mistakes and how to fix them
- FORGOT to check oven temperature → Use an oven thermometer for accuracy.
- DUMPED in all the batter at once → Fold gently to keep the airiness intact.
- OVER-TORCHED the edges → Cover with foil if edges brown too quickly.
- MISSED the cooling time → Cool completely to prevent frosting sliding off.
Quick fixes and pantry swaps
- When batter appears too thick, splash a tablespoon of milk and gently fold to loosen.
- If frosting is runny, chill it for 10 minutes to firm up before spreading.
- Splash a little lemon juice into strawberries to brighten their flavor and reduce moisture.
- Patch over cracked cake layers with a dab of frosting and smooth it out quickly.
- Shield the cake with foil if edges brown too fast, then lower the oven temperature slightly.
Prep, store, and reheat tips
- Prep the frosting and slice strawberries a day in advance; keep them covered in the fridge. The fruit stays fresh and vibrant, and the frosting remains creamy and ready to spread.
- Bake the cake layers a day ahead and store them wrapped tightly in plastic wrap at room temperature for up to 24 hours or freeze for up to 2 months. Thaw at room temperature before decorating for best texture.
- Assemble the cake a few hours before serving to allow flavors to meld; keep it refrigerated, but bring to room temp for about 30 minutes prior to slicing for optimal softness and flavor burst.
- Frosted cake keeps well covered in the fridge for up to 2 days. Expect the texture to firm up slightly, and the flavors to deepen, especially the strawberry aroma. Reheat lightly in a 150°F (65°C) oven if you prefer softer, warmer slices, checking for gentle warmth and a slight shimmer of moisture on the frosting surface.
Top questions about Red Velvet Strawberry Cake
1. Can I use frozen strawberries?
Use fresh, ripe strawberries for the best flavor and juiciness. Frozen can work but may add extra moisture. Look for berries with a sweet smell and deep red color.
2. Can I substitute fresh strawberries with another fruit?
Yes, but thaw them first and drain excess juice to prevent sogginess. Frozen berries tend to be juicier, so reduce other liquids slightly.
3. Can I make the frosting dairy-free?
Cream cheese frosting is classic, but mascarpone or Greek yogurt can offer different textures and tangs. Adjust sweetness accordingly.
4. How can I make this cake dairy-free?
Absolutely. Use coconut cream or vegan cream cheese. The flavor will be slightly coconut-y or milder, but still delicious.
5. What’s the best food coloring to use?
Use gel food coloring for vibrant color without thinning the batter. Liquid dyes can water down the crumb and alter the texture.
6. How do I know when the cake is done?
Bake until the cake springs back when pressed gently and a toothpick inserted in the center comes out clean. The layers should be firm and slightly moist inside.
7. Can I prepare the cake ahead of time?
Chill the assembled cake in the fridge for at least 30 minutes to set the frosting. Bring to room temperature before slicing for best texture.
8. What if my frosting is too runny or thick?
If the frosting is too runny, chill it for 10 minutes or add a little more powdered sugar. Too thick? Warm it slightly or beat in a splash of milk.
9. How do I get clean slices?
Use a serrated knife to slice the cake, and cut slowly through the layers. Keep the knife cool by rinsing with hot water between cuts.
10. How long can I keep the cake in the fridge?
Store cake in an airtight container in the fridge for up to 2 days. Let it sit at room temp for 30 minutes before serving to enhance the flavors.
This cake isn’t just about the taste; it’s about how that bright pop of strawberry cuts through the rich cocoa and cream cheese, making each slice feel lively and fresh. It’s perfect for when you want something a little unexpected but still familiar, especially during strawberry season or when you’re craving a dessert that’s both indulgent and a little playful.
Baking this cake reminds me that even the simplest ingredients—strawberries, cocoa, cream cheese—can come together in a way that feels special without fuss. It’s a recipe I keep coming back to, especially when I want a dessert that’s as satisfying to make as it is to eat.

Hi, I am Elias William Carter! The cook, writer, and self-proclaimed flavor enthusiast behind Dramatically Stirring. Food has always been my love language- my way of showing care, curiosity, and creativity all at once. I grew up in the heart of North Carolina, in a house where the kitchen was always alive with noise and aroma
