
I never thought cheese skins could be a game-changer. But here we are. When I found a bag of leftover shredded cheese, I remembered those crispy cheese bits from the bottom of the microwave—so oddly satisfying. Instead of tossing them, I pressed them into a skillet and watched them melt into a lacy, crispy shell. That crunch, that faint salty edge. It’s like a sturdy little bowl, perfect for holding everything you love about tacos. And it’s kind of genius—using what I’d normally toss away. This whole thing started with a weird craving for something crispy without resorting to fried chips. The cheese shell becomes part of the story. Right now, I’m over the whole “wrap everything in a tortilla” thing. This feels different. Unexpected. A little rebellious, maybe. Honestly, it’s that small twist I didn’t know I needed.
Crispy Cheese Shell Tacos
Ingredients
Equipment
Method
- Measure 1 1/2 cups of shredded cheese and evenly distribute it into small mounds on a clean plate to help with portioning.
- Preheat a skillet over medium heat until hot. Place a mound of shredded cheese directly onto the skillet, pressing it into a thin, even layer with the back of a spatula, shaping a circle about 6 inches in diameter.
- Cook until the edges turn golden brown and the cheese melts completely, approximately 3-4 minutes. Use a spatula to gently lift the edges and check for crispiness.
- Carefully slide a spatula underneath the cheese and, while still warm and flexible, drape it over a small bowl, mold, or upside-down plate to form a bowl shape. Let it cool and harden in this shape for about 2 minutes.
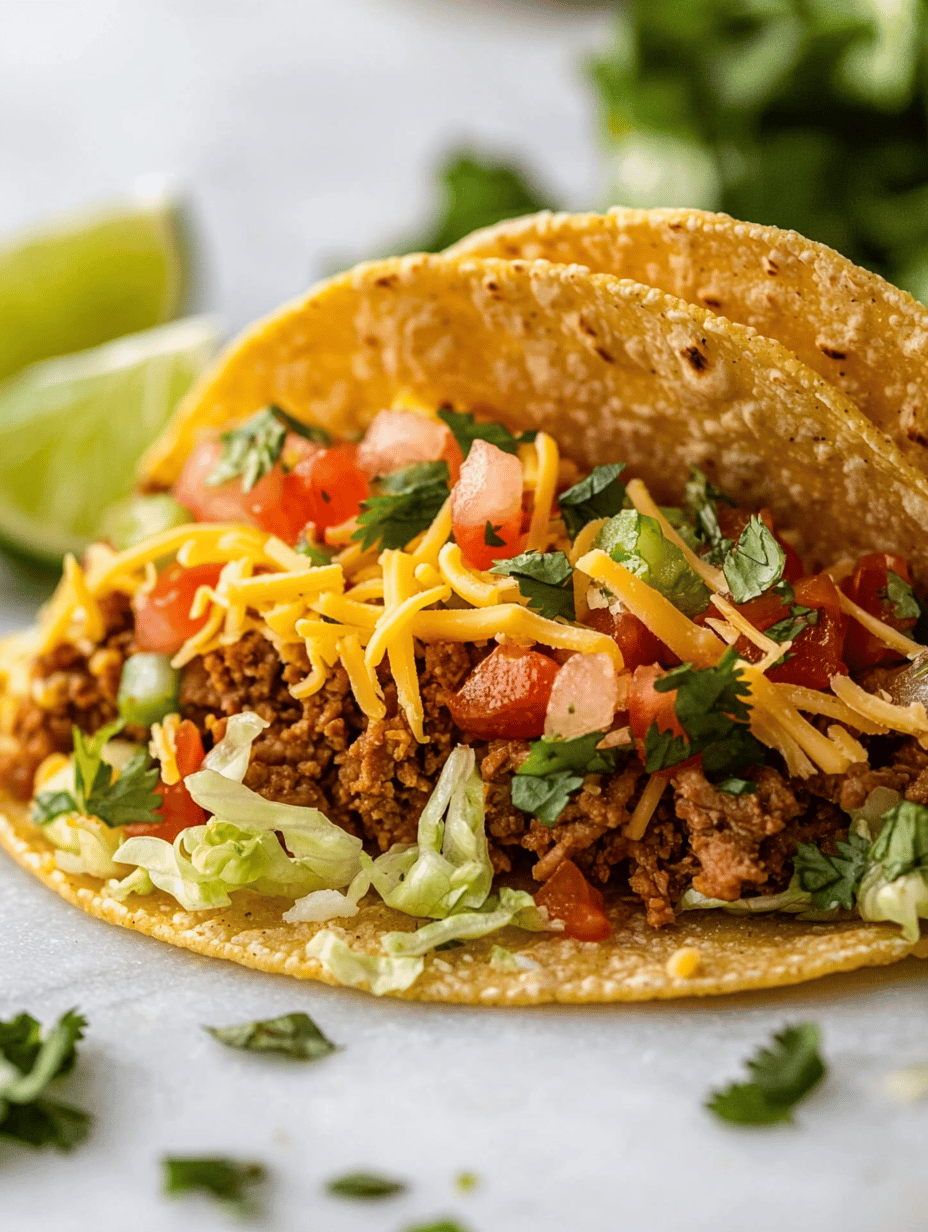
- Once cooled and crispy, gently remove the cheese shell from the mold. Fill with your choice of toppings or fillings such as meats, vegetables, or salsas. Serve immediately for maximum crunch.
Notes
When I first tried it, I wondered if it was just a fluke. But every bite confirmed it. Sometimes, the best ideas come from what’s already there, just waiting to get a little creative. No fancy ingredients needed. Just cheese, some leftovers, and a few minutes. Yeah, maybe I’ll just keep experimenting with what crunches and crumbles under my fork. It’s kind of a weird thrill.

Hi there! I’m Elias Carter, the foodie and recipe creator behind Dramatically Stirring.
Food has always been my love language. Growing up in the heart of North Carolina, I spent countless hours in the kitchen with my grandmother, learning how a simple meal could tell a story, bring people together, and stir up emotions far beyond taste. That’s the spirit behind this blog — food that isn’t just cooked, but dramatically stirring.