There’s something quietly comforting about working with apples when the kitchen feels calm and unhurried. This caramelized apple slice crumble started on a weekend when I had a few apples that were just a little too soft for snacking but still full of flavor.
Instead of baking them straight away, I sliced them thin and let them soften slowly with sugar and spice.
That gentle heat transformed them into something warmer and deeper, the kind of sweetness that feels steady rather than sharp.
Once they went into the oven under a simple crumble topping, the house filled with that familiar baked-apple aroma that makes everything slow down just a bit. This is the kind of dessert that doesn’t demand attention, but quietly earns it.
Behind the Recipe
This recipe sits somewhere between skillet apples and a traditional baked crumble. Cooking the apples first allows them to release excess moisture and develop flavor before baking, which keeps the final dish balanced instead of watery.
Why You’ll Love This Recipe
- Warm, cozy apple flavor without being overly sweet
- Simple pantry ingredients
- Soft fruit with a lightly crisp topping
- Easy to make ahead or reheat
- Flexible enough for casual nights or sharing
Chef’s Pro Tips for Perfect Results
- Slice apples evenly so they cook at the same rate
- Use medium heat when caramelizing to avoid scorching
- Let the crumble rest briefly before serving so juices settle
- Don’t pack the topping too tightly; light texture bakes best
Kitchen Tools You’ll Need
- Baking sheet
- Mixing bowls
- Knife
- Cutting board
- Spatula
- Oven
Ingredients in This Recipe
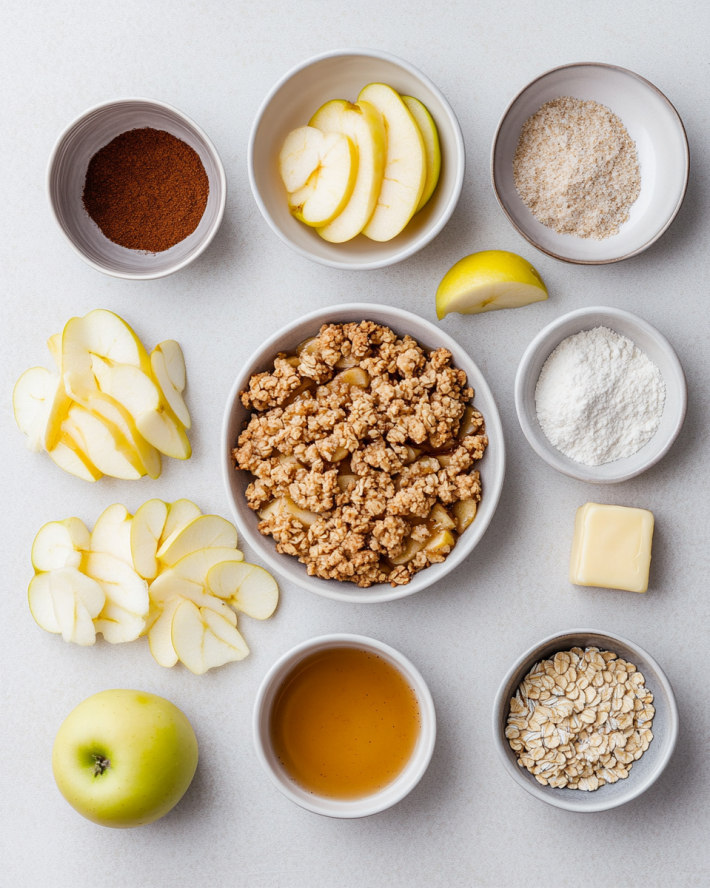
- 4 –5 medium apples thinly sliced
- 2 tablespoons unsalted butter
- 2 tablespoons brown sugar
- 1 teaspoon ground cinnamon
- 1 pinch salt
- 1 cup all-purpose flour
- ½ cup unsalted butter cold and cubed
- ½ cup brown sugar
Ingredient Substitutions
- Pears can replace apples for a softer bake
- Coconut oil may replace butter for a dairy-free option
- Add a pinch of nutmeg for deeper spice
Instructions for Making This Recipe
- Preheat the oven to 375°F (190°C). Line a baking sheet with parchment paper. Spread the frozen apple slices evenly over the sheet, then sprinkle with cinnamon, sugar, and salt. Bake for 10-12 minutes until the edges are golden and caramelized, then remove and let cool slightly.
- While the apples cool, prepare the crumble topping. In a mixing bowl, combine flour, brown sugar, and cold cubed butter. Use a pastry cutter or your fingers to work the butter into the dry ingredients until the mixture resembles coarse crumbs with some pea-sized pieces.
- Spoon the caramelized apple slices into a baking dish, spreading them out evenly. Cover the apples with the prepared crumble mixture, pressing lightly to adhere.
- Bake the assembled crumble at 375°F (190°C) for 20-25 minutes, or until the topping is golden brown and the mixture is bubbling around the edges.
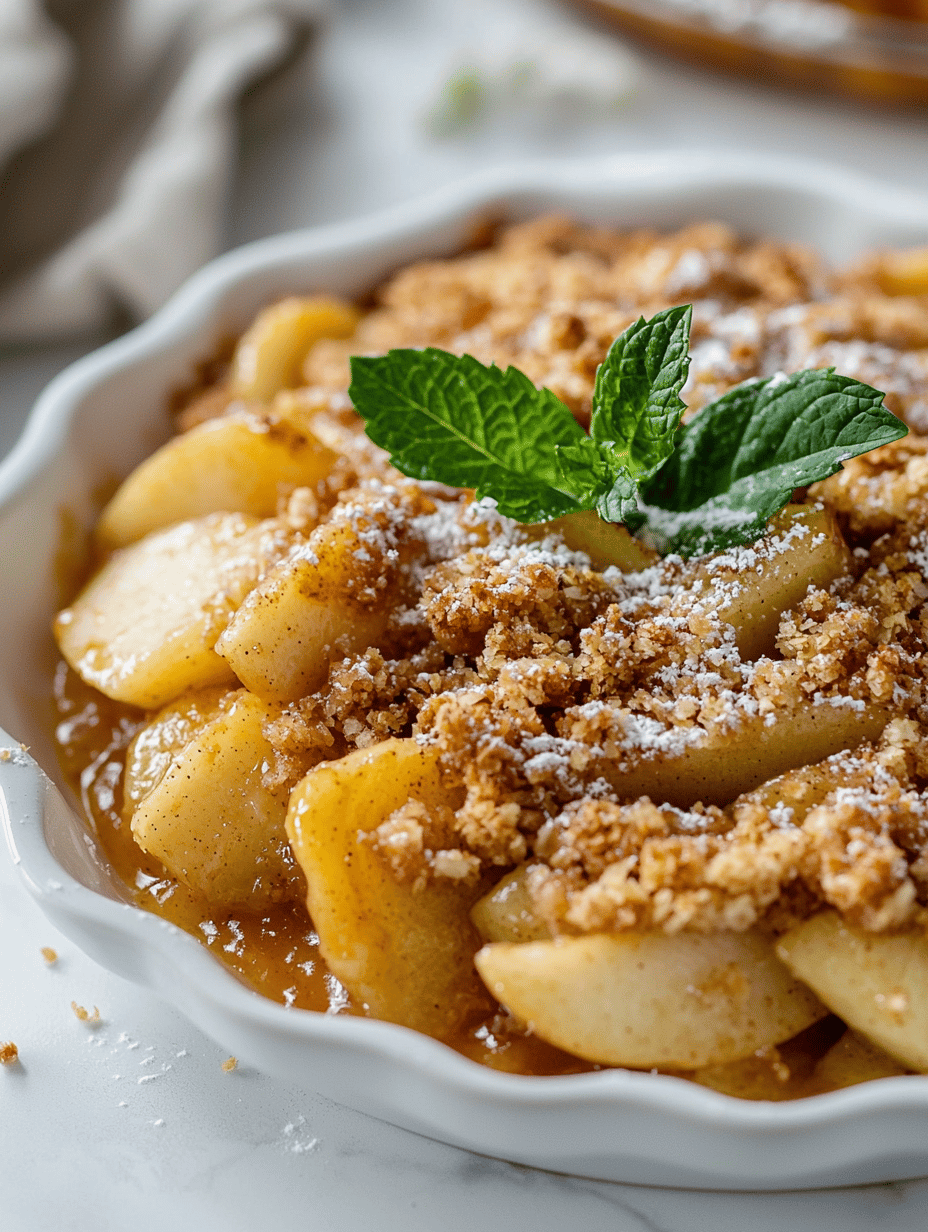
- Remove from oven and let rest for 5 minutes. Serve warm, topped with a scoop of vanilla ice cream. Observe the contrast between the crispy topping and soft, jammy apples.
Caramelized Apple Slice Crumble
Ingredients
Equipment
Method
- Preheat the oven to 375°F (190°C). Line a baking sheet with parchment paper. Spread the frozen apple slices evenly over the sheet, then sprinkle with cinnamon, sugar, and salt. Bake for 10-12 minutes until the edges are golden and caramelized, then remove and let cool slightly.
- While the apples cool, prepare the crumble topping. In a mixing bowl, combine flour, brown sugar, and cold cubed butter. Use a pastry cutter or your fingers to work the butter into the dry ingredients until the mixture resembles coarse crumbs with some pea-sized pieces.
- Spoon the caramelized apple slices into a baking dish, spreading them out evenly. Cover the apples with the prepared crumble mixture, pressing lightly to adhere.
- Bake the assembled crumble at 375°F (190°C) for 20-25 minutes, or until the topping is golden brown and the mixture is bubbling around the edges.
- Remove from oven and let rest for 5 minutes. Serve warm, topped with a scoop of vanilla ice cream. Observe the contrast between the crispy topping and soft, jammy apples.
Make-Ahead and Storage Tips
- Store leftovers in the refrigerator for up to 3 days
- Reheat gently in the oven for best texture
- Freeze assembled (unbaked) for up to 2 months
What to Serve With It
- Vanilla ice cream
- Whipped cream
- Crème fraîche
- Greek yogurt
- Coffee or chai
Creative Leftover Transformations
- Spoon over oatmeal
- Layer into yogurt parfaits
- Use as a pancake or waffle topping
- Fill crêpes or turnovers
Variations to Try
- Apple-Pear Crumble
- Cinnamon-Pecan Topping
- Maple-Sweetened Apples
- Spiced Ginger Crumble
FAQ’s
- Can I use different apples?
Yes. Honeycrisp, Fuji, Gala, or Granny Smith all work well. - Do I need to peel the apples?
Peeling is optional. Skins add texture. - Can I reduce the sugar?
Yes, reduce by up to 25% safely. - Can I make it dairy-free?
Yes, use coconut oil instead of butter. - Does it freeze well?
Yes, both baked and unbaked versions freeze nicely. - Can I double the recipe?
Absolutely. Use a larger baking dish.

I’m Mahek Manchanda, the curious heart behind Dramatically Stirring. Before this space existed, my life revolved around kitchens that were loud, demanding, and endlessly alive. I didn’t arrive at cooking through a single dramatic moment.
