
BEVERAGES
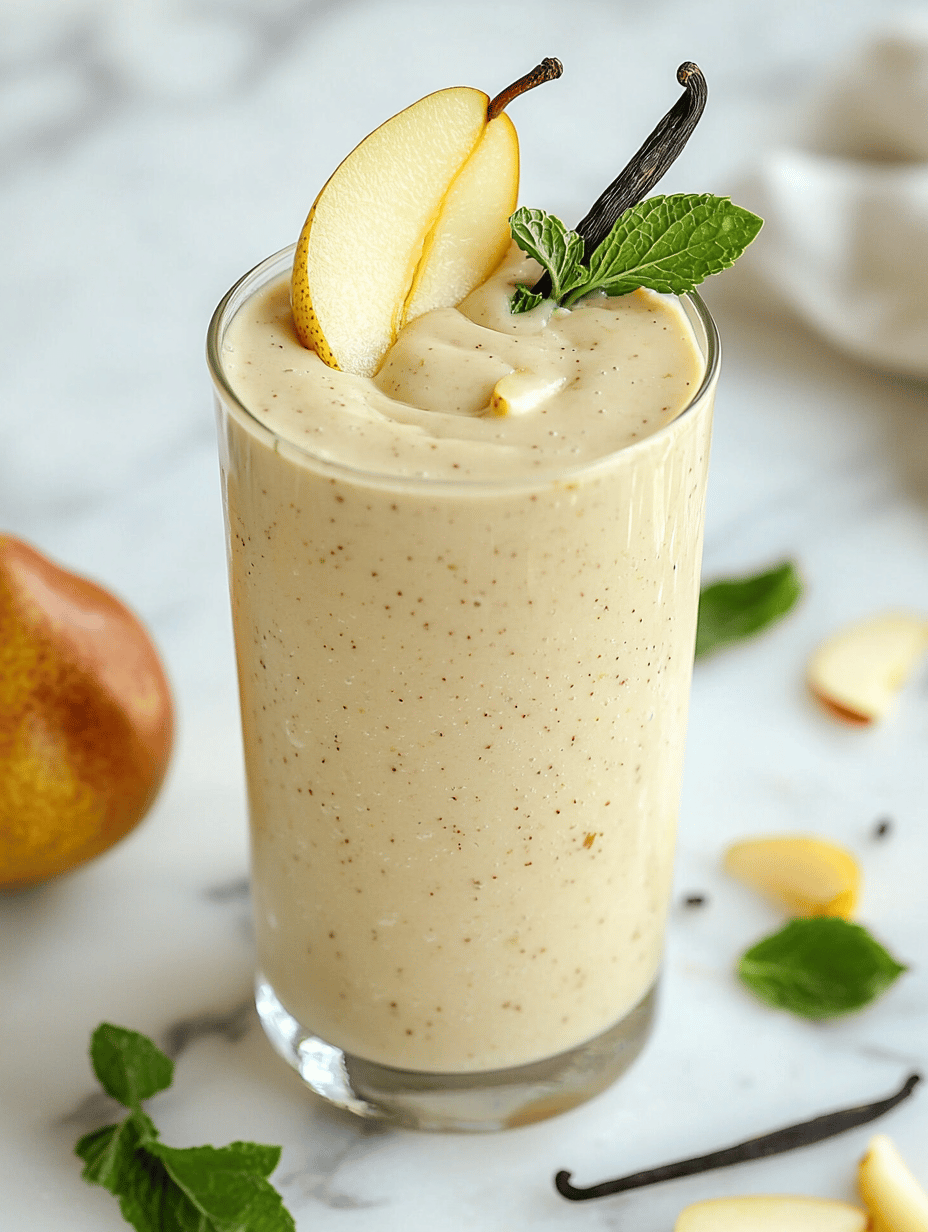
Sweet Elegance: The Vanilla Pear Smoothie You Didn’t Know You Needed
There’s a quiet magic in blending ripe pears with silky vanilla. It’s an unexpected pairing that transforms simple ingredients into ...
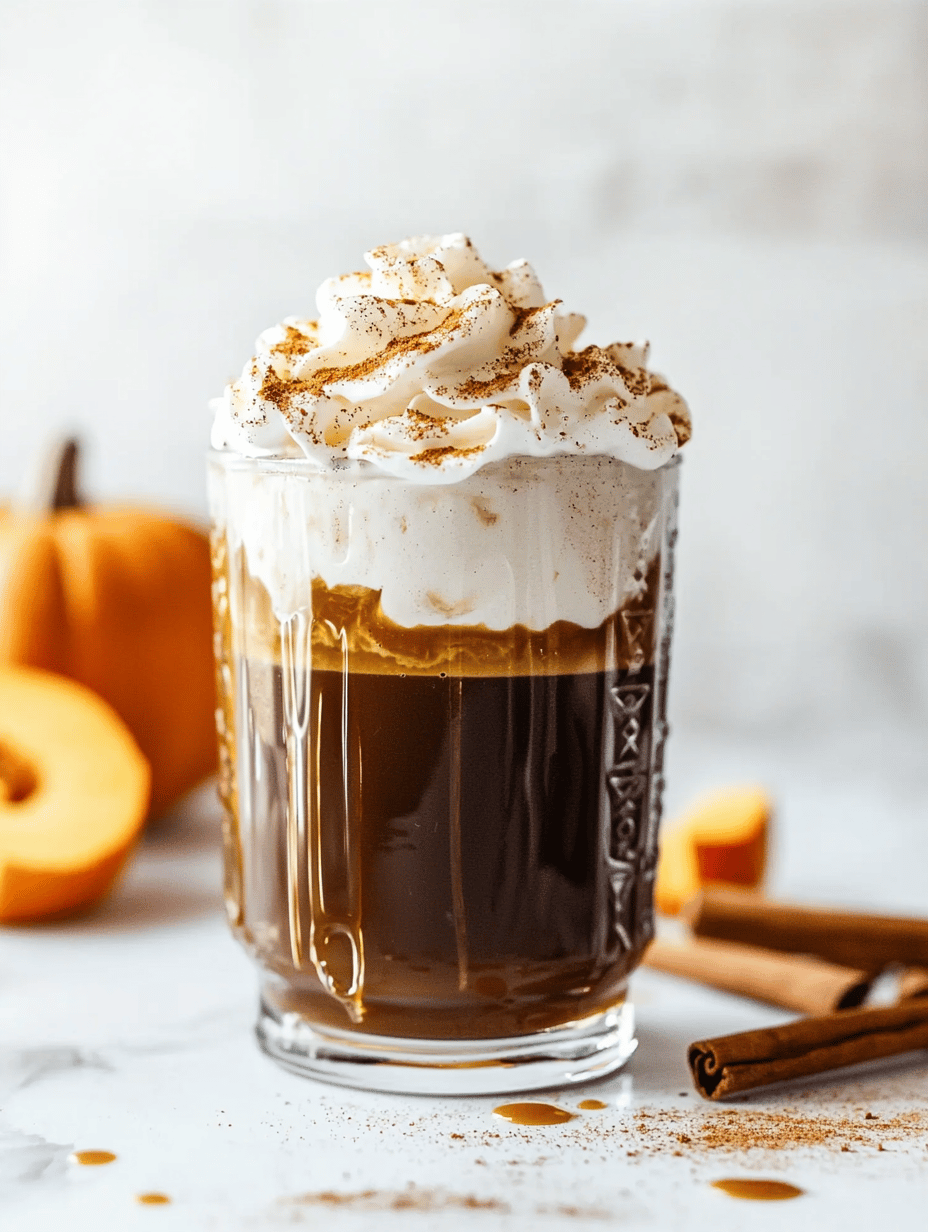
Pumpkin Spice Cold Brew: A Fall Escape in Every Sip
Few drinks capture the essence of fall quite like pumpkin spice cold brew. But I’ve always been a skeptic of ...
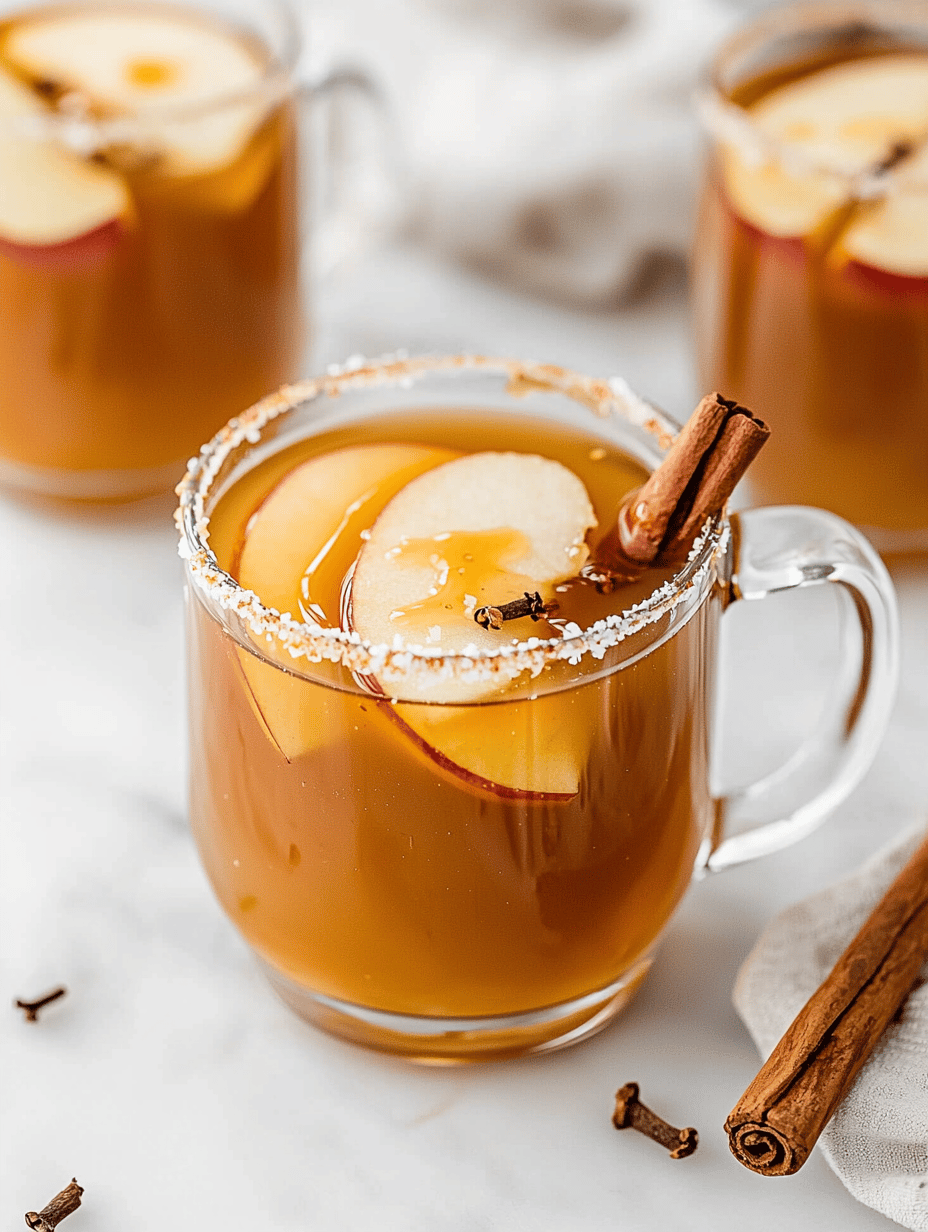
Cozy Autumn Elixir: Salted Caramel Apple Cider with a Twist
As the leaves turn crisp and the air gains that cold edge, I crave more than just hot cider. I ...
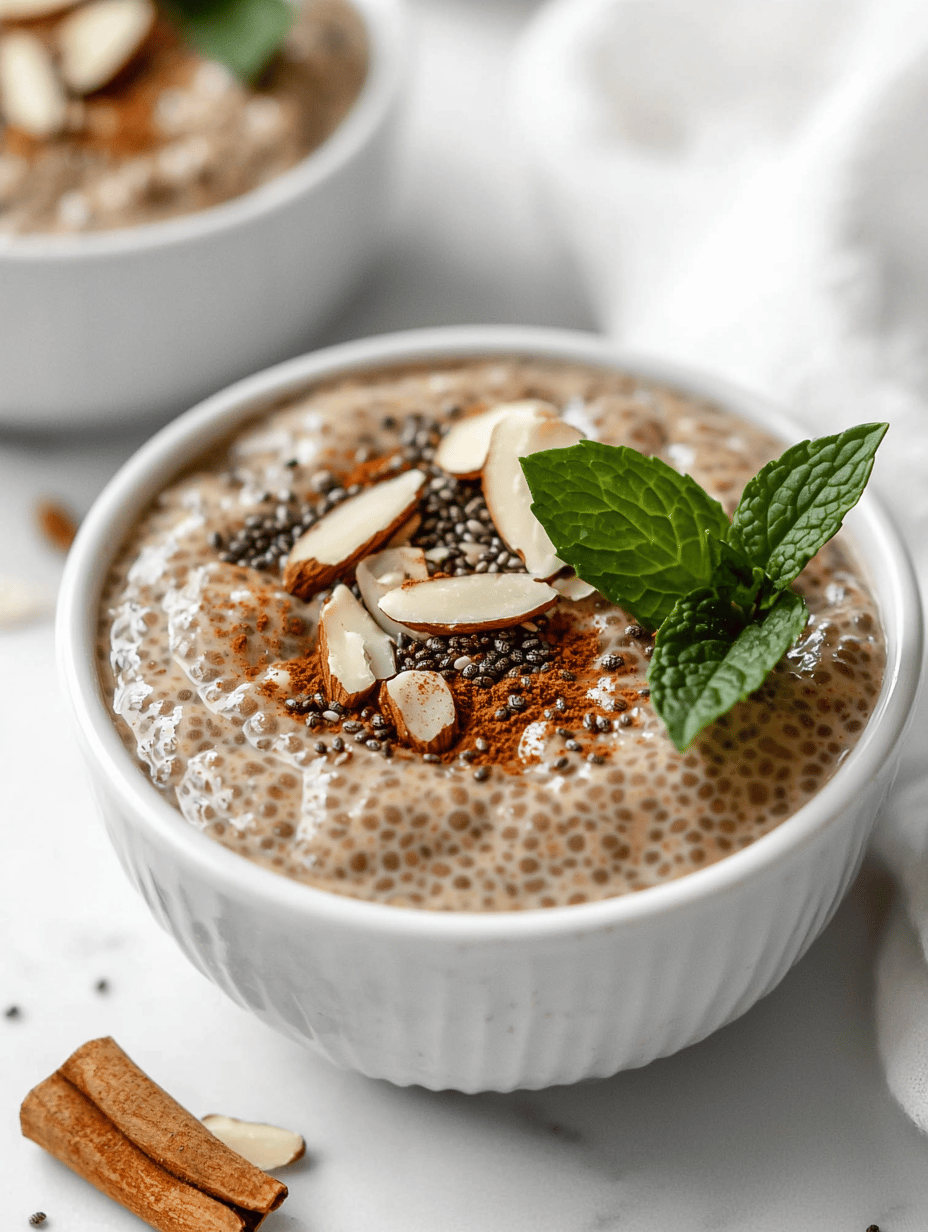
Warm Spiced Chia Breakfast Pudding: A Cozy Morning Twist
Why I Love This Recipe? The aroma of cinnamon and cardamom makes my kitchen smell like a gentle spice market ...
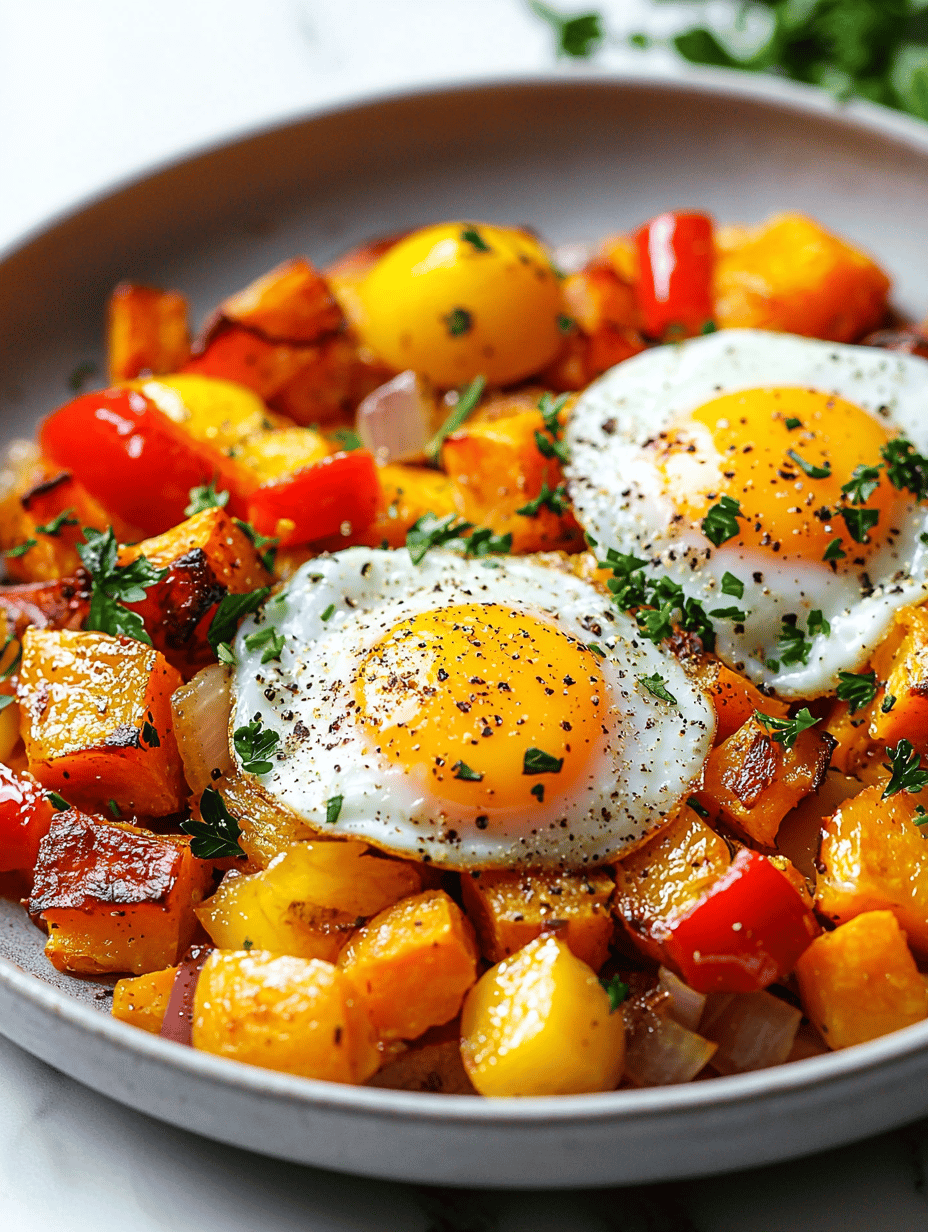
Sun-Kissed Sweet Potato Breakfast Hash: A Morning Rebellion
Many breakfast hashes rely on the usual suspects—potatoes, peppers, maybe sausage. But I like to shake things up by highlighting ...
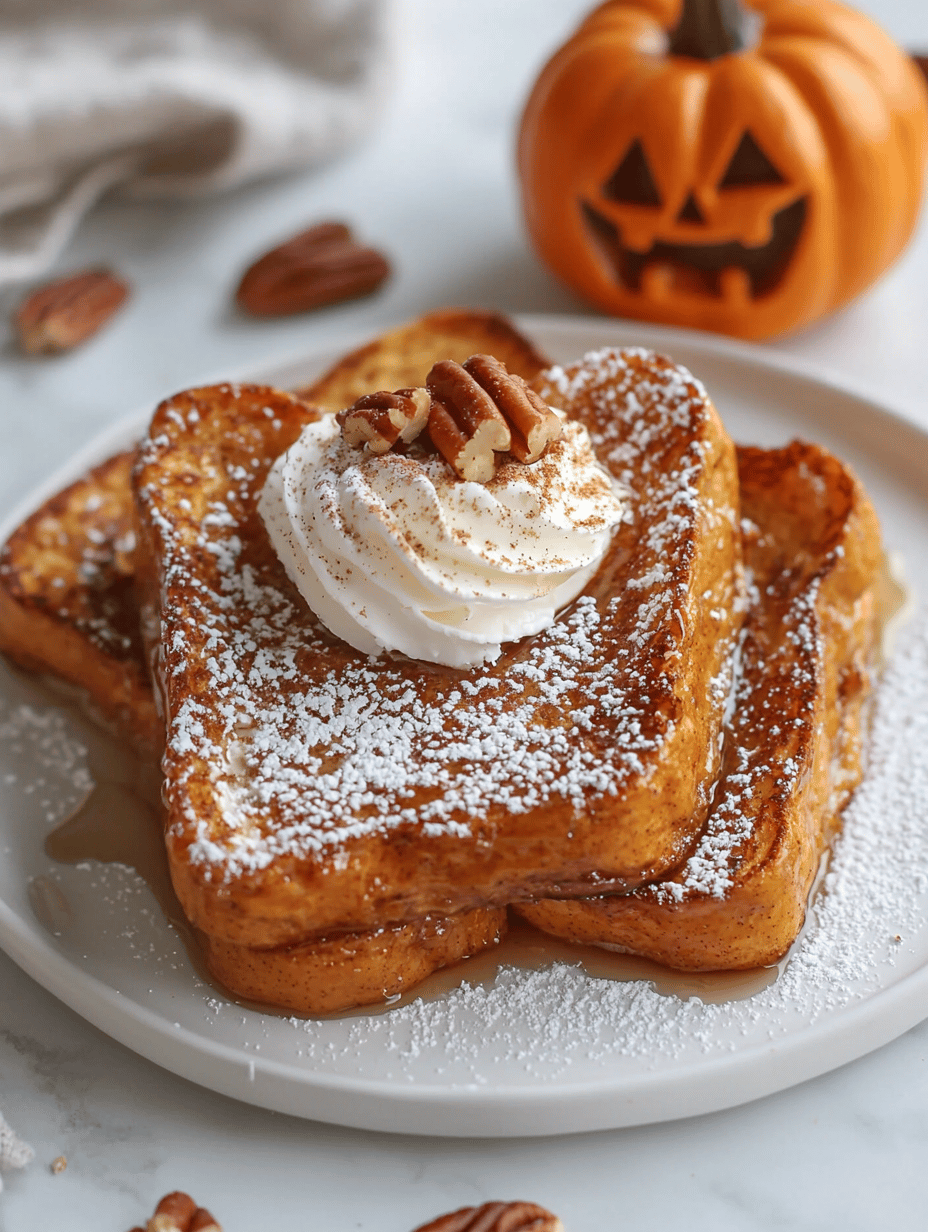
Pumpkin Spice French Toast: A Cozy Breakfast Secret
Most pumpkin spice recipes focus on baked goods or lattes, but this twist turns your breakfast into a fragrant, soul-warming ...
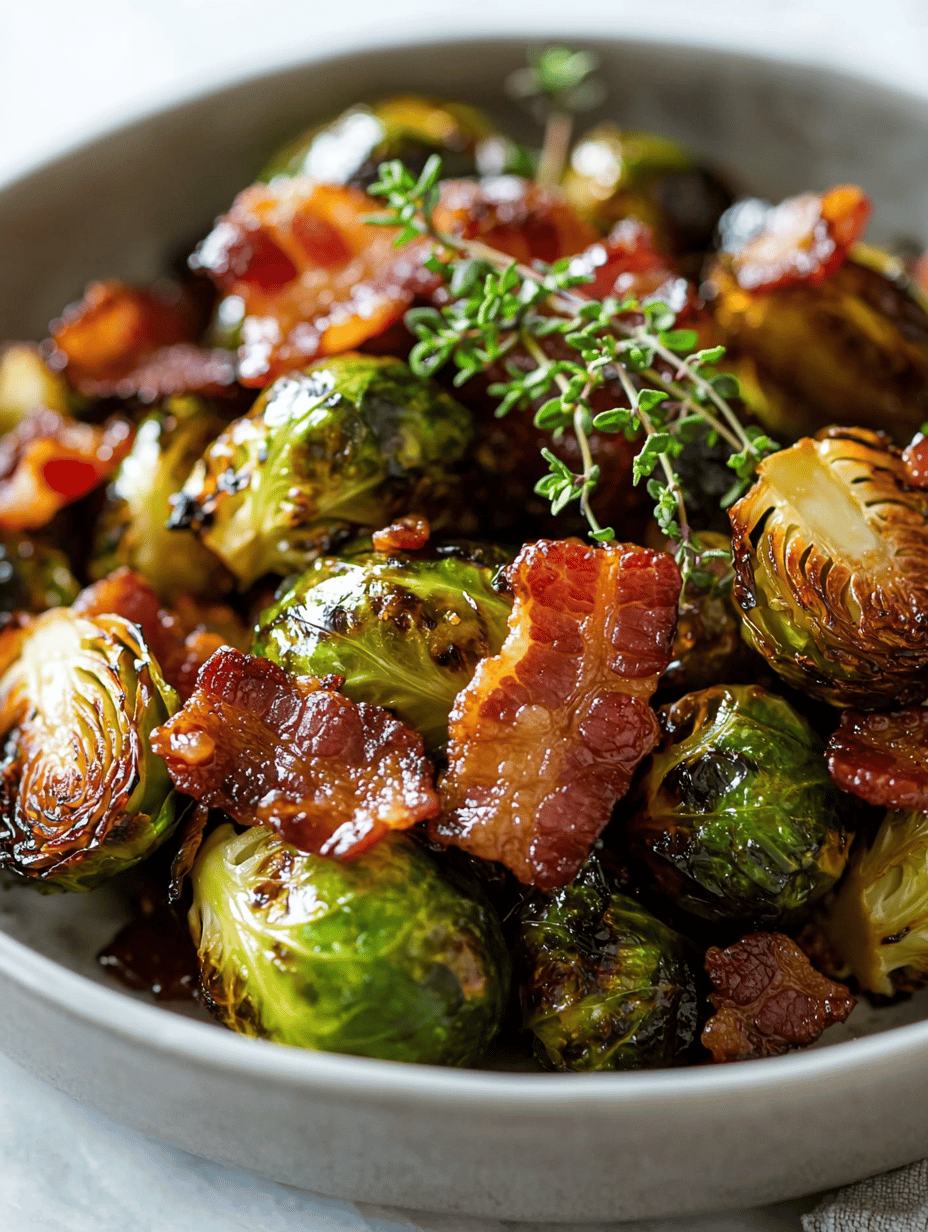
Maple Roasted Brussels Sprouts with Bacon: A Sweet & Savory Symphony
While most roasted Brussels sprouts lean on garlic or lemon for flavor, I played with something unexpectedly sweet and smoky ...
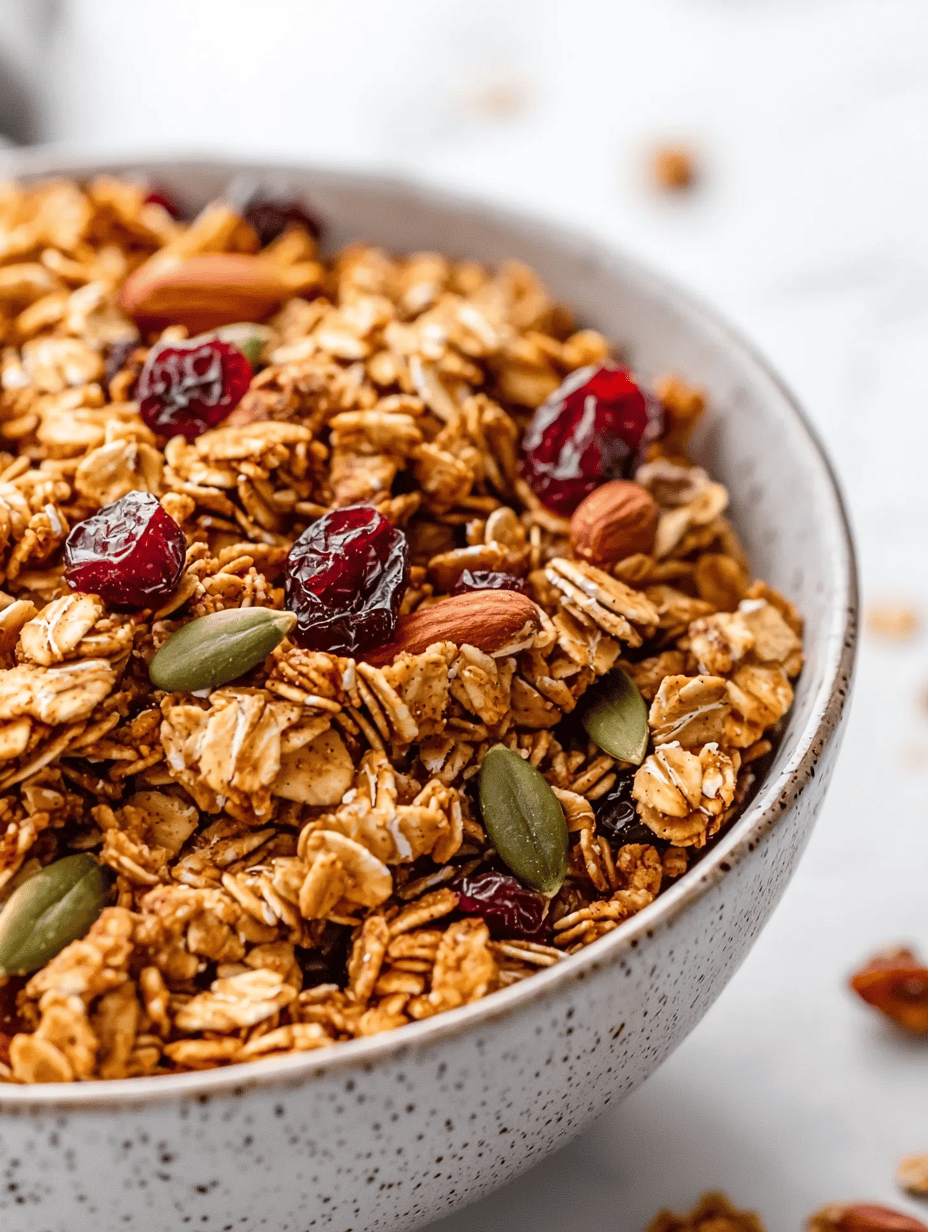
Autumn Whisper: The Unlikely Charm of Fall Spiced Granola
Sometimes, the most unexpected ingredients transform a basic snack into a revelation. As leaves crunch underfoot and jackets become essential, ...
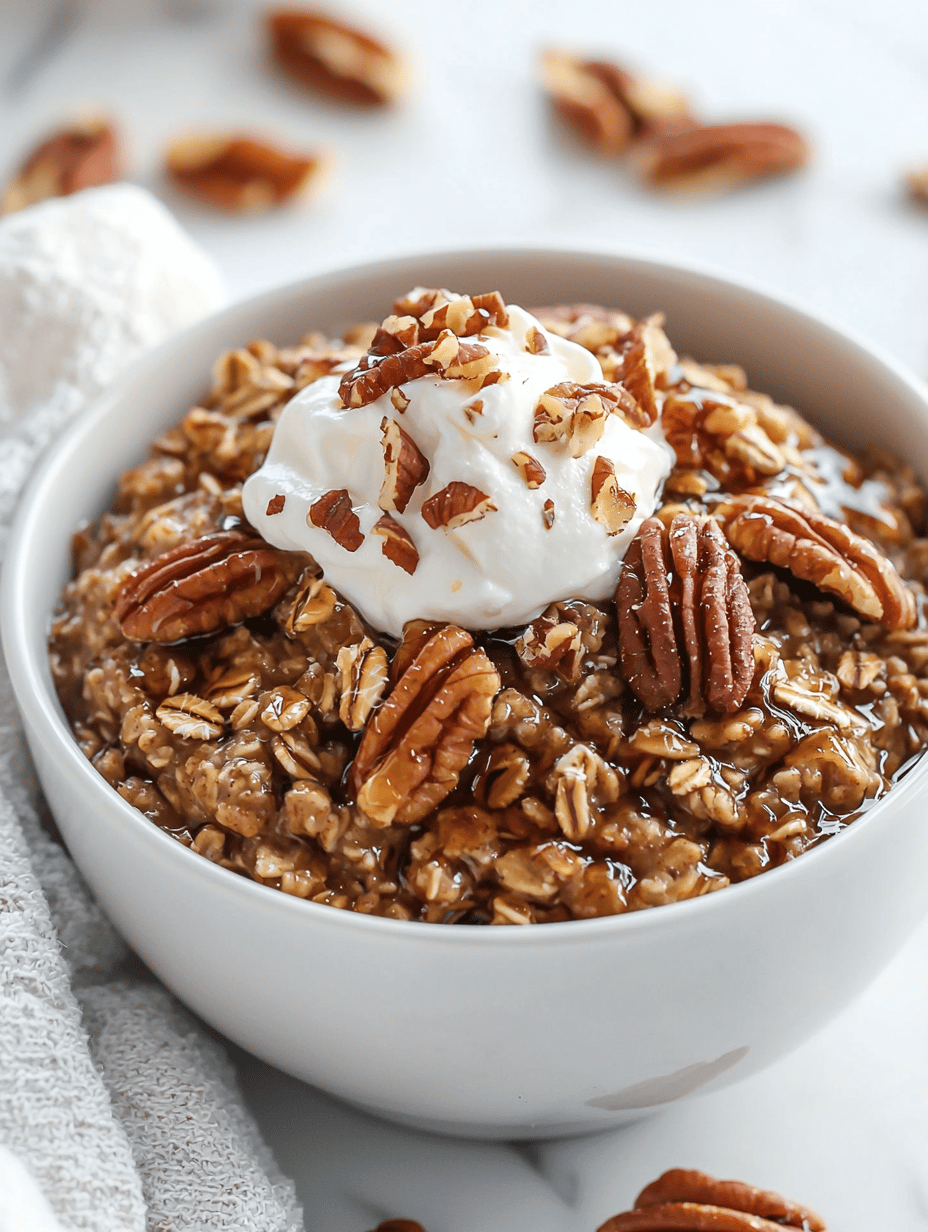
Delectable Pecan Pie Oatmeal: A Nutty Twist to Your Morning
Most oatmeal recipes stick to simple fruits or a dash of cinnamon. But what if your morning bowl could evoke ...
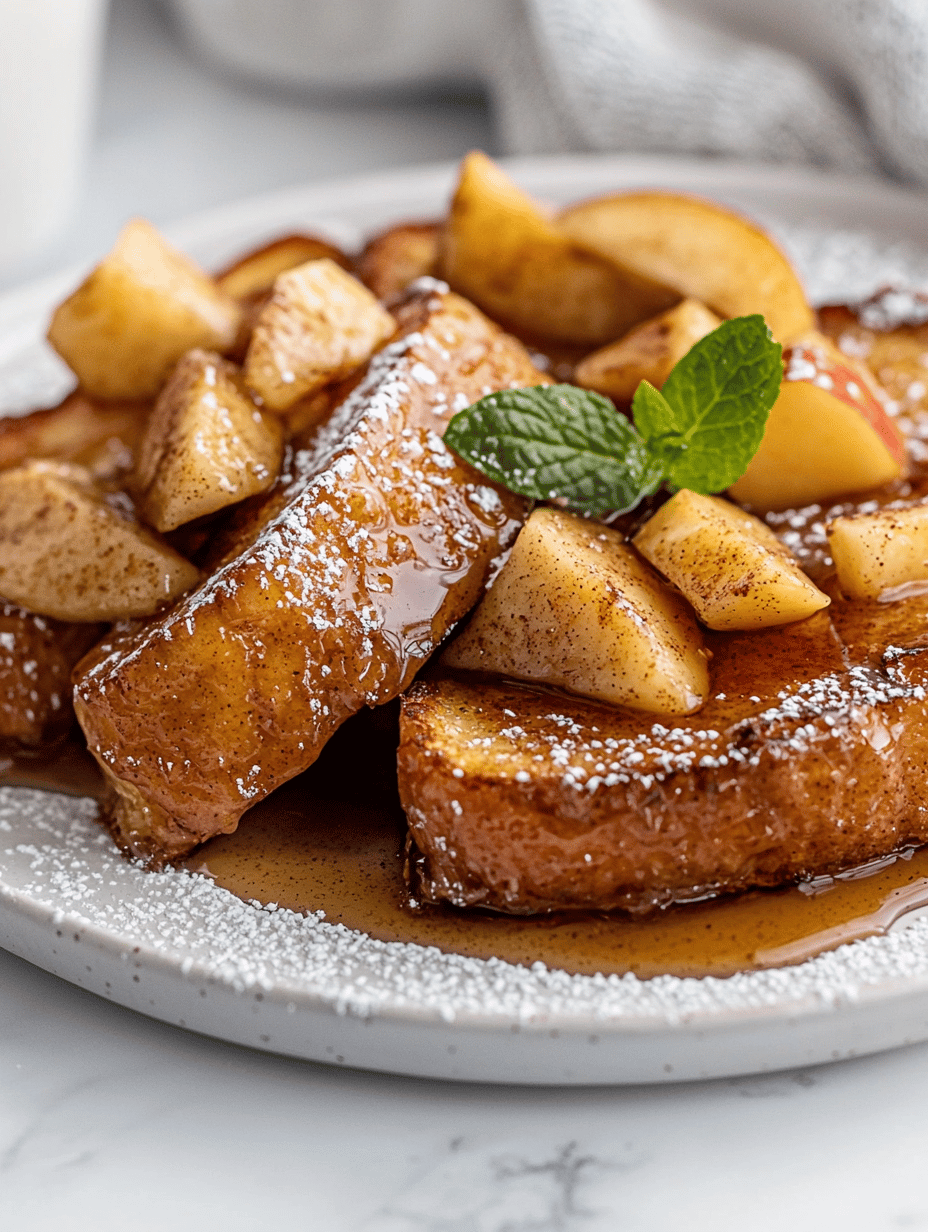
Morning Magic: Apple Cinnamon Overnight French Toast with a Crunch Twist
Most overnight French toast recipes hide beneath layers of soft custard, but I stumbled upon an idea that celebrates its ...
Sweet Elegance: The Vanilla Pear Smoothie You Didn’t Know You Needed
There’s a quiet magic in blending ripe pears with silky vanilla. It’s an unexpected pairing ...
READ MOREPumpkin Spice Cold Brew: A Fall Escape in Every Sip
Few drinks capture the essence of fall quite like pumpkin spice cold brew. But I’ve ...
READ MORECozy Autumn Elixir: Salted Caramel Apple Cider with a Twist
As the leaves turn crisp and the air gains that cold edge, I crave more ...
READ MOREWarm Spiced Chia Breakfast Pudding: A Cozy Morning Twist
Why I Love This Recipe? The aroma of cinnamon and cardamom makes my kitchen smell ...
READ MORESun-Kissed Sweet Potato Breakfast Hash: A Morning Rebellion
Many breakfast hashes rely on the usual suspects—potatoes, peppers, maybe sausage. But I like to ...
READ MOREPumpkin Spice French Toast: A Cozy Breakfast Secret
Most pumpkin spice recipes focus on baked goods or lattes, but this twist turns your ...
READ MOREMaple Roasted Brussels Sprouts with Bacon: A Sweet & Savory Symphony
While most roasted Brussels sprouts lean on garlic or lemon for flavor, I played with ...
READ MOREAutumn Whisper: The Unlikely Charm of Fall Spiced Granola
Sometimes, the most unexpected ingredients transform a basic snack into a revelation. As leaves crunch ...
READ MOREDelectable Pecan Pie Oatmeal: A Nutty Twist to Your Morning
Most oatmeal recipes stick to simple fruits or a dash of cinnamon. But what if ...
READ MOREMorning Magic: Apple Cinnamon Overnight French Toast with a Crunch Twist
Most overnight French toast recipes hide beneath layers of soft custard, but I stumbled upon ...
READ MORE