
BEVERAGES

Unexpected Sweet & Tangy Twist: Maple Dijon Roasted Chicken Thighs
Cooking chicken thighs with a glaze that balances sweetness and tang can turn an ordinary dinner into a sensory delight. ...
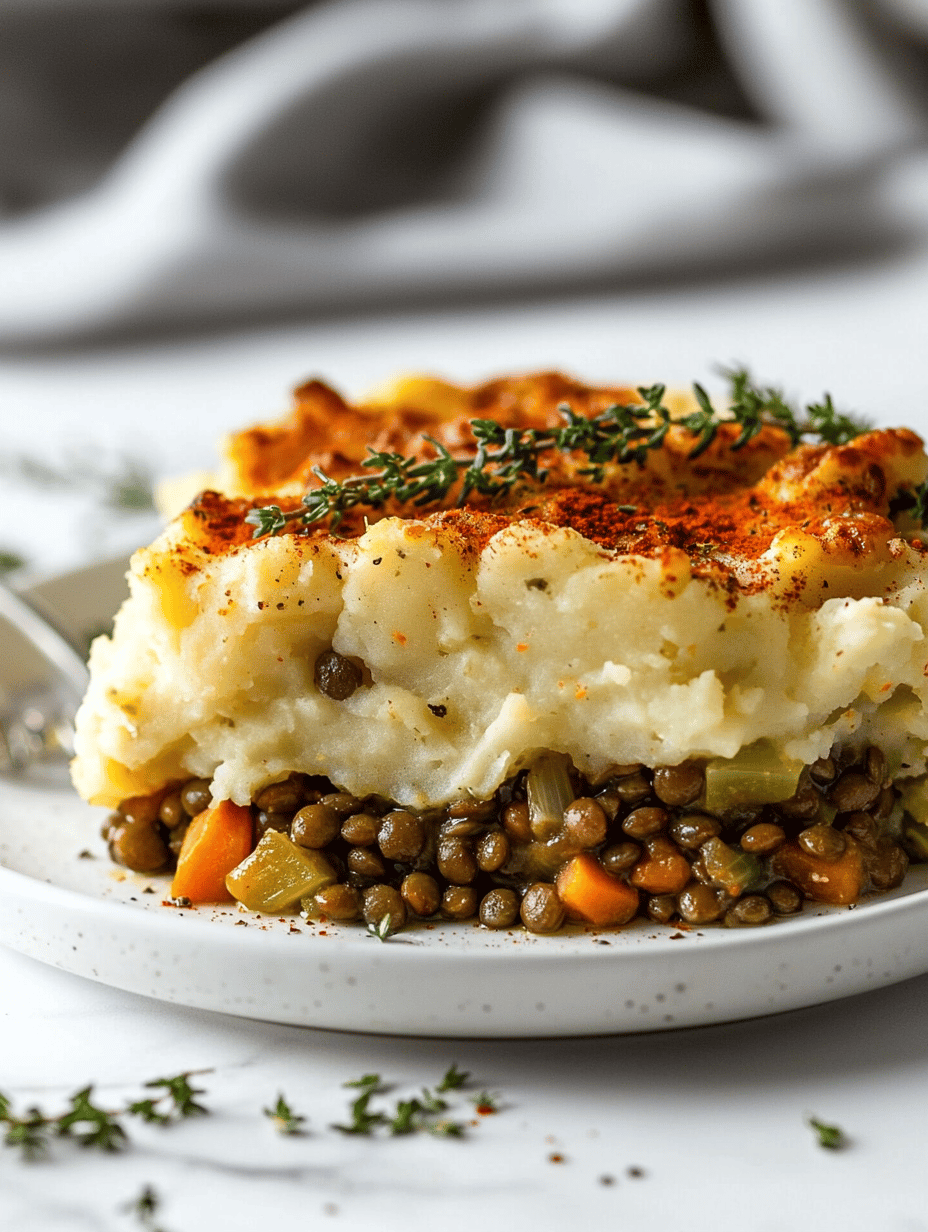
Warm Your Soul with Fall Lentil Shepherd’s Pie: A Cozy Twist
As the leaves turn and the air crisps, I find myself craving comfort food that sparks nostalgia. This Fall Lentil ...
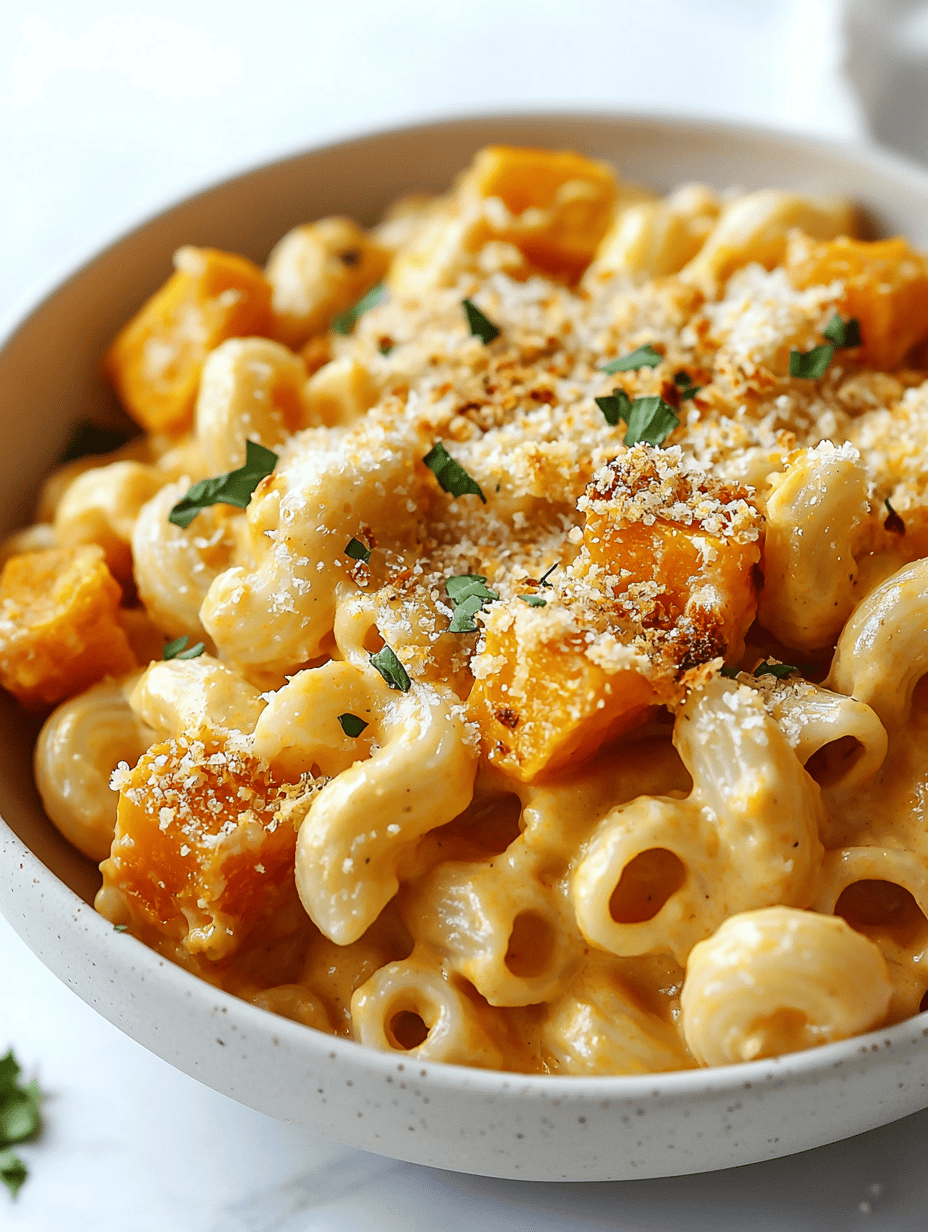
Creamy Butternut Squash Mac and Cheese with a Twist
Most mac and cheese recipes stay within the realm of cheese and pasta, but this one takes an unexpected turn—transforming ...
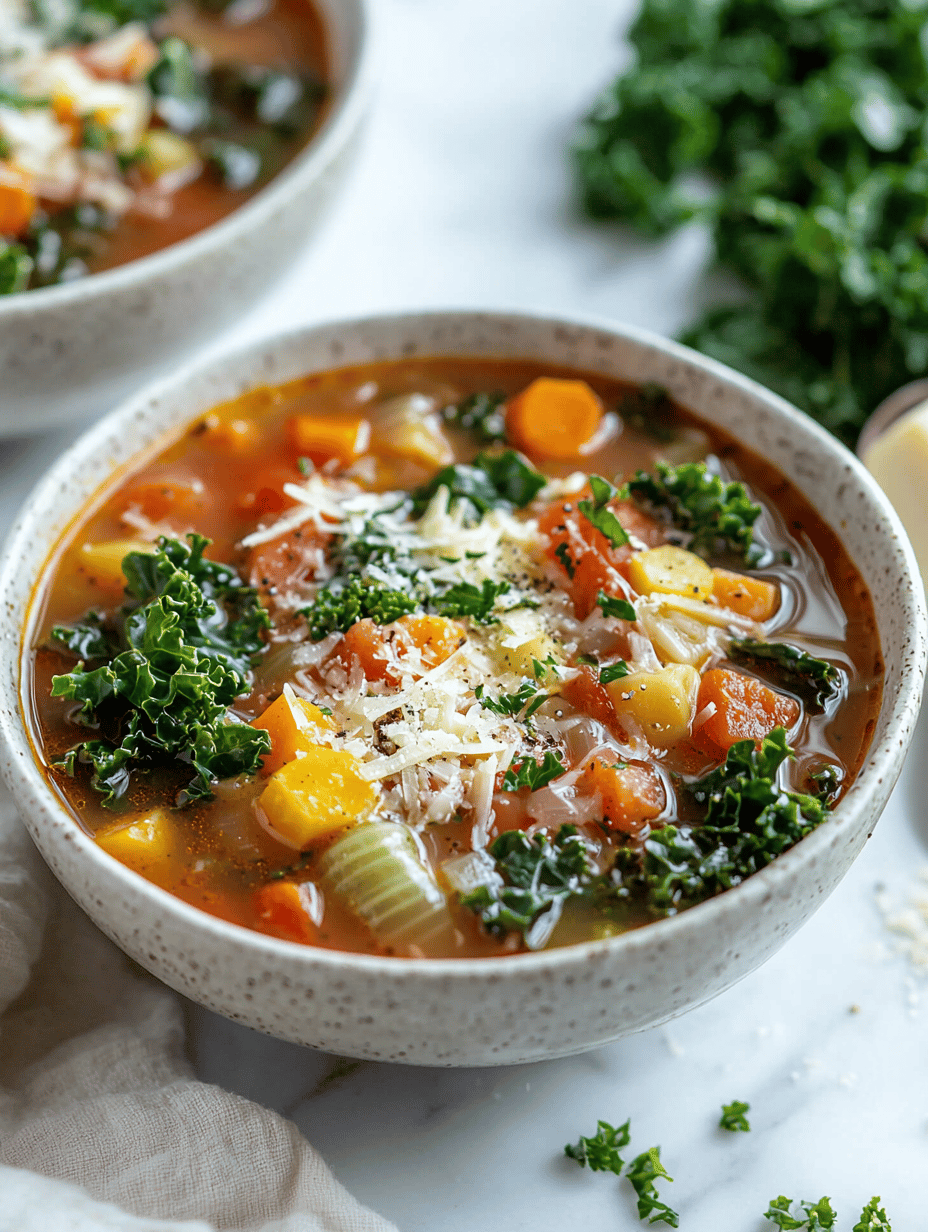
Frosty Days, Green Ways: Fall Minestrone with Kale to Warm Your Soul
As the leaves turn crispy and the air takes on a brisk edge, I find myself craving more than just ...

Spiced Pear & Butternut Soup: A Cozy Fall Revelation
As the leaves turn golden and the air gains a brisk edge, I crave more than just the typical pumpkin ...
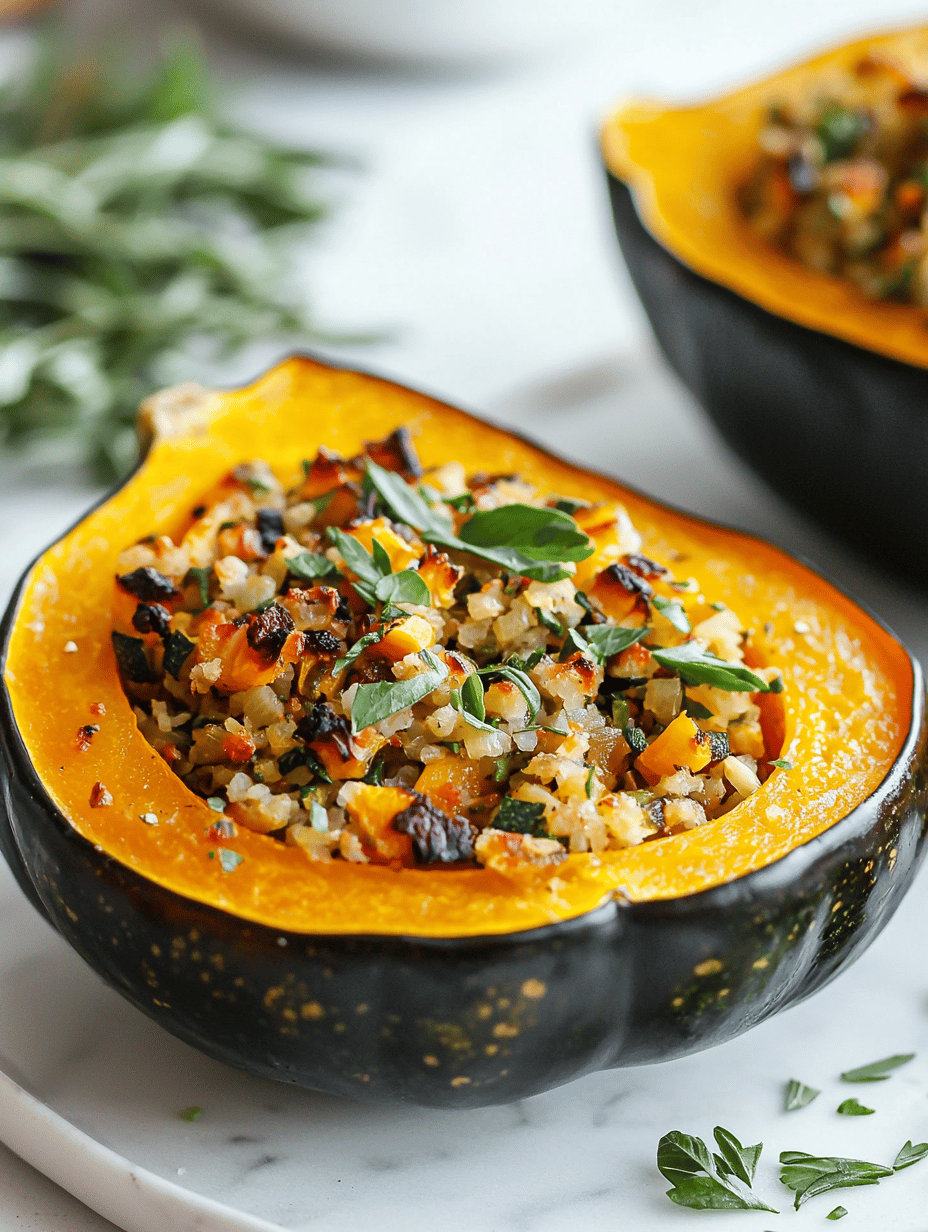
Autumn Harvest Stuffed Acorn Squash: A Cozy, Unexpected Twist
As leaves crunch beneath my feet, I find myself craving more than just the usual pumpkin spice. I love exploring ...
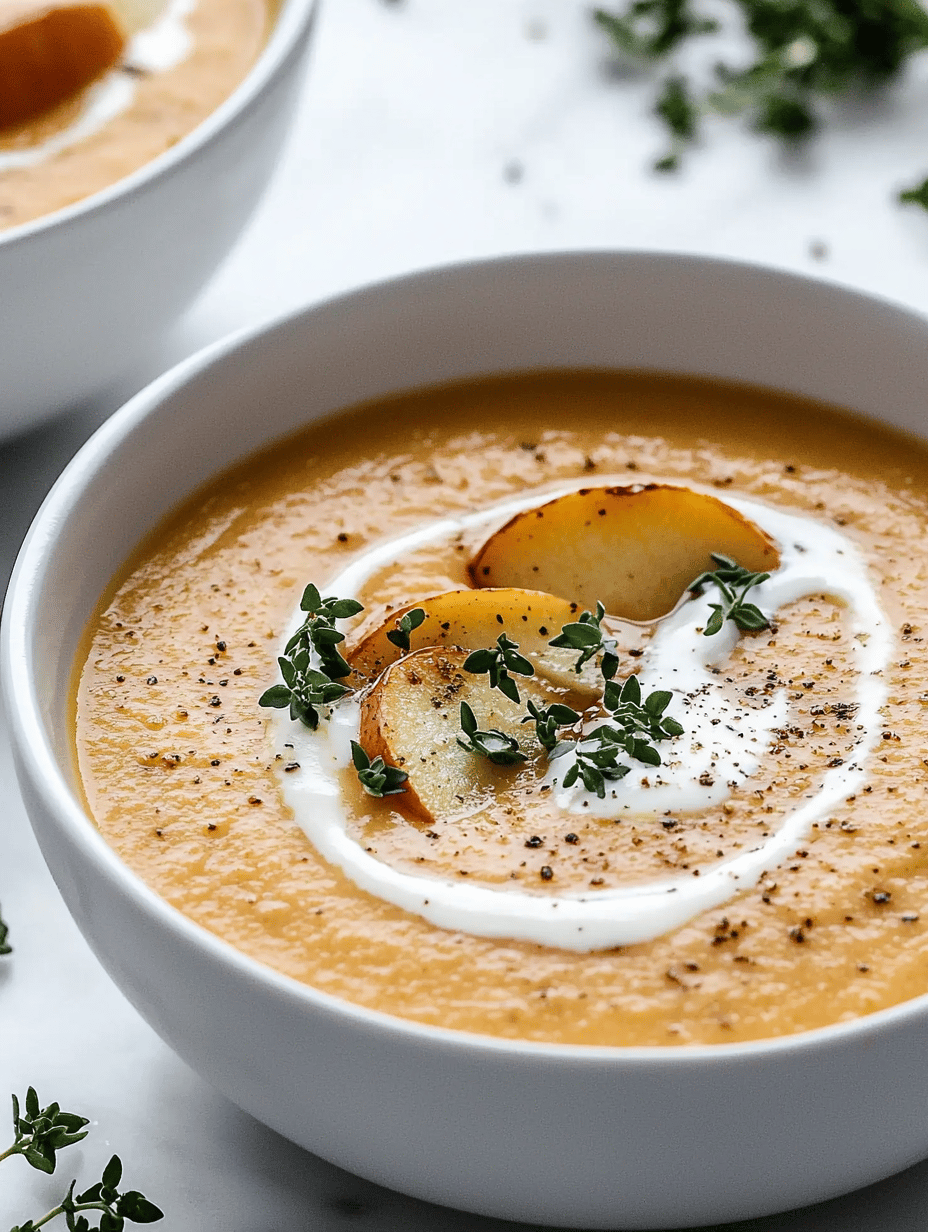
Sweet Earthy Delight: Roasted Parsnip & Apple Soup That Transforms Your Fall
Many soup recipes rely on traditional ingredients, but I love digging beneath the surface for unexpected flavor treasures. Roasted parsnips ...
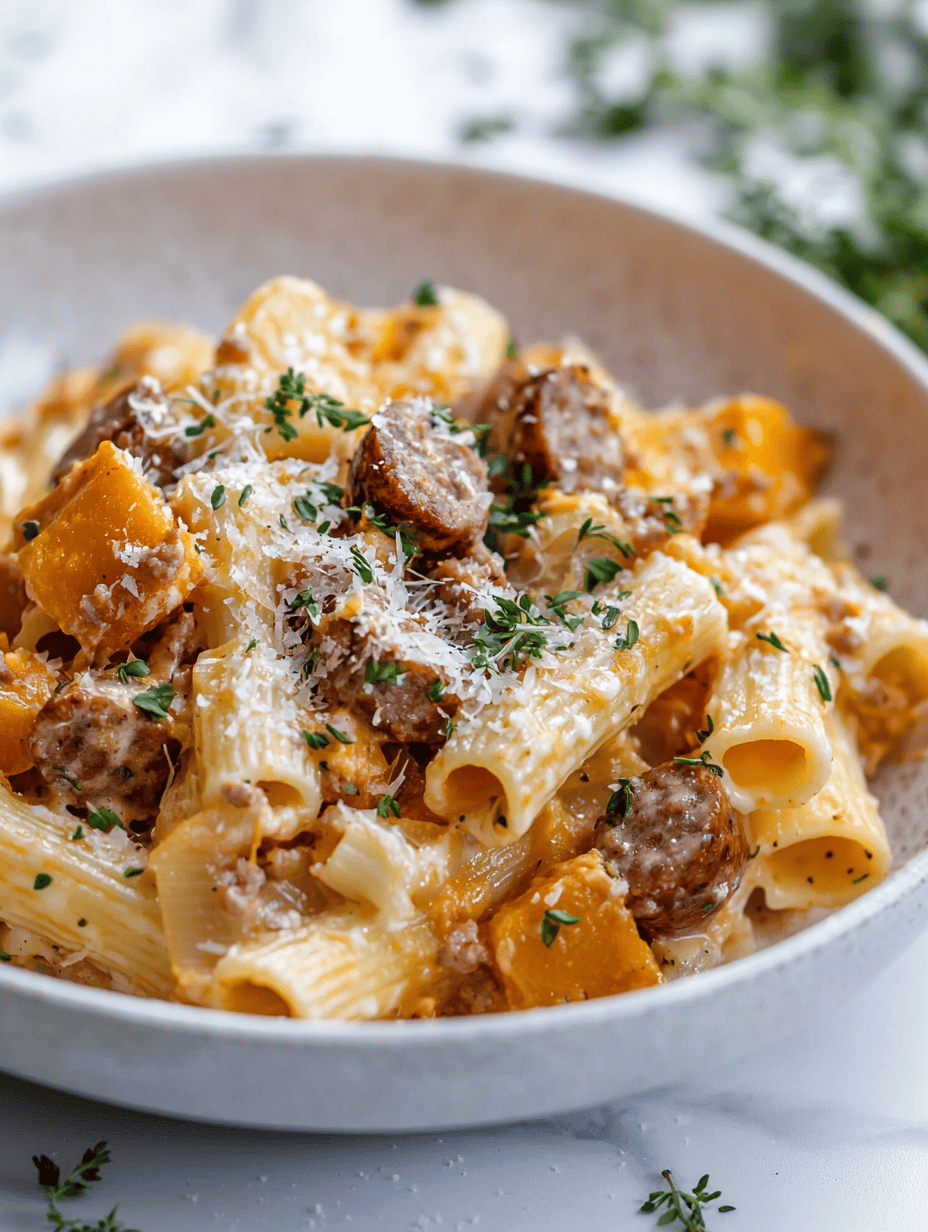
Autumn Breeze Pumpkin & Sausage Pasta: A Cozy Twist
In the world of seasonally inspired cooking, I’ve always been drawn to unexpected flavor pairings that evoke nostalgia. This Pumpkin ...

Spiced Autumn Nostalgia: Pumpkin Cheesecake Bars with a Twist
As the air turns crisper and the scent of roasting pumpkins drifts through the kitchen, I love pulling out my ...
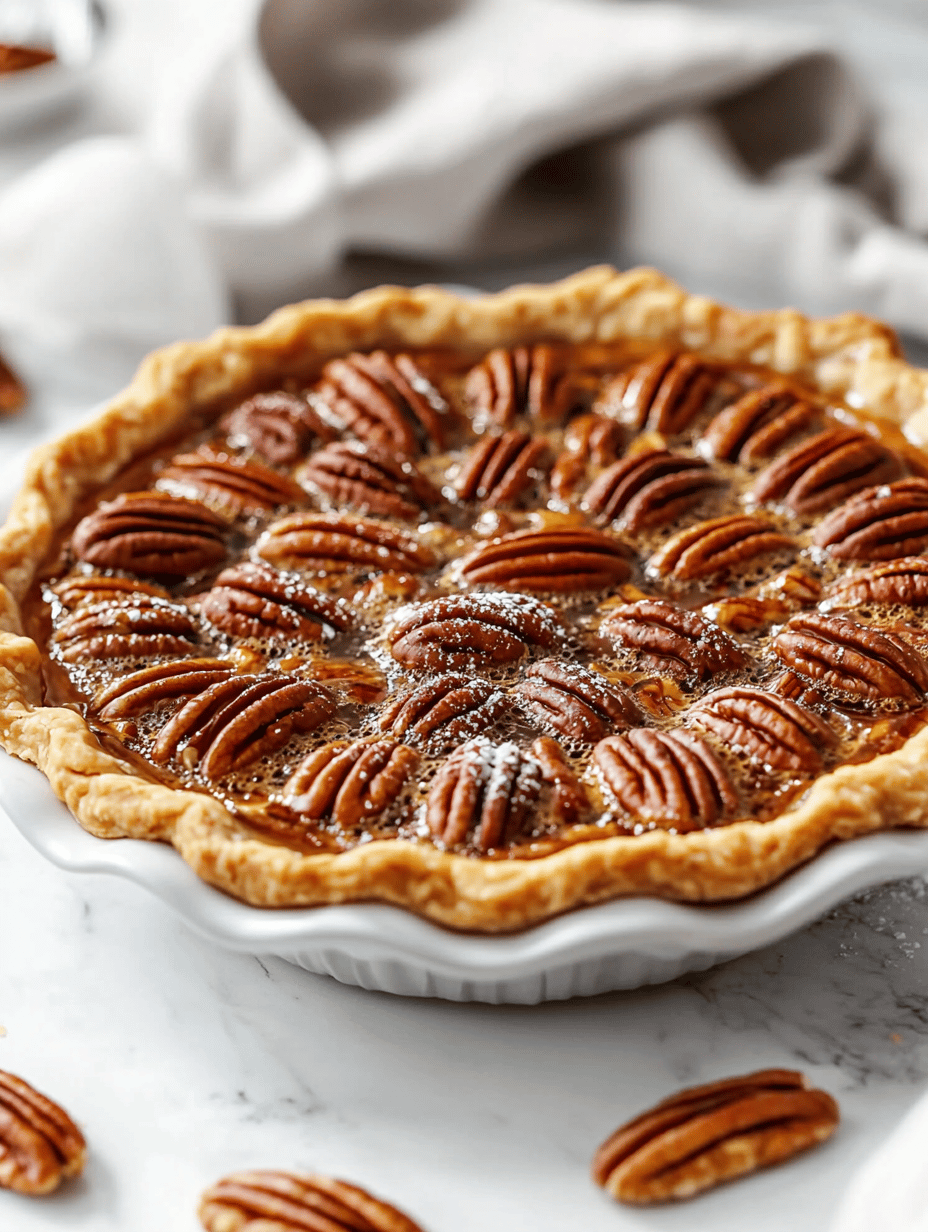
Caramelized Maple Pecan Pie: A Crunchy Take on Fall Comforts
As the air turns crisper, I find myself craving a pie that combines nostalgic autumn scents with unexpected texture. This ...
Unexpected Sweet & Tangy Twist: Maple Dijon Roasted Chicken Thighs
Cooking chicken thighs with a glaze that balances sweetness and tang can turn an ordinary ...
READ MOREWarm Your Soul with Fall Lentil Shepherd’s Pie: A Cozy Twist
As the leaves turn and the air crisps, I find myself craving comfort food that ...
READ MORECreamy Butternut Squash Mac and Cheese with a Twist
Most mac and cheese recipes stay within the realm of cheese and pasta, but this ...
READ MOREFrosty Days, Green Ways: Fall Minestrone with Kale to Warm Your Soul
As the leaves turn crispy and the air takes on a brisk edge, I find ...
READ MORESpiced Pear & Butternut Soup: A Cozy Fall Revelation
As the leaves turn golden and the air gains a brisk edge, I crave more ...
READ MOREAutumn Harvest Stuffed Acorn Squash: A Cozy, Unexpected Twist
As leaves crunch beneath my feet, I find myself craving more than just the usual ...
READ MORESweet Earthy Delight: Roasted Parsnip & Apple Soup That Transforms Your Fall
Many soup recipes rely on traditional ingredients, but I love digging beneath the surface for ...
READ MOREAutumn Breeze Pumpkin & Sausage Pasta: A Cozy Twist
In the world of seasonally inspired cooking, I’ve always been drawn to unexpected flavor pairings ...
READ MOREFall Dessert and Baking Recipes
Spiced Autumn Nostalgia: Pumpkin Cheesecake Bars with a Twist
As the air turns crisper and the scent of roasting pumpkins drifts through the kitchen, ...
READ MOREFall Dessert and Baking Recipes
Caramelized Maple Pecan Pie: A Crunchy Take on Fall Comforts
As the air turns crisper, I find myself craving a pie that combines nostalgic autumn ...
READ MORE