
BEVERAGES
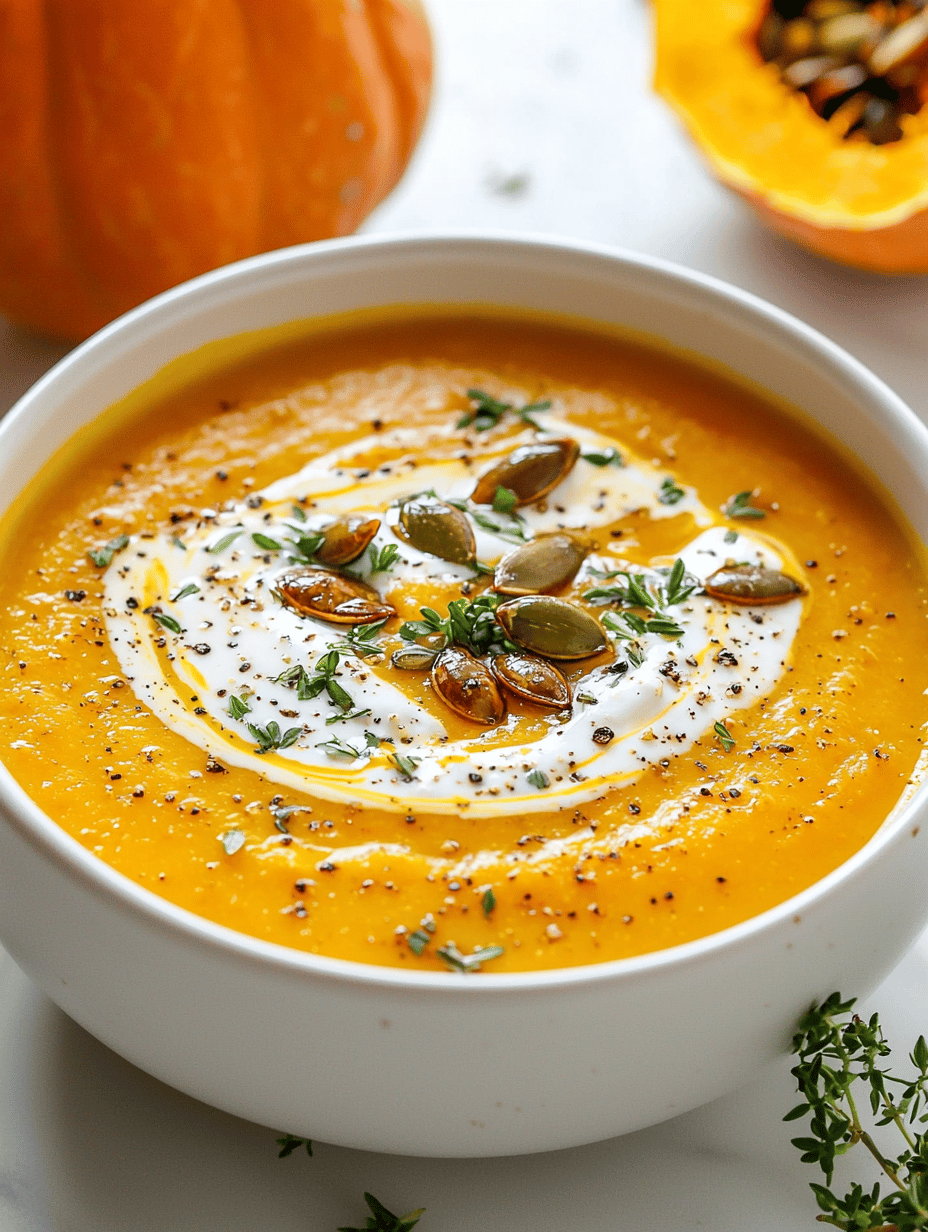
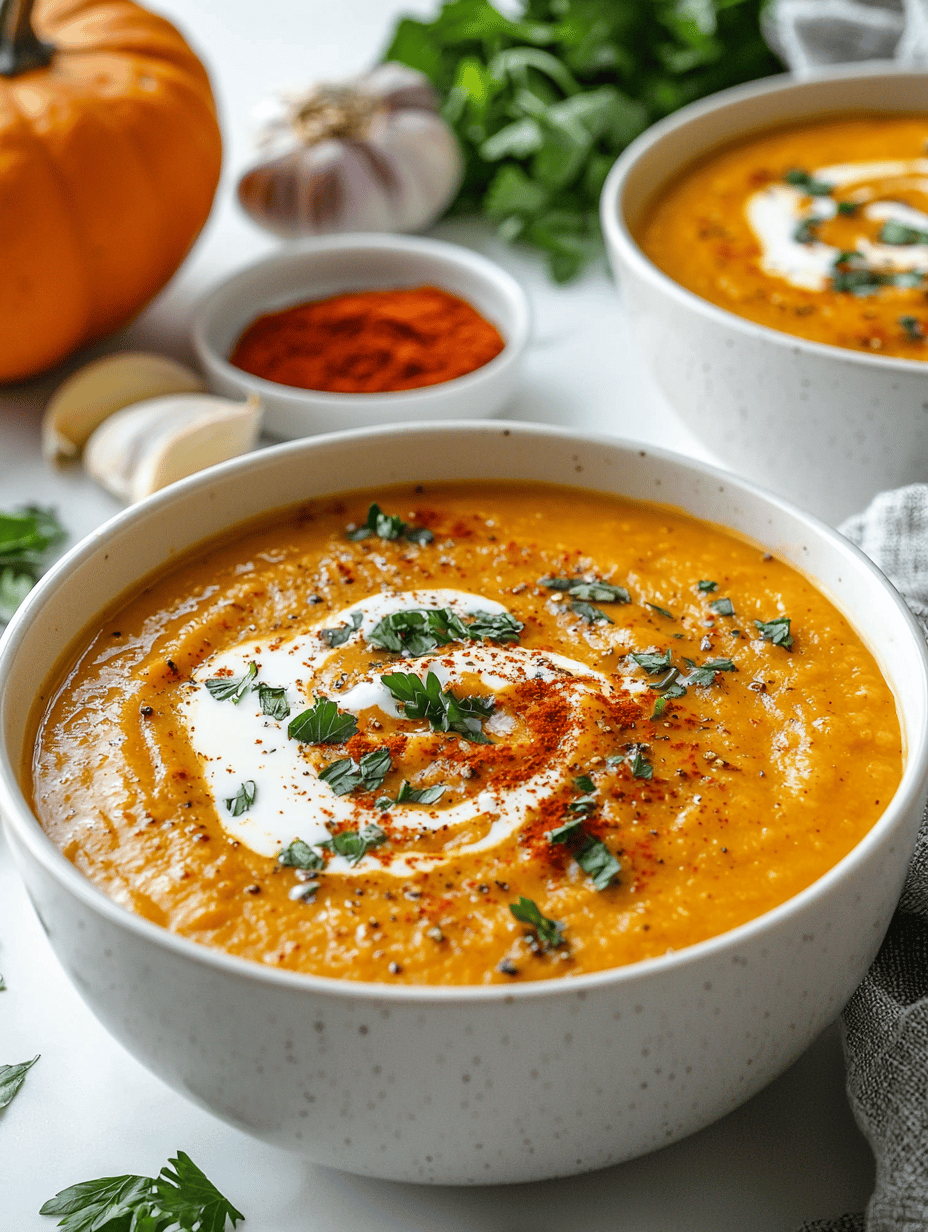
Autumn’s Hidden Treasure: Slow Cooker Pumpkin Soup with a Secret Spice Blend
Every fall, I find myself craving that deep, nutty aroma of roasted pumpkin. This year, I decided to go beyond ...
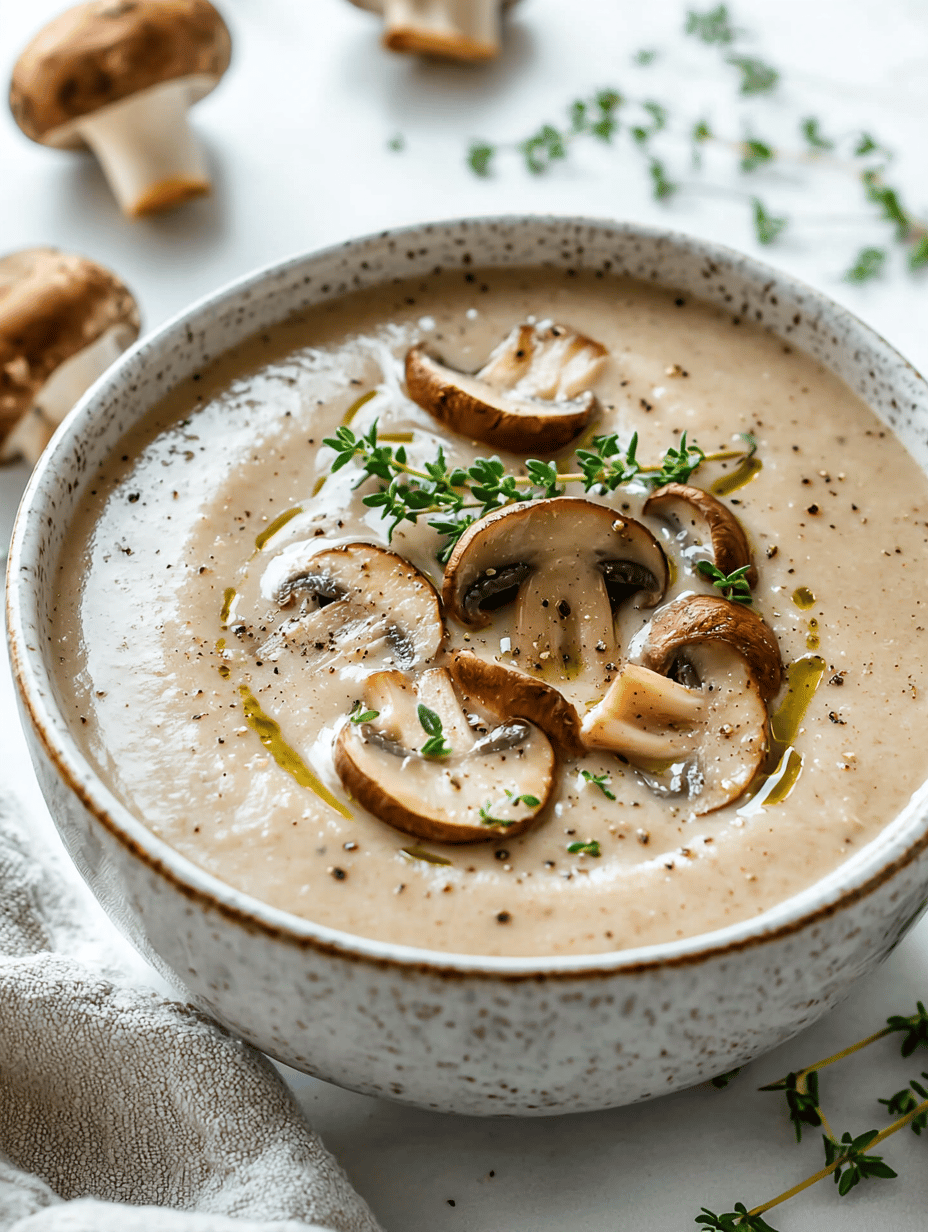
Enchanted Autumn: Creamy Mushroom Soup with a Touch of Thyme and Truffle Oil
As the leaves turn and the air cools, I find myself drawn to the earthy aroma of mushrooms simmering in ...

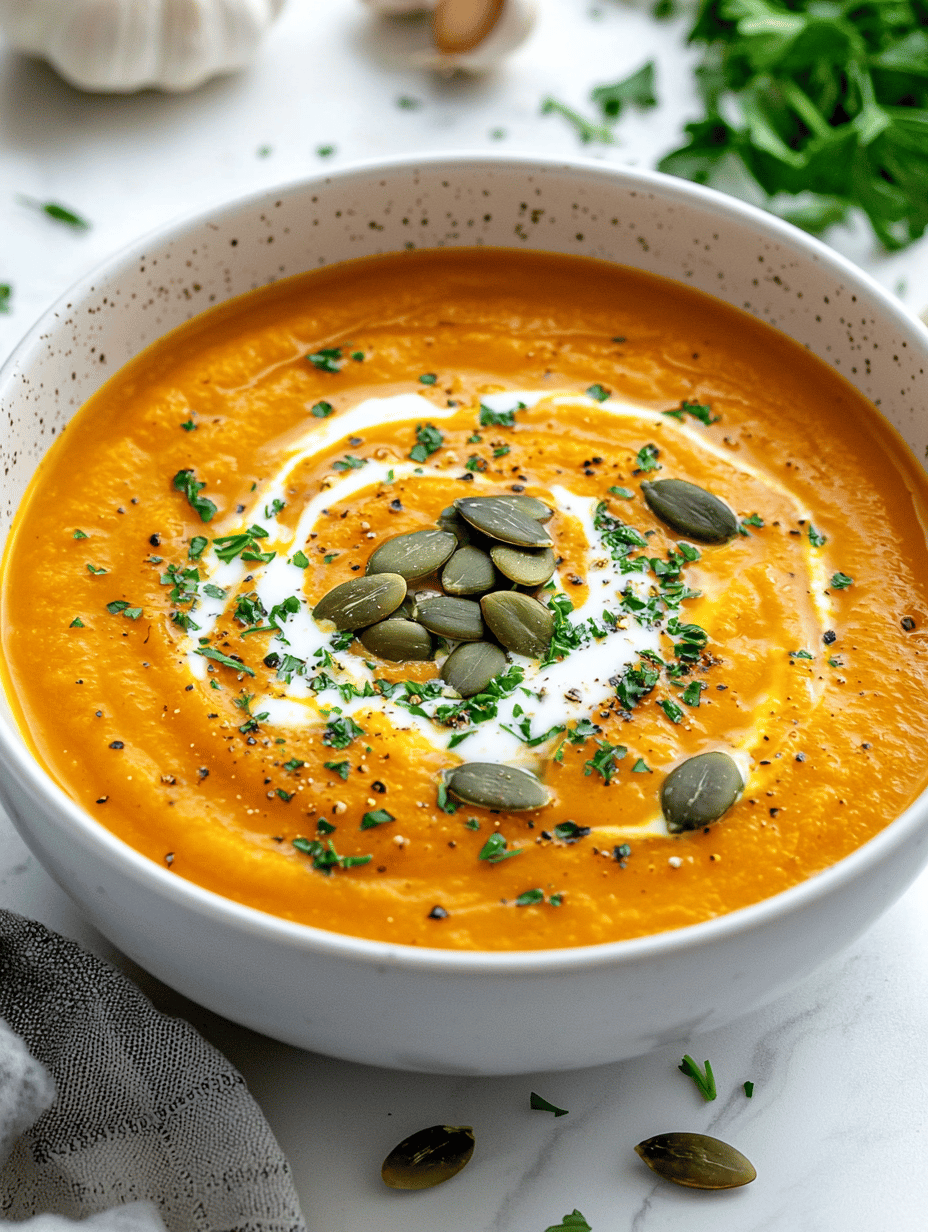
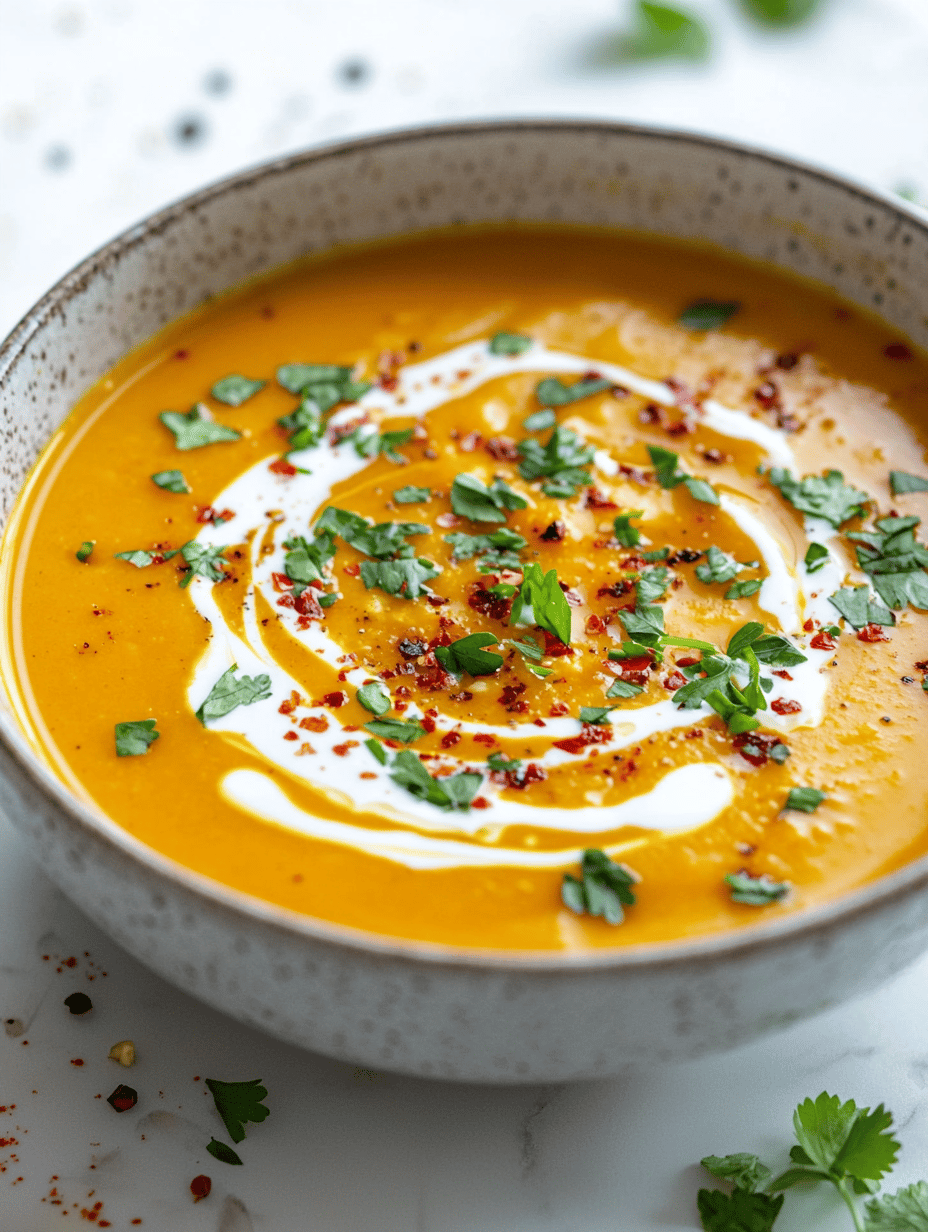
Hidden Spices in Your Carrot Ginger Soup: A Warm Secret
As the seasons shift, I find myself craving soups that do more than just warm me up — I want ...
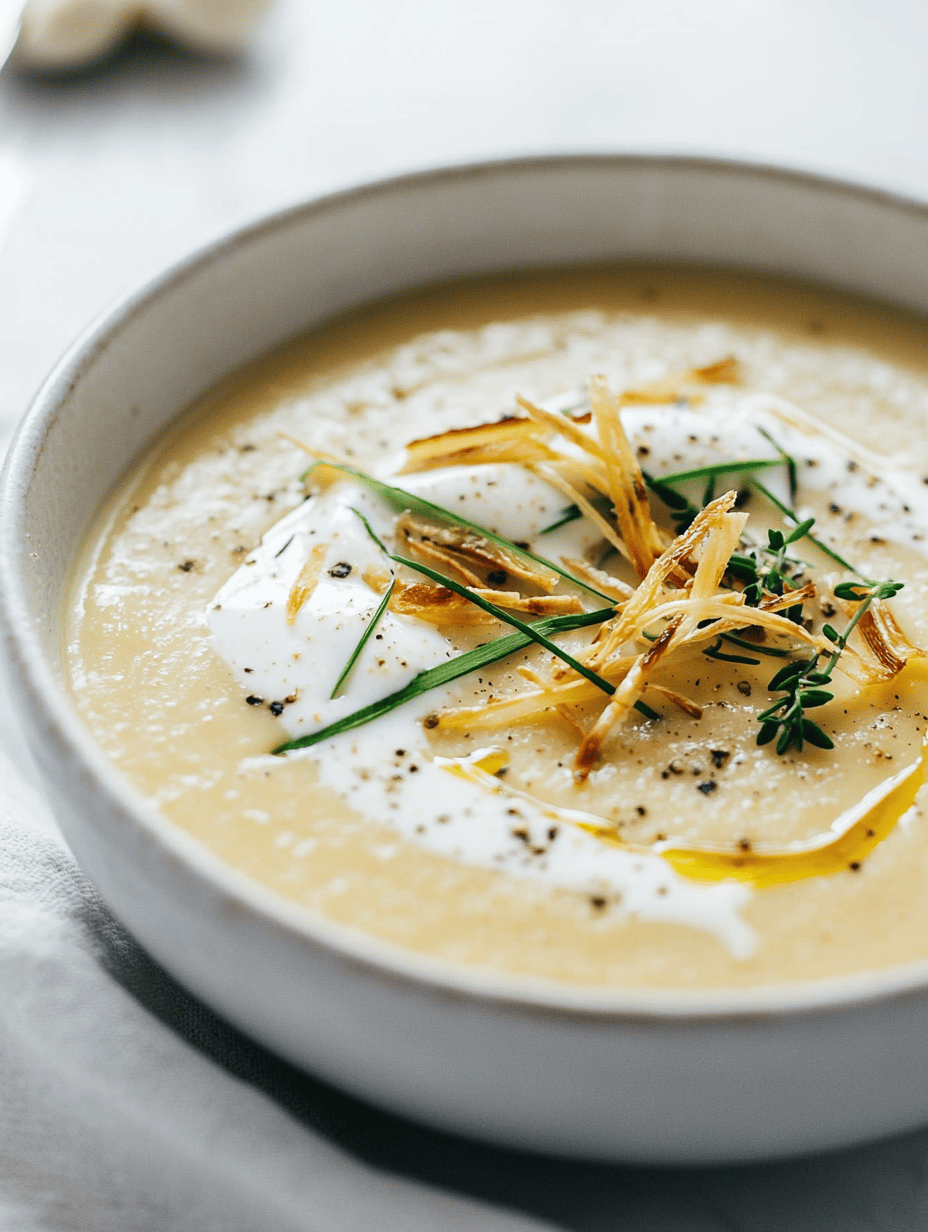
The Secret Ingredient That Elevates Your Roasted Garlic and Leek Soup
Few scents evoke comfort as much as roasted garlic mingled with sweet leeks bubbling away in a pot. I love ...
Hidden Pumpkin & Squash Harvest Symphony: An Uncommon Fall Soup
When I first stumbled upon a scattering of heirloom squash at my local farmers market, their earthy aroma mingled with ...
Witch’s Cauldron: A Spicy Autumn Pumpkin Soup with a Kick
As the leaves crunch underfoot and the air takes on a brisk edge, I find myself craving more than just ...

Fall’s Hidden Treasure: Hearty Chicken and Rice Soup with a Cozy Twist
As the leaves turn and the air grows crisp, I find myself craving a soup that feels like a warm, ...
The Hidden Power of Root Vegetables in Fall Vegan Soup
As I chop and roast carrots, parsnips, and sweet potatoes, I’m reminded of childhood kitchens filled with the earthy aroma ...
The Forgotten Spice That Elevates Your Pumpkin Soup
As the leaves drift down and a chill settles in the air, I often find myself craving more than just ...

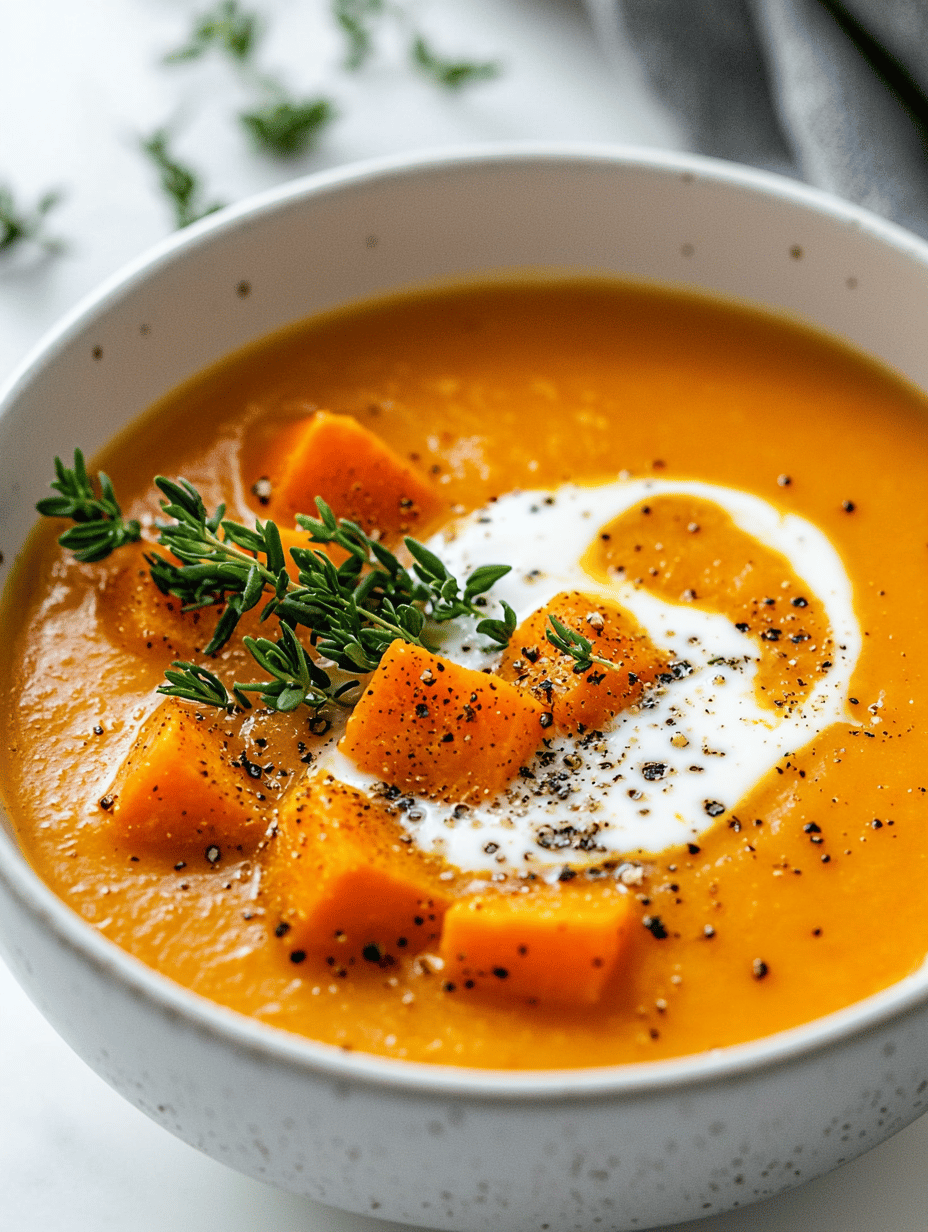
Unexpected Comfort: Spiced Sweet Potato & Carrot Soup Brewed with Aromatic Roots
As the leaves fall and a chill creeps into the air, I find myself reaching for a pot of soup ...
Autumn’s Hidden Treasure: Slow Cooker Pumpkin Soup with a Secret Spice Blend
Every fall, I find myself craving that deep, nutty aroma of roasted pumpkin. This year, ...
READ MOREEnchanted Autumn: Creamy Mushroom Soup with a Touch of Thyme and Truffle Oil
As the leaves turn and the air cools, I find myself drawn to the earthy ...
READ MOREHidden Spices in Your Carrot Ginger Soup: A Warm Secret
As the seasons shift, I find myself craving soups that do more than just warm ...
READ MOREThe Secret Ingredient That Elevates Your Roasted Garlic and Leek Soup
Few scents evoke comfort as much as roasted garlic mingled with sweet leeks bubbling away ...
READ MOREHidden Pumpkin & Squash Harvest Symphony: An Uncommon Fall Soup
When I first stumbled upon a scattering of heirloom squash at my local farmers market, ...
READ MOREWitch’s Cauldron: A Spicy Autumn Pumpkin Soup with a Kick
As the leaves crunch underfoot and the air takes on a brisk edge, I find ...
READ MOREFall’s Hidden Treasure: Hearty Chicken and Rice Soup with a Cozy Twist
As the leaves turn and the air grows crisp, I find myself craving a soup ...
READ MOREThe Hidden Power of Root Vegetables in Fall Vegan Soup
As I chop and roast carrots, parsnips, and sweet potatoes, I’m reminded of childhood kitchens ...
READ MOREThe Forgotten Spice That Elevates Your Pumpkin Soup
As the leaves drift down and a chill settles in the air, I often find ...
READ MOREUnexpected Comfort: Spiced Sweet Potato & Carrot Soup Brewed with Aromatic Roots
As the leaves fall and a chill creeps into the air, I find myself reaching ...
READ MORE