
BEVERAGES
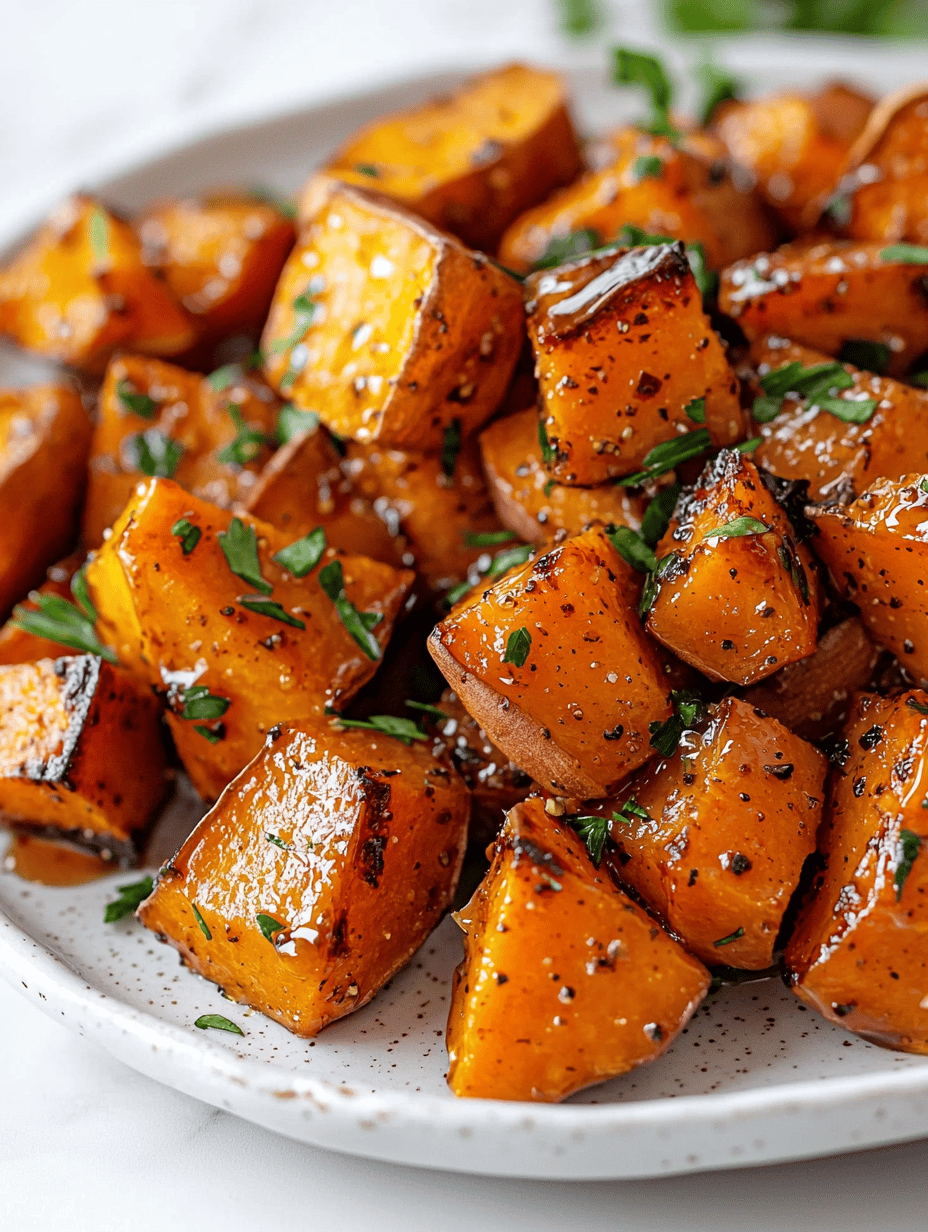
Sweet Meltdown: The Unexpected Magic of Maple Glazed Roasted Sweet Potatoes
As autumn settles in, I find myself craving the comforting aroma of roasted sweet potatoes, but with a twist. The ...
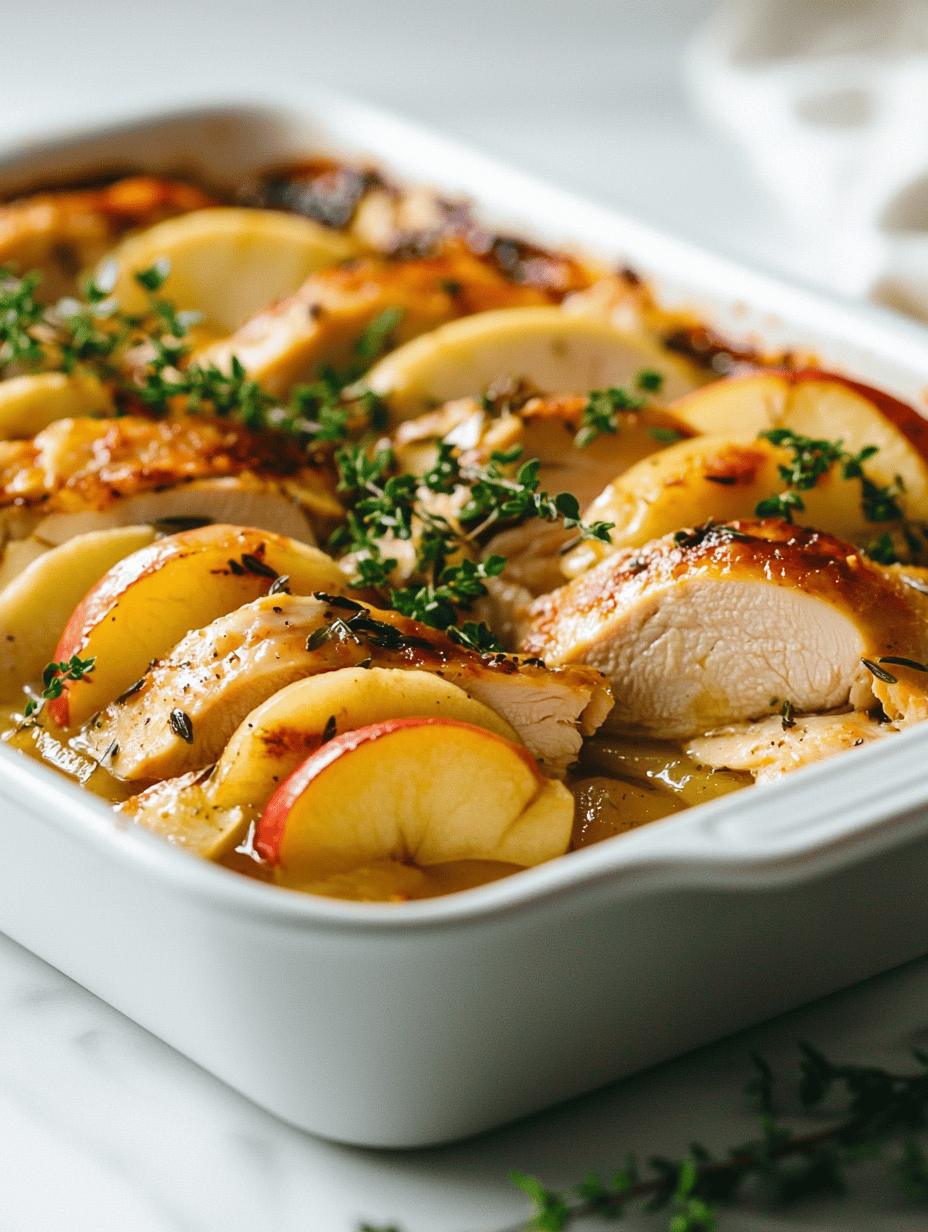
Autumn’s Secret: The Unconventional Charm of Fall Chicken Casserole
The scent of roasted chicken mingles with sweet caramelized apples and sprigs of sage filling the kitchen. I love how ...
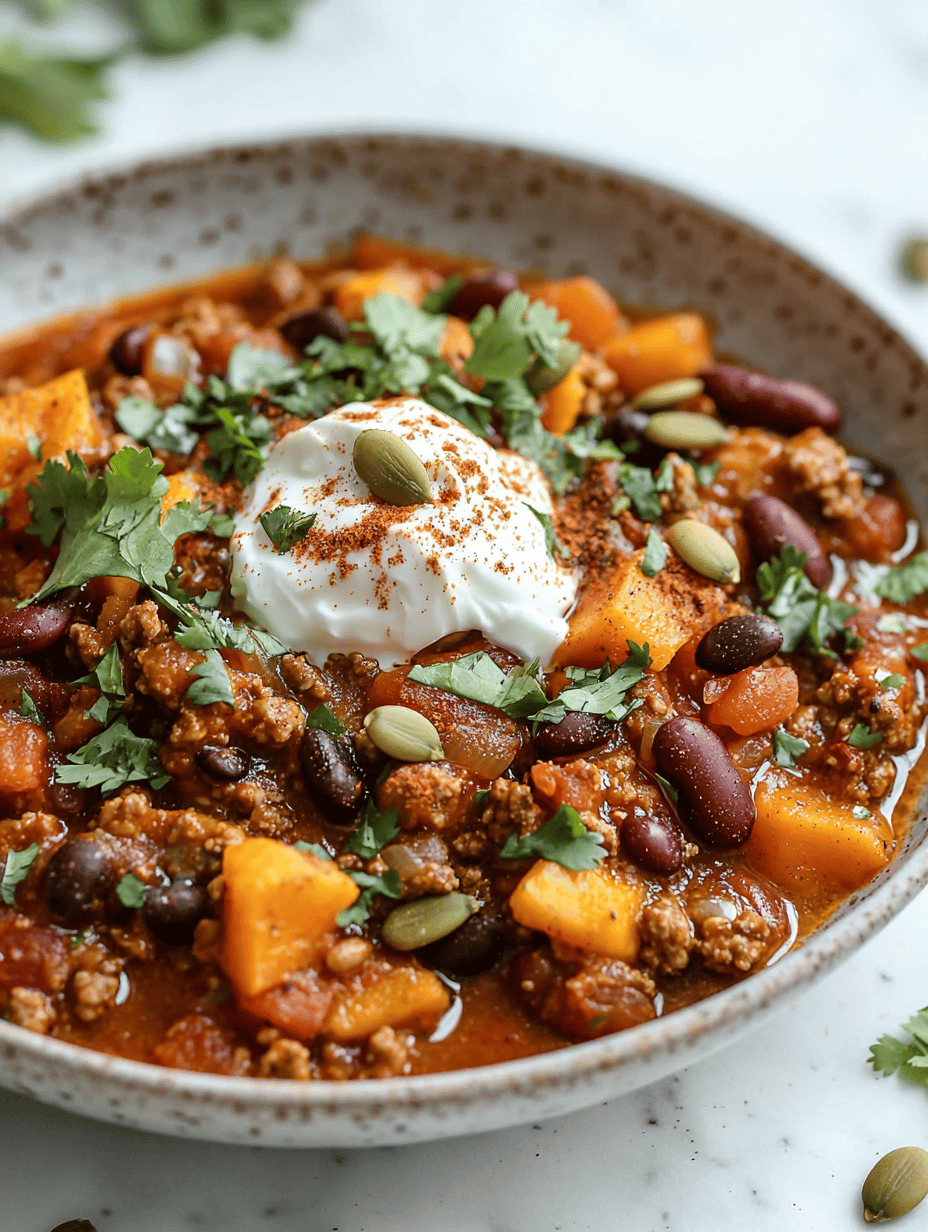
Autumn’s Hidden Gem: Slow Cooker Pumpkin Chili
Every fall, I find myself craving cozy flavors that remind me of carving pumpkins and crisp air. But this year, ...
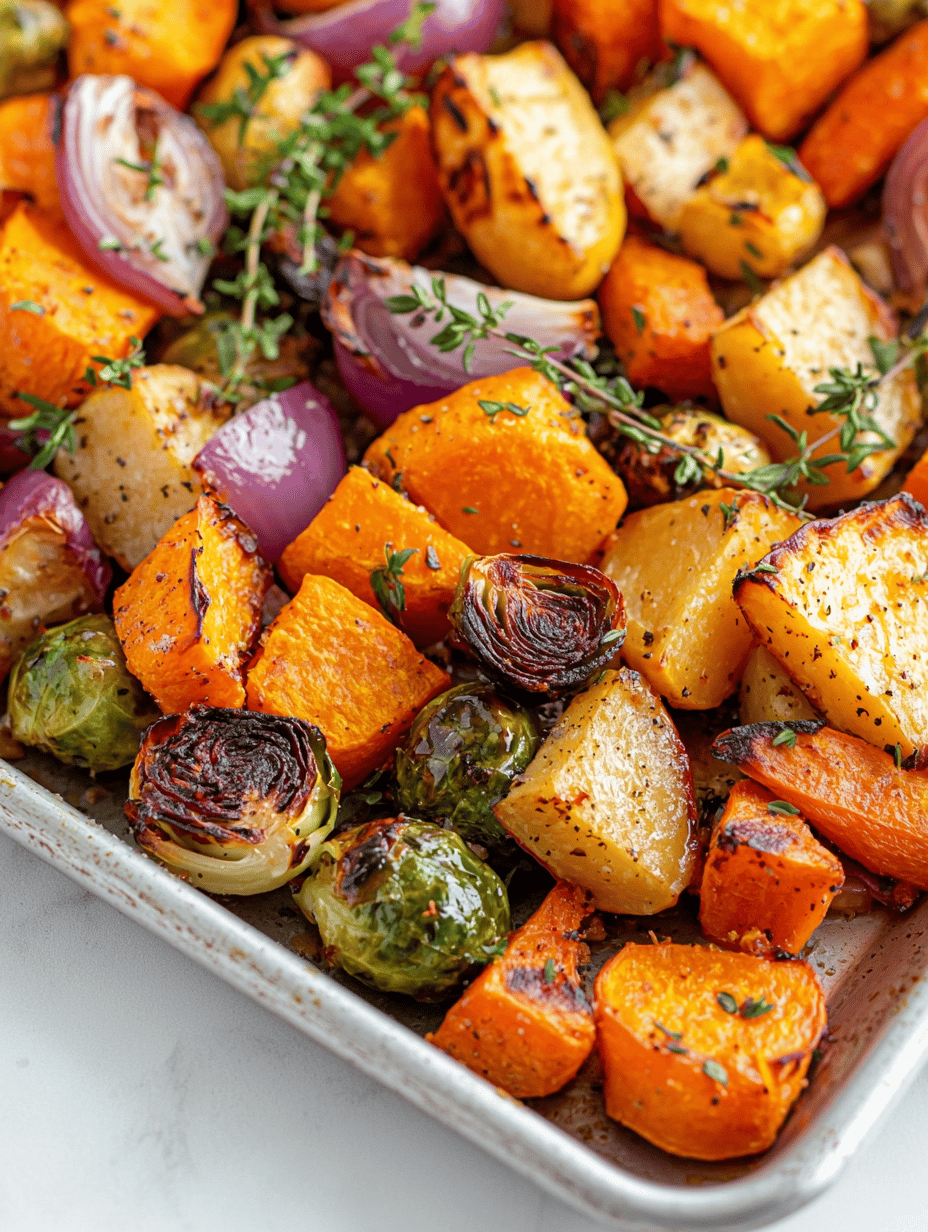
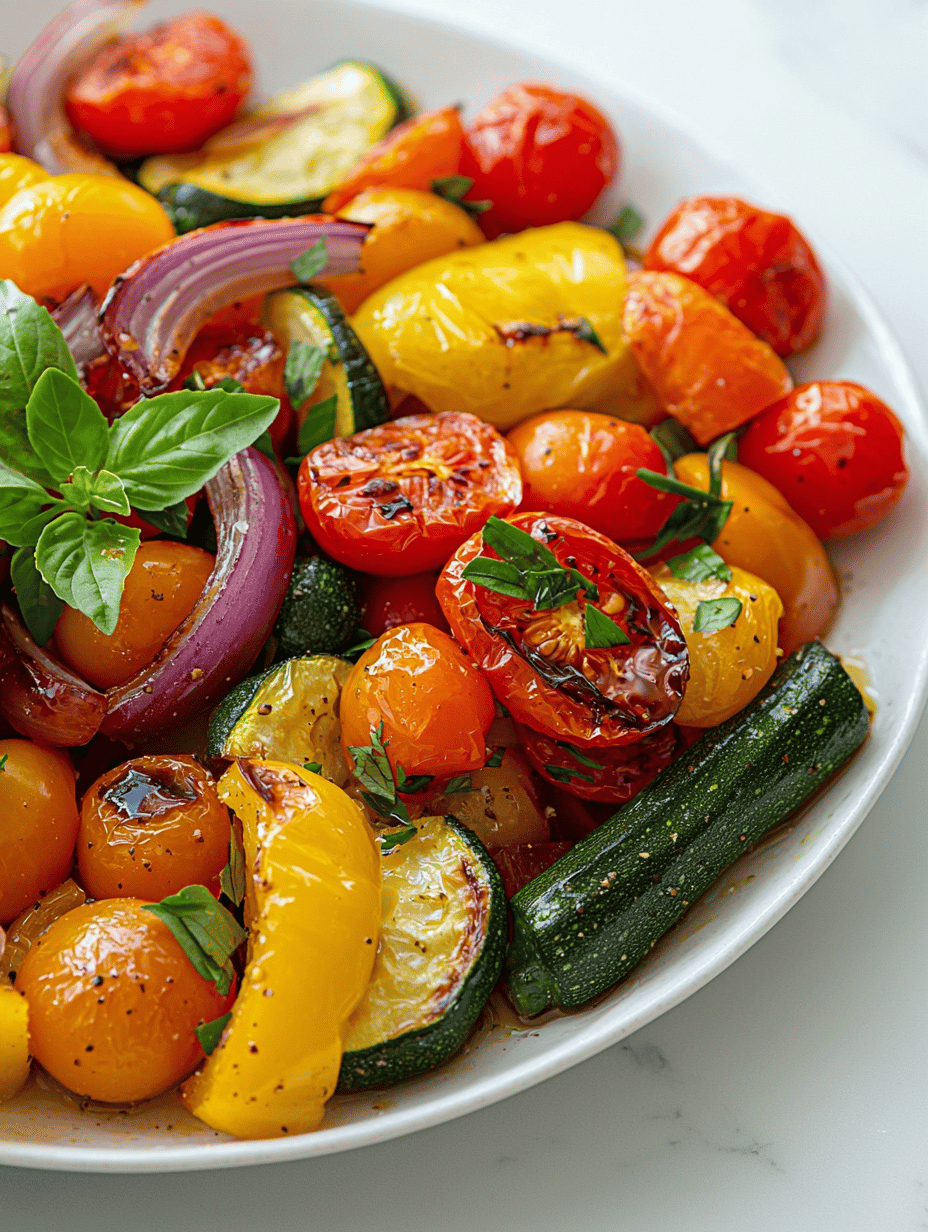
The Unexpected Charm of Autumn Vegetables on a Sheet Pan
As the air turns crisp and the leaves crunch underfoot, I find myself craving more than just the usual roasted ...
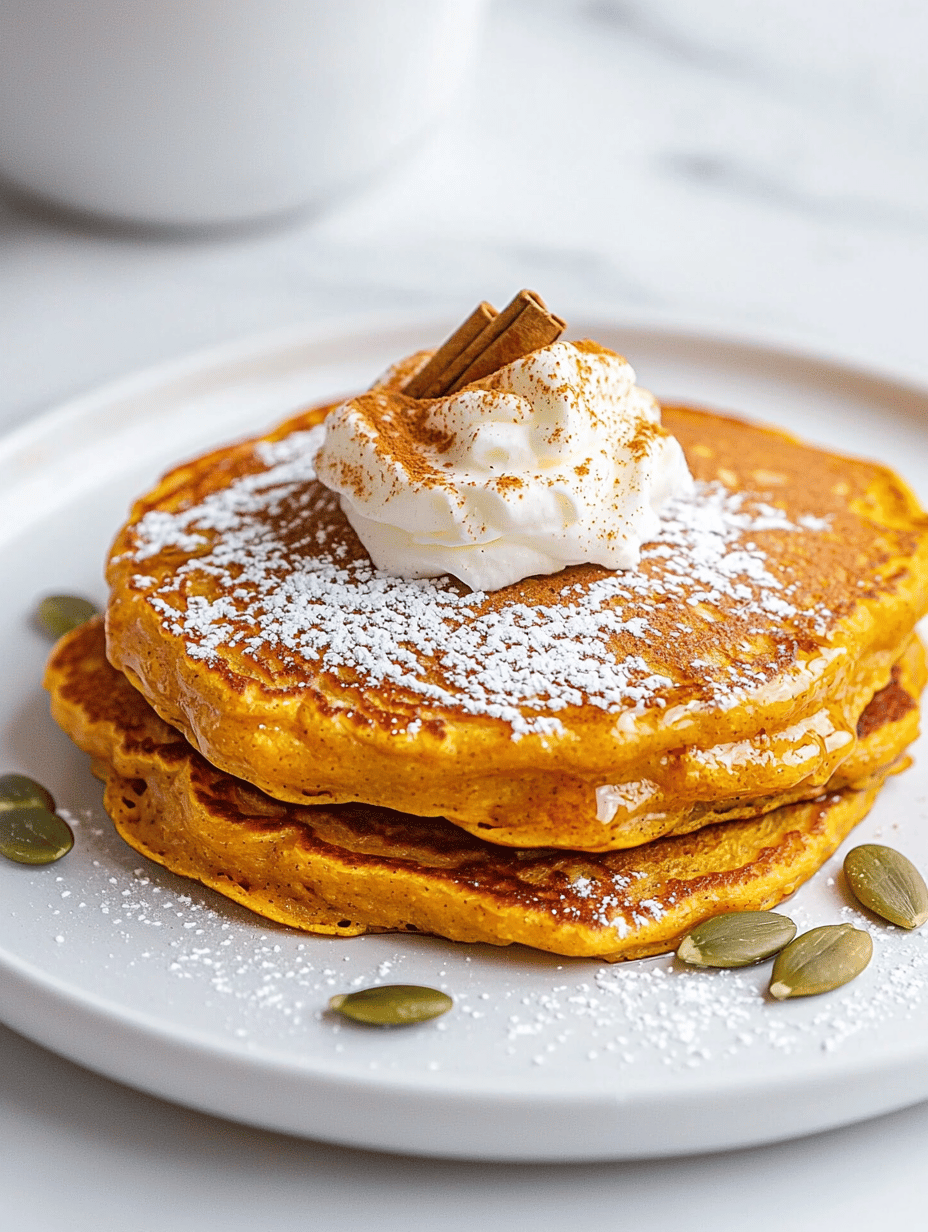
Pumpkin Spice Pancakes That Evoke Autumn Mornings and Cozy Memories
As the leaves turn and the air thickens with the scent of cinnamon and nutmeg, I find myself craving more ...
The Secret Ingredient That Transforms Fall Roasted Veggies
As the leaves turn golden and the air cools, I find myself craving more than just the usual roasted roots. ...
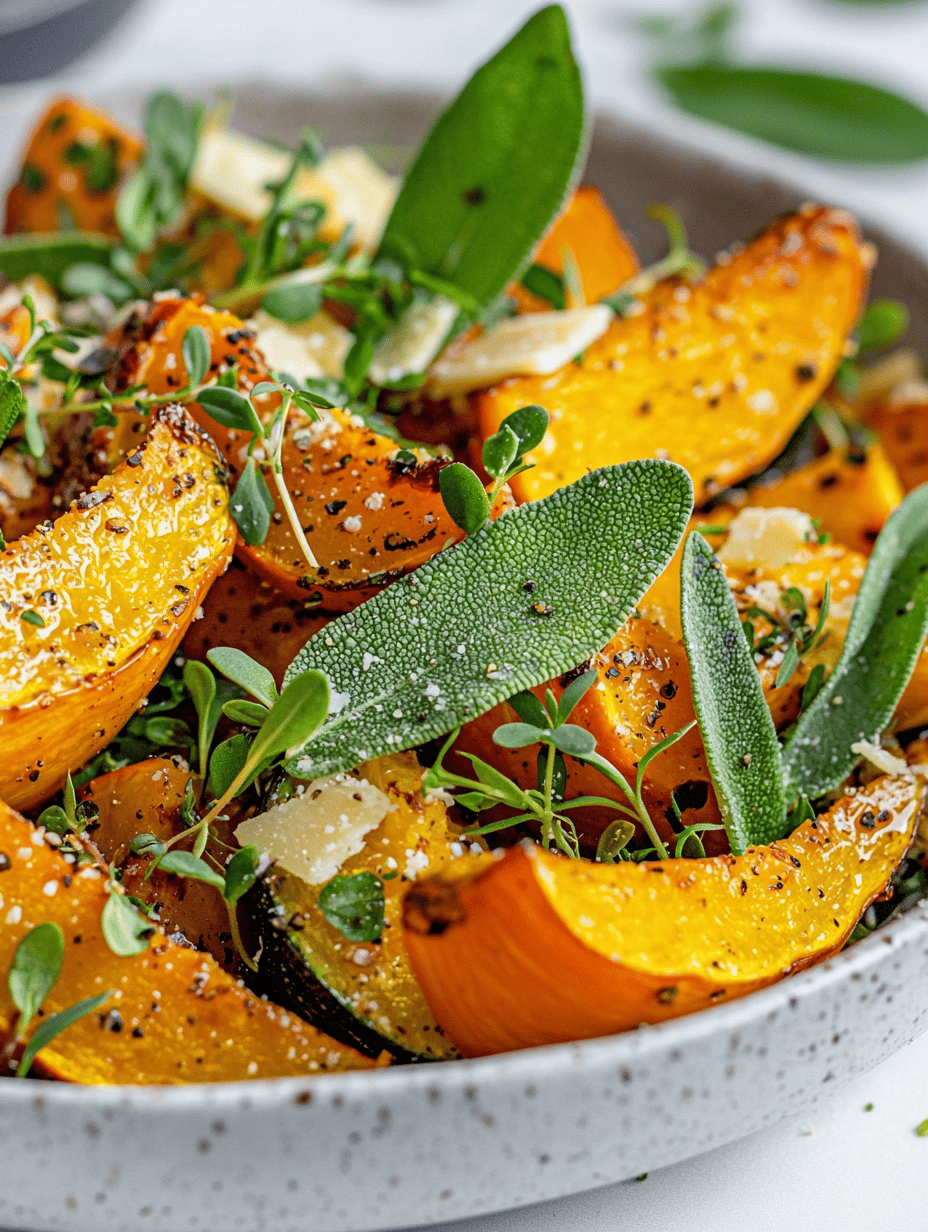
Harvest Moon Squash Salad: A Transformative Fall Experience
As the outside air turns crisp, I love turning to squash for its comforting warmth and subtle sweetness. But this ...
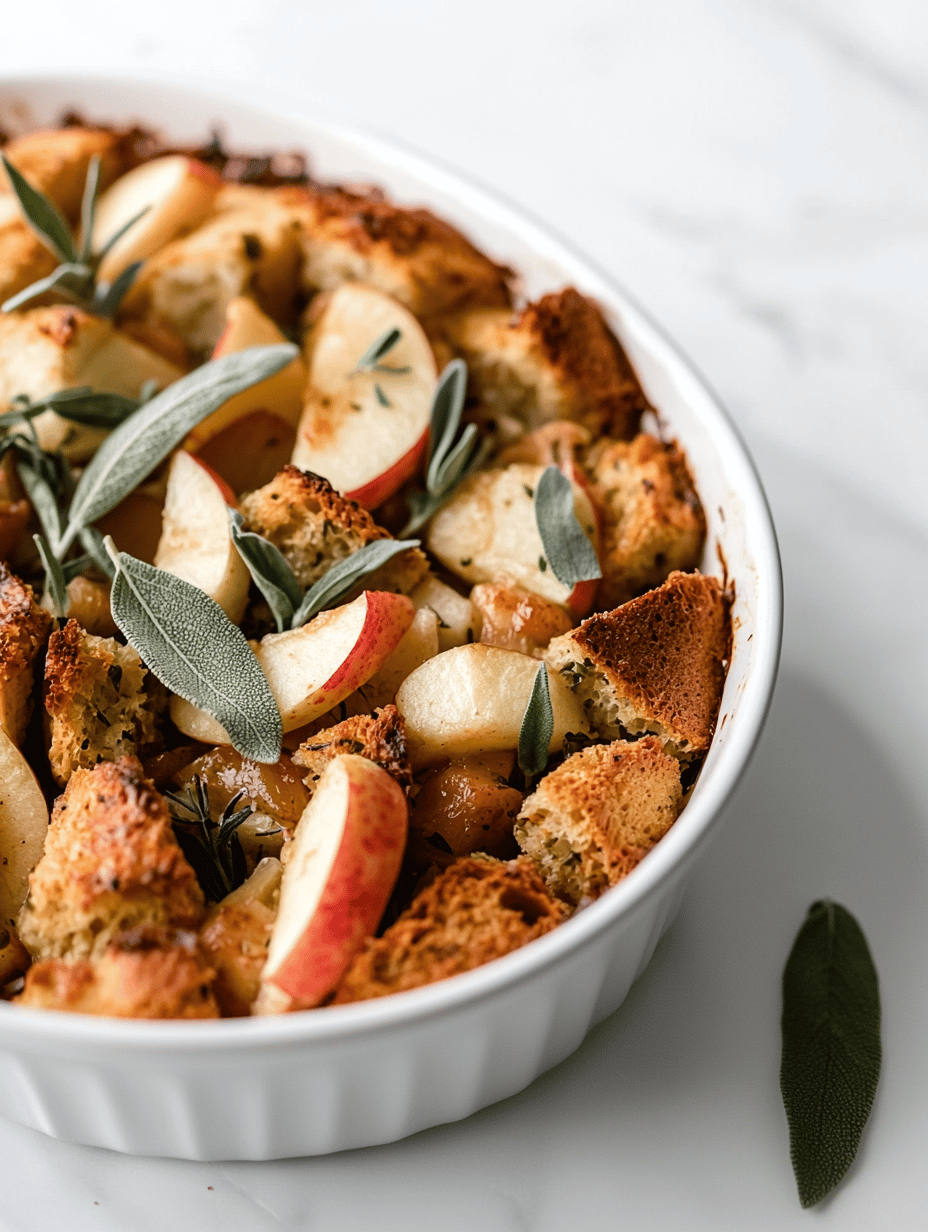
Unusual Fall Casserole: A Sweet and Savory Symphony with Roasted Apples and Sage
As the air turns crisp and the leaves crunch underfoot, I find myself craving more than just the usual pumpkin ...
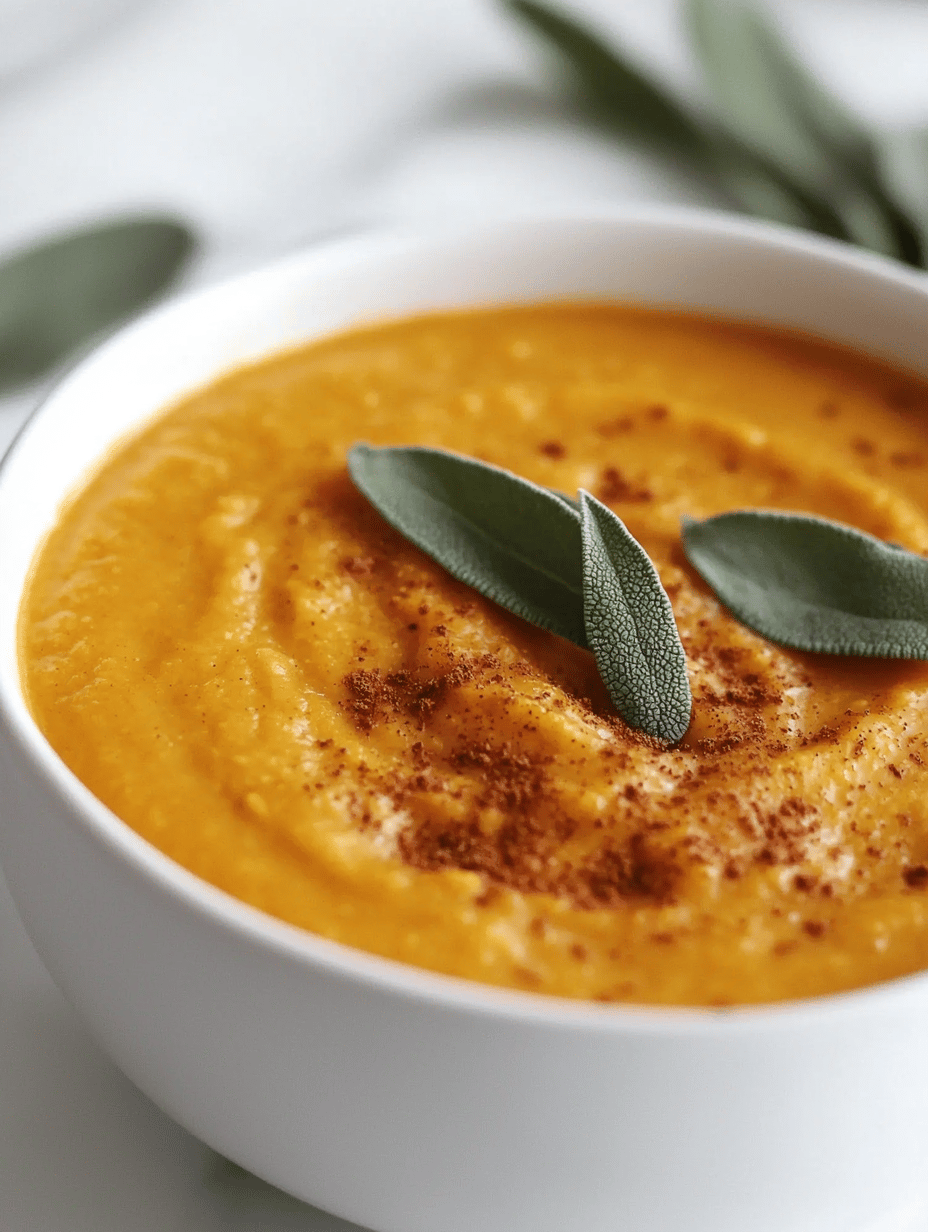
Hidden Harmony: Vegan Pumpkin Soup with a Splash of Sage
Every fall, I look forward to the gentle aroma of roasted pumpkin spilling out of the oven. But this year, ...
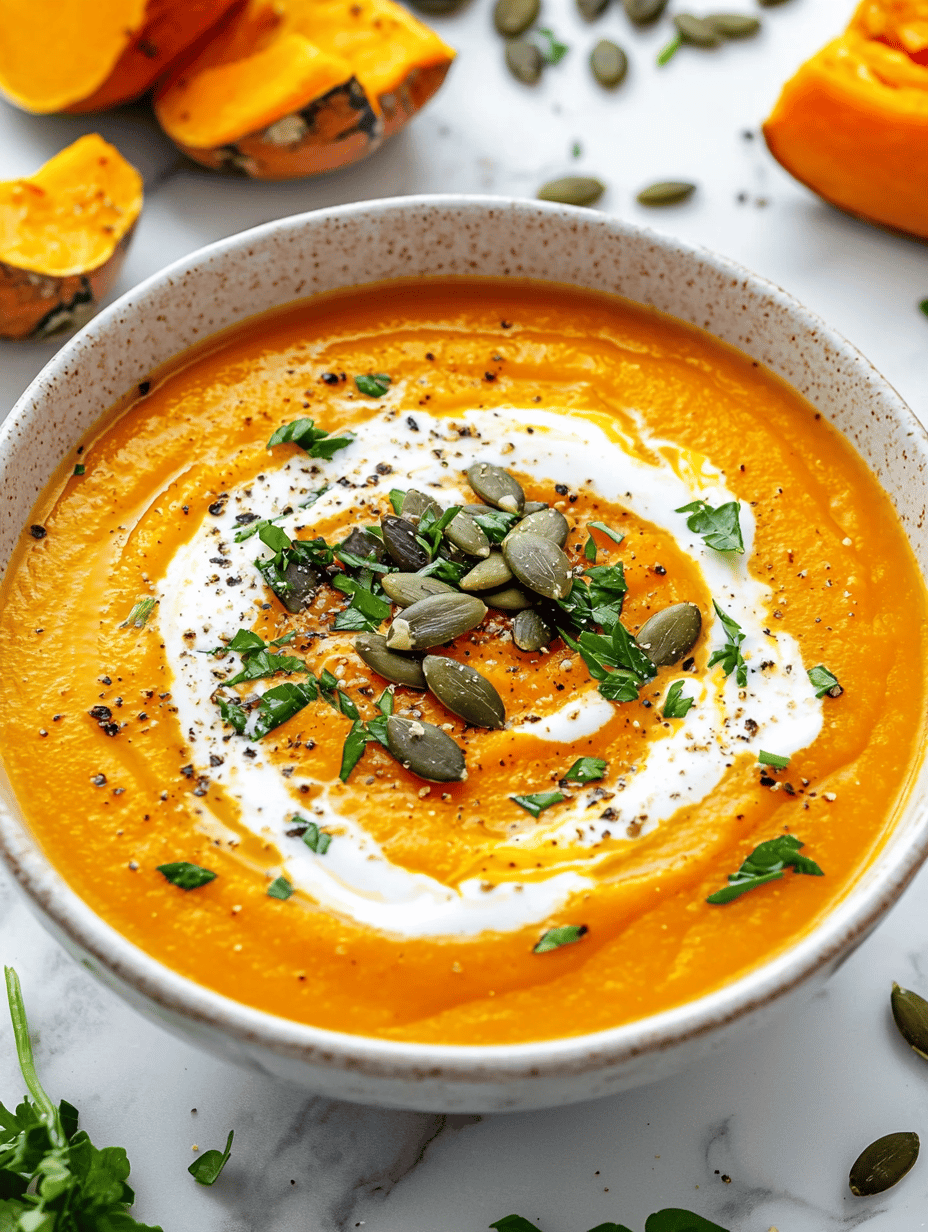
Soul-Warming Roasted Butternut Squash & Carrot Soup with a Twist
Roasting vegetables before blending turns them into something more than just a simple soup. The caramelized edges of butternut squash ...
Sweet Meltdown: The Unexpected Magic of Maple Glazed Roasted Sweet Potatoes
As autumn settles in, I find myself craving the comforting aroma of roasted sweet potatoes, ...
READ MOREAutumn’s Secret: The Unconventional Charm of Fall Chicken Casserole
The scent of roasted chicken mingles with sweet caramelized apples and sprigs of sage filling ...
READ MOREAutumn’s Hidden Gem: Slow Cooker Pumpkin Chili
Every fall, I find myself craving cozy flavors that remind me of carving pumpkins and ...
READ MOREThe Unexpected Charm of Autumn Vegetables on a Sheet Pan
As the air turns crisp and the leaves crunch underfoot, I find myself craving more ...
READ MOREPumpkin Spice Pancakes That Evoke Autumn Mornings and Cozy Memories
As the leaves turn and the air thickens with the scent of cinnamon and nutmeg, ...
READ MOREThe Secret Ingredient That Transforms Fall Roasted Veggies
As the leaves turn golden and the air cools, I find myself craving more than ...
READ MOREHarvest Moon Squash Salad: A Transformative Fall Experience
As the outside air turns crisp, I love turning to squash for its comforting warmth ...
READ MOREUnusual Fall Casserole: A Sweet and Savory Symphony with Roasted Apples and Sage
As the air turns crisp and the leaves crunch underfoot, I find myself craving more ...
READ MOREHidden Harmony: Vegan Pumpkin Soup with a Splash of Sage
Every fall, I look forward to the gentle aroma of roasted pumpkin spilling out of ...
READ MORESoul-Warming Roasted Butternut Squash & Carrot Soup with a Twist
Roasting vegetables before blending turns them into something more than just a simple soup. The ...
READ MORE