
BEVERAGES
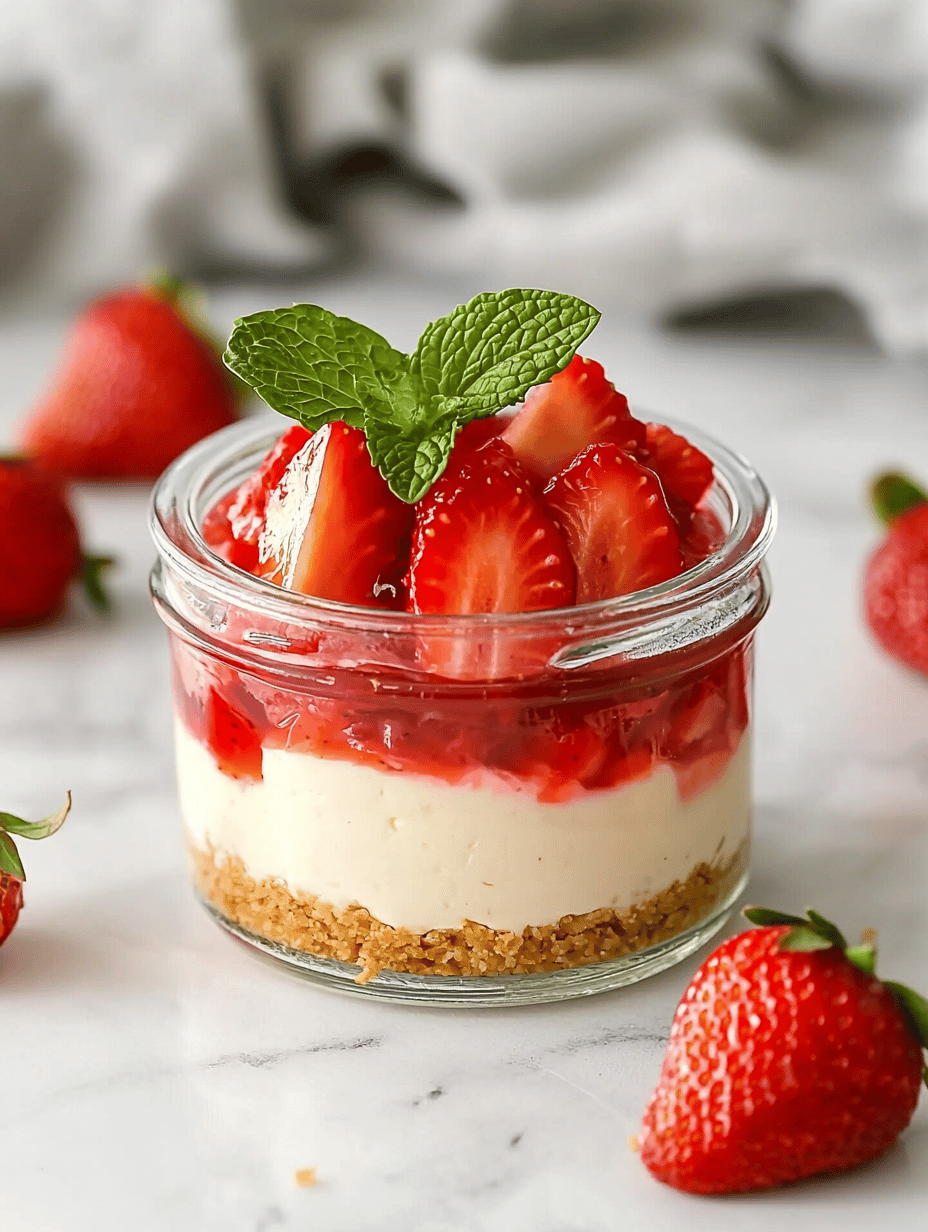
Forget the Plate: Mini Cheesecakes in Jelly Jars
Ever try to squeeze a whole cheesecake slice into your mouth and end up with crumbs all over your lap? ...
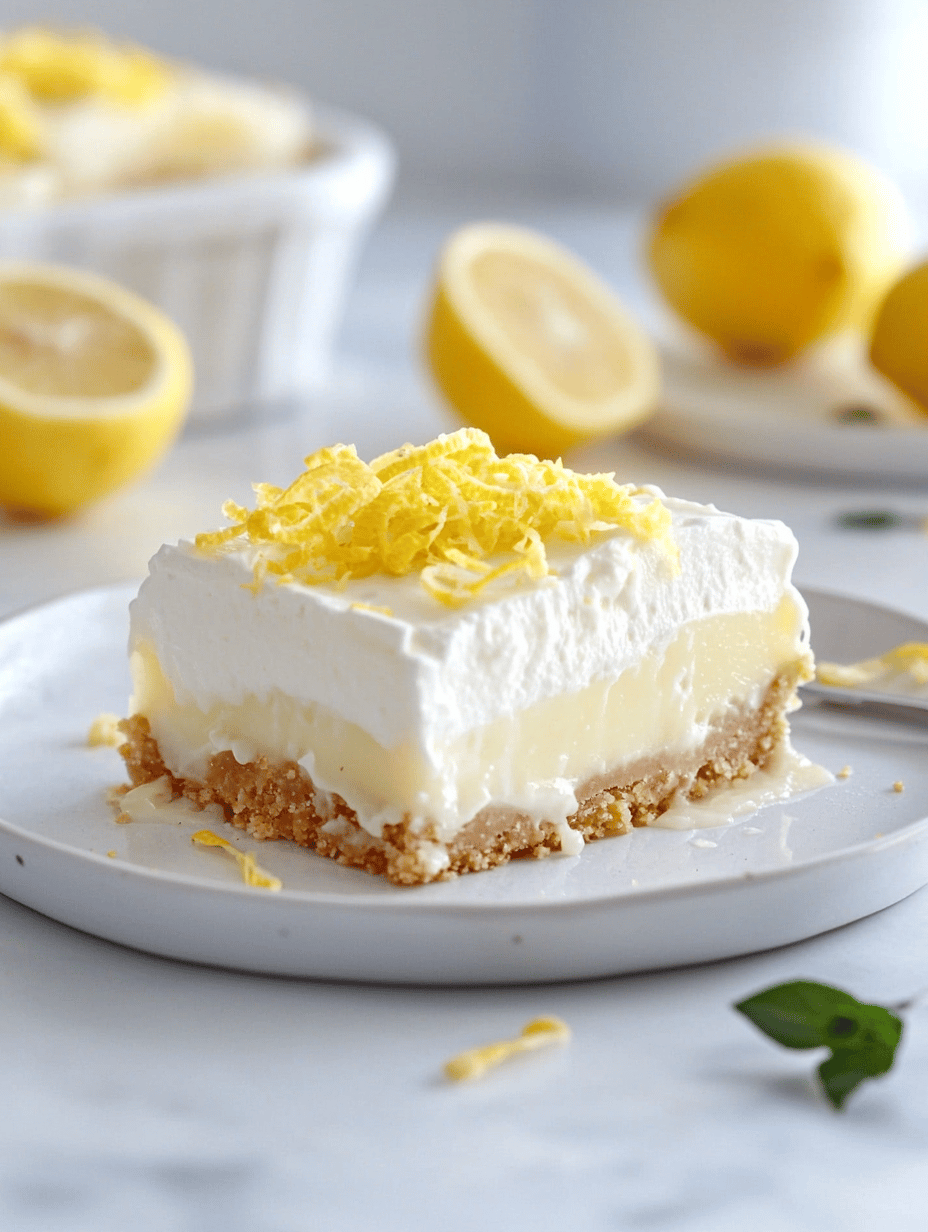
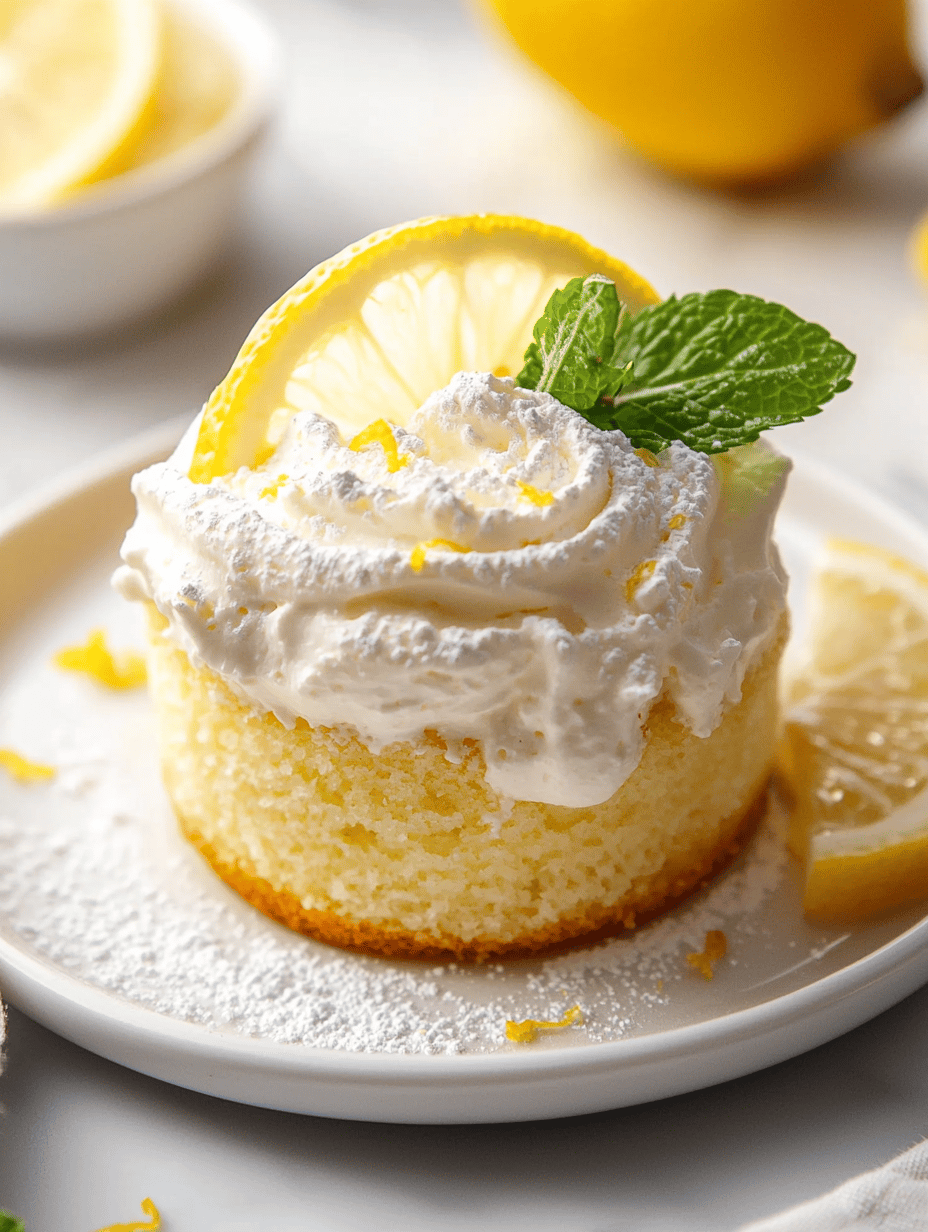
Lemon Lush Dessert: The Unlikely Secret to Brightening Up Your Day
Why Lemon Lush Matters Right Now It’s not just about the tang. It’s that weird snap of lemon zest on ...
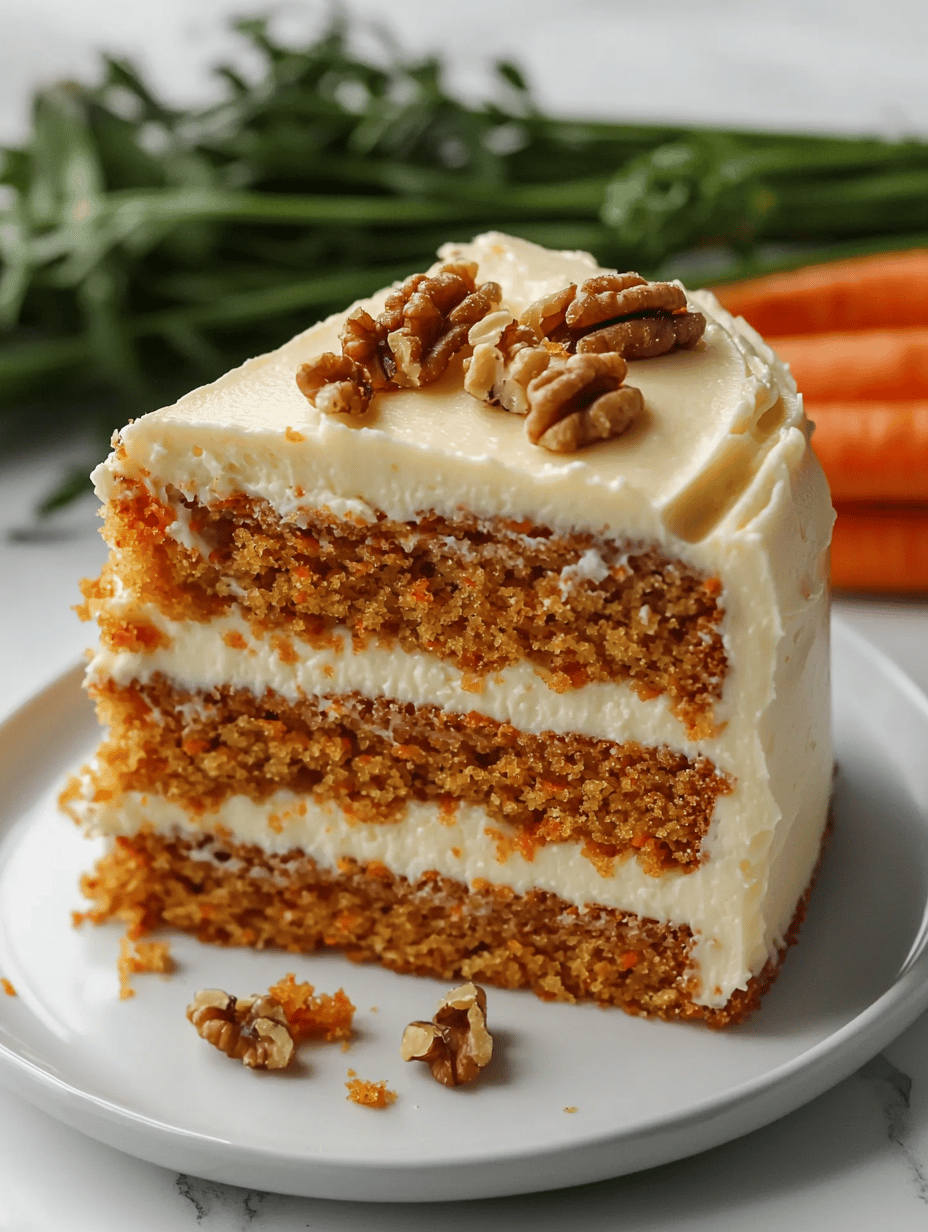
The Unexpected Power of Carrots: A Cake You Didn’t See Coming
Forget what you know about carrot cake I used to think carrot cake was just a sneaky vegetable hidden in ...
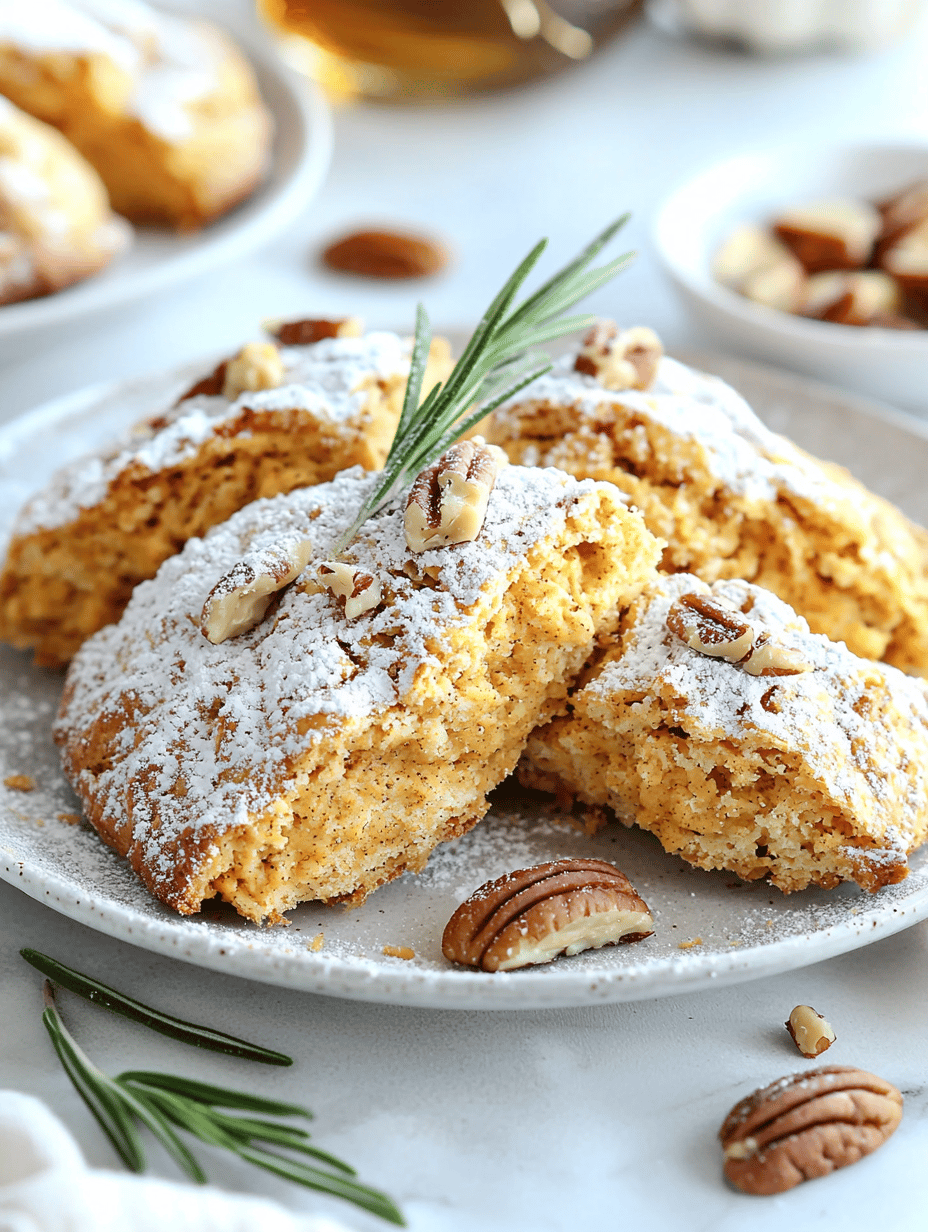
The Unexpected Joy of 15-Minute Pumpkin Scones: A Seize-the-Moment Snack
Forget the oven, all you need is a skillet Honestly, I didn’t plan on making scones today. It was just ...
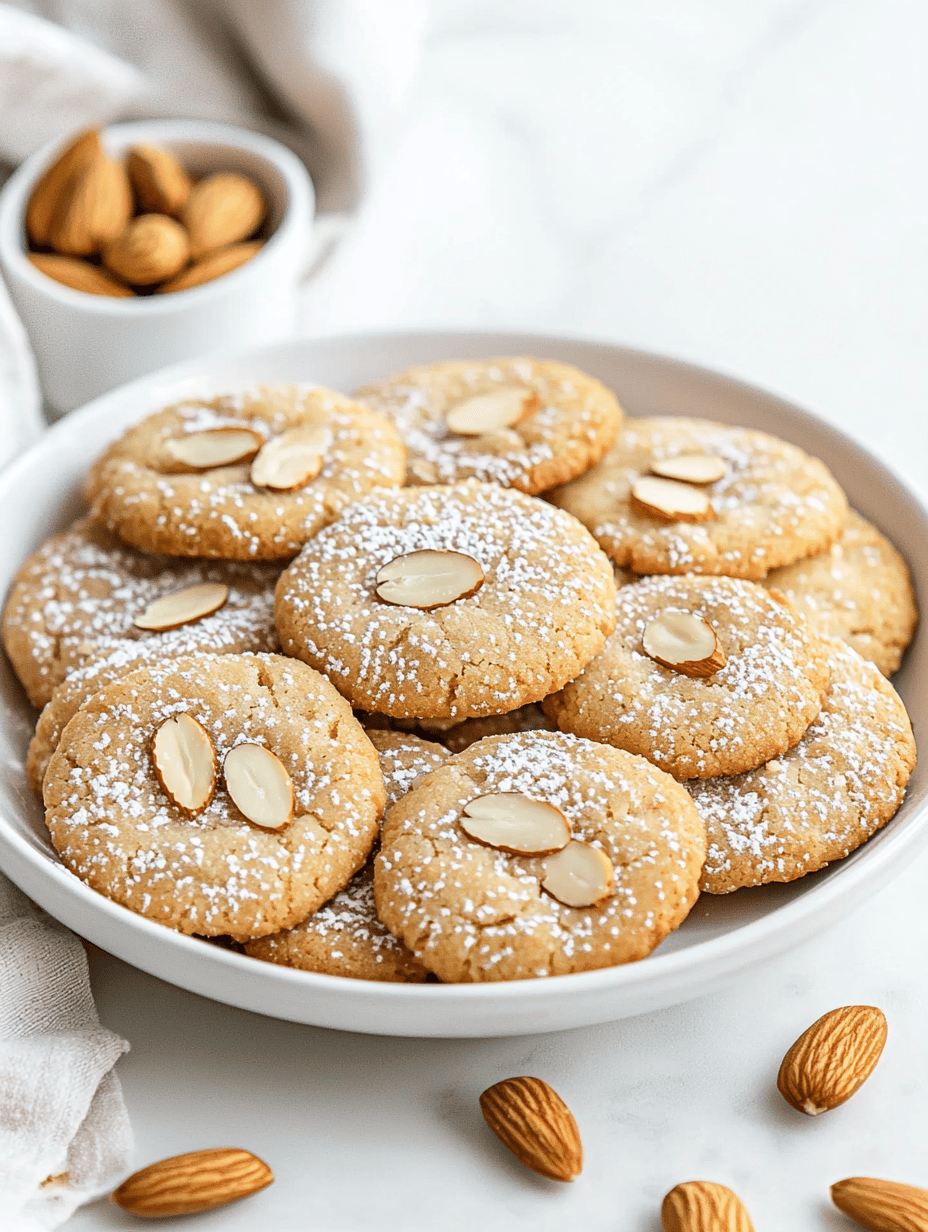
Love Letter Butter Cookies: The Unexpected Comfort of Childhood Notes
Revisiting Old Secrets Ever find a forgotten slip of paper tucked inside a dusty book? That tiny note, scribbled in ...
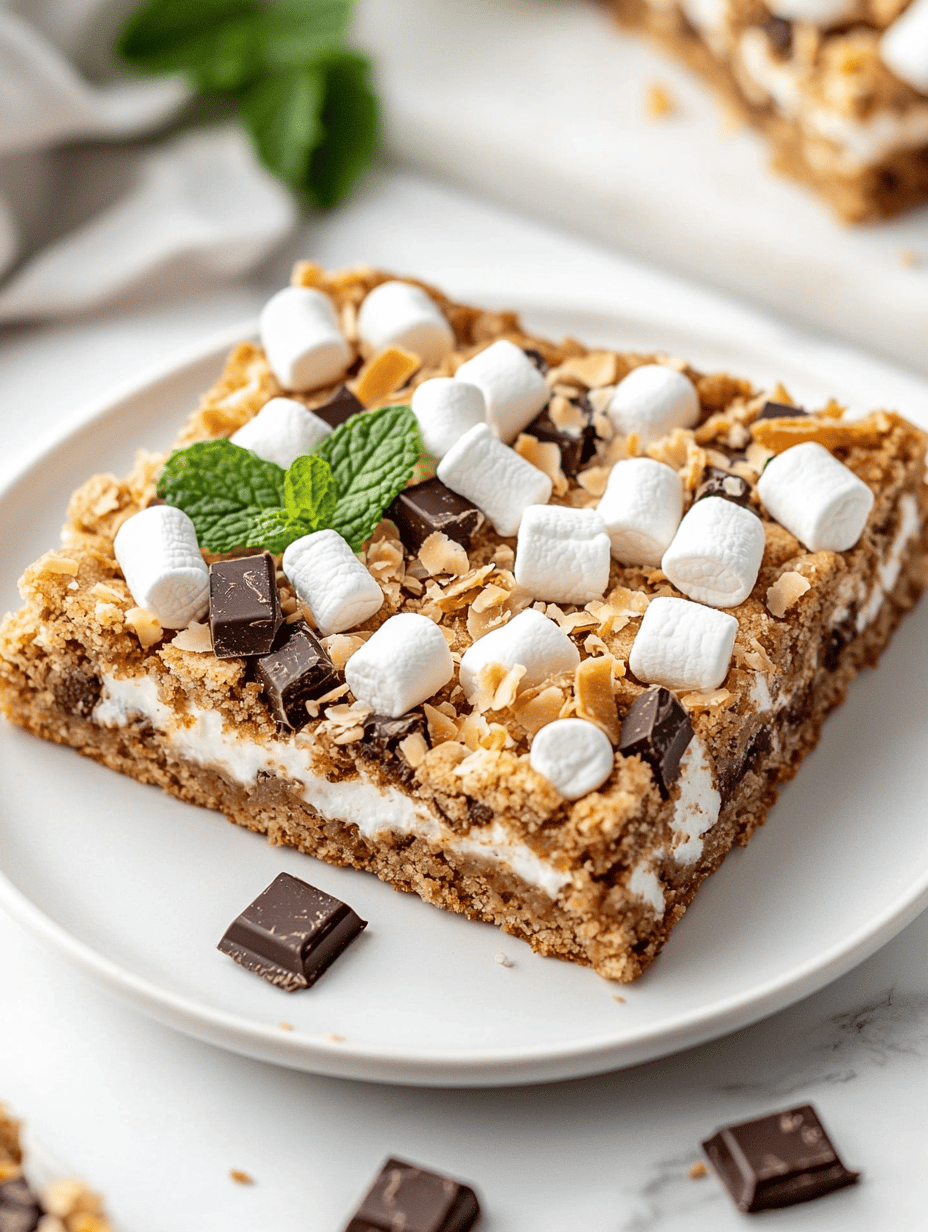
MM Chocolate Cookie Bars: The Unexpected Comfort of Burnt Edges
Burnt Edges and Childhood Flashbacks Ever get that strange craving for something a little burnt around the edges? Not burnt ...
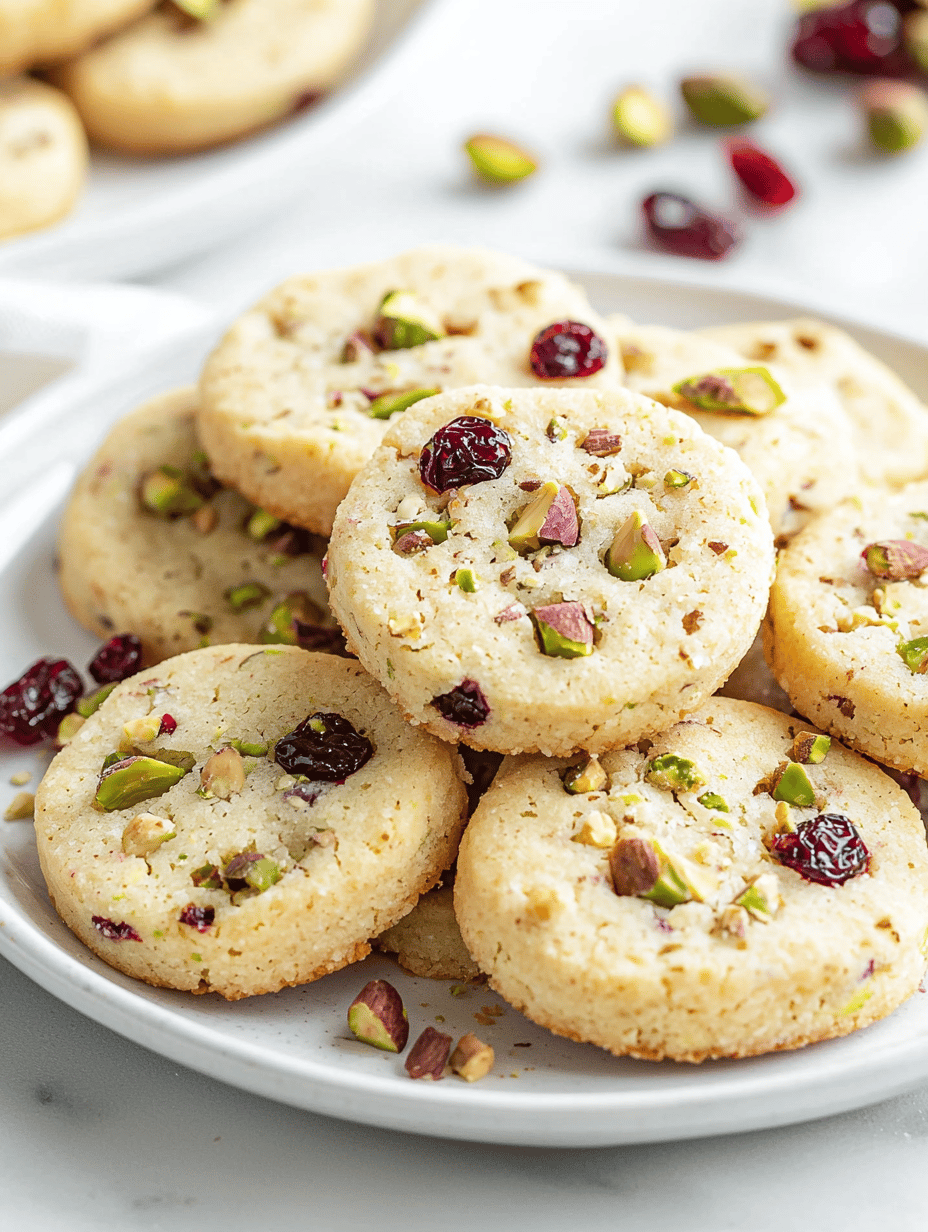
Cranberry Pistachio Shortbread Cookies: A Surprising Take on Crunch & Chew
I had a jar of leftover pistachios that I wasn’t letting go of anytime soon. So I casually threw them ...
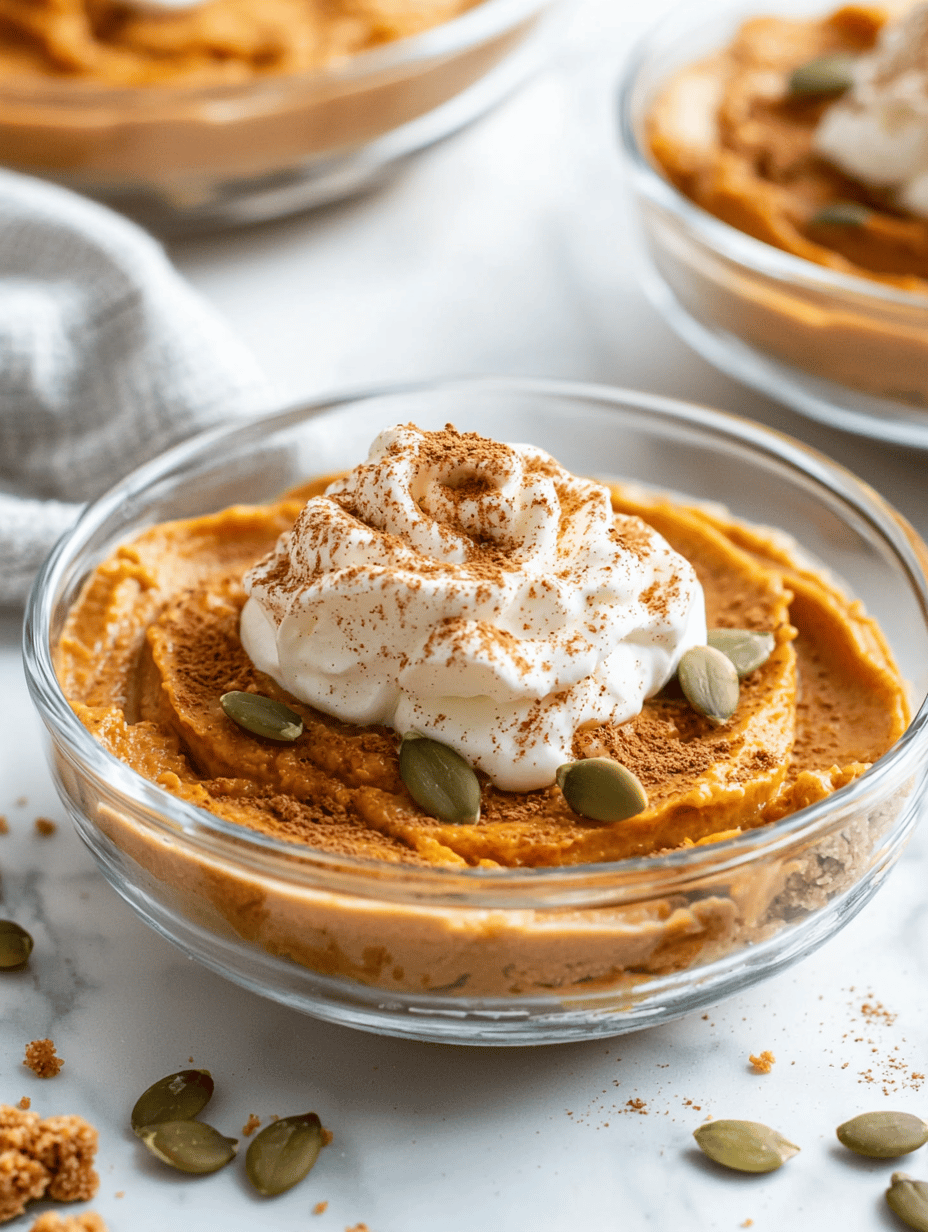
No-Bake Pumpkin Cheesecake: A Unexpected Shortcut for Fall
Why I Made This I’ve spent years fussing over crusts, waiting for hot ovens and cooling times. Yet last week, ...

Lemon Muffins That Spark Memories of My Grandma’s Garden
Why Lemon Muffins Now? I started baking these muffins just because I had a bunch of yellow lemons sitting on ...
The Mug Cake That Cooks Itself Overnight (Well, Almost)
Forget what you know about mug cakes This isn’t about microwave desperation or a quick fix when your sweet tooth ...
Forget the Plate: Mini Cheesecakes in Jelly Jars
Ever try to squeeze a whole cheesecake slice into your mouth and end up with ...
READ MORELemon Lush Dessert: The Unlikely Secret to Brightening Up Your Day
Why Lemon Lush Matters Right Now It’s not just about the tang. It’s that weird ...
READ MOREThe Unexpected Power of Carrots: A Cake You Didn’t See Coming
Forget what you know about carrot cake I used to think carrot cake was just ...
READ MOREThe Unexpected Joy of 15-Minute Pumpkin Scones: A Seize-the-Moment Snack
Forget the oven, all you need is a skillet Honestly, I didn’t plan on making ...
READ MORELove Letter Butter Cookies: The Unexpected Comfort of Childhood Notes
Revisiting Old Secrets Ever find a forgotten slip of paper tucked inside a dusty book? ...
READ MOREMM Chocolate Cookie Bars: The Unexpected Comfort of Burnt Edges
Burnt Edges and Childhood Flashbacks Ever get that strange craving for something a little burnt ...
READ MORECranberry Pistachio Shortbread Cookies: A Surprising Take on Crunch & Chew
I had a jar of leftover pistachios that I wasn’t letting go of anytime soon. ...
READ MORENo-Bake Pumpkin Cheesecake: A Unexpected Shortcut for Fall
Why I Made This I’ve spent years fussing over crusts, waiting for hot ovens and ...
READ MORELemon Muffins That Spark Memories of My Grandma’s Garden
Why Lemon Muffins Now? I started baking these muffins just because I had a bunch ...
READ MOREThe Mug Cake That Cooks Itself Overnight (Well, Almost)
Forget what you know about mug cakes This isn’t about microwave desperation or a quick ...
READ MORE