Category: Main Course

  • The Accidental Charm of Sticky Chicken Rice Bowls

    The Accidental Charm of Sticky Chicken Rice Bowls

    What if I told you

    I made this dish because I needed something fast, but I wanted it to feel intentional. Like sitting with a handful of leftover fried chicken, tearing into sticky rice and pretending you’re not hungry. It’s funny how something so simple can feel so satisfying—like a raid of flavors that somehow gives you a moment of peace.

    Right now, with everyone chasing the next big thing online, this feels honest. No fuss, no pretenses. Just chicken coated in caramelized soy and honey, sticky rice soaking up every bit of it, the smell of garlic and sesame in the air. It’s a tiny rebellion against overthinking dinner. Honestly, I didn’t plan to make this every other night, but here we are.

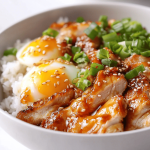
    Caramelized Chicken with Sticky Rice

    This dish features shredded fried chicken coated in a sweet and savory soy-honey glaze, served over sticky rice that absorbs the flavorful sauce. The final dish showcases tender chicken with a caramelized exterior and sticky, glossy rice with a slightly chewy texture, offering a harmonious balance of flavors and textures.
    Prep Time 10 minutes
    Cook Time 15 minutes
    Total Time 25 minutes
    Servings: 2
    Course: Main Course
    Cuisine: Fusion
    Calories: 550

    Ingredients
      

    • 2 cups sticky rice rinsed and soaked for 30 minutes
    • 1 lb fried chicken shredded into bite-sized pieces
    • 3 tablespoons soy sauce preferably dark soy for richness
    • 2 tablespoons honey
    • 3 cloves garlic finely minced
    • 1 teaspoon sesame oil for added aroma
    • 1 tablespoon vegetable oil for frying

    Equipment

    • Frying pan or skillet
    • Cooking spoon or spatula
    • Steaming basket or rice cooker
    • Sharp knife
    • Cutting board

    Method
     

    1. Drain the soaked sticky rice and set up a steaming basket or rice cooker; steam the rice until fully cooked and sticky, about 15 minutes. Fluff with a fork and keep warm.
    2. In a small bowl, whisk together soy sauce, honey, minced garlic, and sesame oil to create the caramelized sauce mixture.
    3. Heat the vegetable oil in a frying pan over medium-high heat. Add shredded fried chicken and cook until lightly browned and heated through, about 3-4 minutes, stirring occasionally. Transfer to a plate.
      2 cups sticky rice
    4. Pour the sauce mixture into the same pan over medium heat. Cook, stirring constantly, until the sauce thickens and coats the chicken and pan surface, about 2-3 minutes. The mixture should become glossy and caramelized.
      2 cups sticky rice
    5. Arrange the warm sticky rice on serving plates and top generously with the caramelized chicken and sauce. Garnish with sesame seeds or sliced green onions if desired. Serve immediately.
      2 cups sticky rice

    Sometimes, it’s about the little surprises. Like finding that perfect crispy edge on the chicken or how the rice toes the line between tender and sticky. No epic story here, just a meal you make when you want something real—and maybe a little reckless. Guess I’ll be making this again tomorrow.

  • The Surprising Truth About Cooking Cod in the Air Fryer

    The Surprising Truth About Cooking Cod in the Air Fryer

    I never thought I’d say this, but I’ve been thinking about how the smell of fresh cod could be used as a sort of 8-minute meditation. It’s a clean, briny aroma, kind of like ocean spray meets a quiet, cozy kitchen. No breading or batter, just the pure scent of flaky fish sizzling in that hot air. It’s almost like the air fryer is whispering, “Hey, take a second. Breathe.”

    This recipe matters right now because everyone’s craving simple and fast. No fuss, no complicated sauces. Just a piece of fish that tastes like you spent way more time on it than you really did. It’s perfect for those days when the last thing you want to do is cook, but you still want something that feels genuinely satisfying. Honestly, I never thought I’d get excited about a fish dish in an air fryer, but here we are.

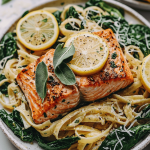
    Air Fryer Cod

    This dish features a single piece of cod cooked in an air fryer, resulting in a flaky, tender texture with a lightly crispy exterior. The cod is cooked without breading or batter, relying on the hot air to achieve a delicate, evenly cooked fish with a clean appearance.
    Prep Time 5 minutes
    Cook Time 8 minutes
    Total Time 13 minutes
    Servings: 1
    Course: Main Course
    Calories: 200

    Ingredients
      

    • 1 piece cod fillet fresh or thawed
    • 1 tsp olive oil for brushing
    • to taste salt optional
    • to taste black pepper optional

    Equipment

    • Air fryer
    • Tongs

    Method
     

    1. Gently pat the cod fillet dry with paper towels, then brush it lightly with olive oil using a pastry brush or clean fingers, ensuring an even coating on all sides.
      1 piece cod fillet
    2. Sprinkle salt and black pepper evenly over both sides of the fish to season, then place the fillet in the air fryer basket, skin-side down if applicable.
      1 piece cod fillet
    3. Preheat the air fryer to 400°F (200°C) for about 3 minutes, then insert the basket with the fish and cook for 8 minutes. Listen for a gentle sizzling sound and observe that the fish’s edges start to turn slightly opaque.
    4. At the 4-minute mark, open the air fryer and briefly check the fish; if desired, gently flip the fillet using tongs for more even cooking. Continue to cook for the remaining 4 minutes, until the fish flakes easily with a fork and has a light golden color on the surface.
    5. Remove the cooked cod from the air fryer using tongs, transfer to a plate, and let rest for a minute. Visually, the fish should be opaque and flaky, with crispy edges and a tender interior.
    6. Optionally, serve immediately with a wedge of lemon or fresh herbs for garnish, showcasing the delicate, flaky texture of the fish.

    Sometimes, I think the secret ingredient is just knowing you don’t have to overthink it. Fish, a little lemon, heat. That’s enough. And somehow, that makes everything feel a little easier—like the kind of meal that sneaks into a busy day and leaves you wondering why you don’t do it more often.

  • Voodoo Shrimp: A Taco Conspiracy from the Deep South

    Voodoo Shrimp: A Taco Conspiracy from the Deep South

    I never thought I’d be the kind of person who gets a little thrill from the smell of crushed red pepper mixing with smoked paprika. But here I am, chopping garlic and stirring hot sauce and feeling 100% convinced this dish is a *secret ingredient* of some voodoo ritual. It’s got the kind of spice that sneaks up on you—first a gentle whisper on your tongue, then a quick punch of heat. It makes me think about those summer nights in the bayou, where the air smells like firewood and citrus, and dinner is this spicy mess that somehow just works.

    Right now, spicy food feels more urgent, more necessary. Maybe it’s the weather, or just that I keep ending up in restaurants serving these fiery shrimp and thinking about how they’d finish perfectly in a taco. Or maybe I just want to play with fire. Whatever it is, this dish feels like a small rebellion with a lot of flavor.

    Spicy Garlic Shrimp Tacos

    This dish features shrimp cooked in a spicy sauce made from garlic, hot sauce, crushed red pepper, and smoked paprika, resulting in plump, flavorful shrimp with a smoky, fiery coating. The final product is assembled into tacos with a tender texture and a balance of heat and smoky flavor, garnished with fresh toppings for added brightness.
    Prep Time 15 minutes
    Cook Time 10 minutes
    Total Time 25 minutes
    Servings: 4
    Course: Main Course
    Cuisine: Cajun/Creole
    Calories: 250

    Ingredients
      

    • 1 pound large shrimp, peeled and deveined preferably raw
    • 4 cloves garlic, minced
    • 2 tablespoons hot sauce such as Tabasco or Frank’s RedHot
    • 1 teaspoon crushed red pepper flakes adjust to taste
    • 1 teaspoon smoked paprika
    • 2 tablespoons olive oil
    • Salt and pepper to taste
    • 8 small corn or flour tortillas for serving
    • Optional toppings such as sliced radishes, fresh cilantro, lime wedges

    Equipment

    • Chef’s knife
    • Large skillet
    • Tongs
    • Measuring spoons
    • Cutting board

    Method
     

    1. Start by peeling and deveining the shrimp if not prepped, then chop the garlic into fine mince on a cutting board using a chef’s knife.
      1 pound large shrimp, peeled and deveined
    2. In a small bowl, combine the hot sauce, crushed red pepper flakes, smoked paprika, and a pinch of salt and pepper to make the spicy marinade.
      1 pound large shrimp, peeled and deveined
    3. Heat the olive oil in a large skillet over medium-high heat until shimmering, about 1-2 minutes.
      1 pound large shrimp, peeled and deveined
    4. Add the minced garlic to the skillet and sauté for about 30 seconds until fragrant and lightly golden, stirring constantly with tongs to avoid burning.
      1 pound large shrimp, peeled and deveined
    5. Add the shrimp to the skillet and cook for 2-3 minutes, turning with tongs until they turn pink and begin to curl, indicating doneness.
      1 pound large shrimp, peeled and deveined
    6. Pour the spicy marinade over the shrimp, stirring to coat evenly. Cook for an additional 1-2 minutes until the sauce thickens slightly and the shrimp are fully coated and hot.
      1 pound large shrimp, peeled and deveined
    7. Warm the tortillas in a dry skillet or microwave until soft and pliable. Fill each tortilla with the spicy shrimp mixture, then garnish with optional toppings like sliced radishes, cilantro, and a squeeze of lime.
      1 pound large shrimp, peeled and deveined

    It’s strange how a little heat can feel like a reset. No matter how many times I try to tame the spice, it always somehow kicks back. Power moves, I guess. Maybe that’s what I’ll be thinking about tomorrow when I heat up the leftovers—how this tiny, spicy storm got me all caught up.

  • Crab & Shrimp Bell Peppers: A Sea-Inspired Twist for the Weeknight Table

    Crab & Shrimp Bell Peppers: A Sea-Inspired Twist for the Weeknight Table

    Ever notice how the smell of the ocean lingers in the air after a storm? That’s what these stuffed peppers do — a splash of briny crab, sweet shrimp, and a hint of garlic that makes you wish you were on a boat instead of stuck in your kitchen. I wasn’t planning to make this, honestly. Started just looking for something different for weeknight dinner, but the scallop-sized burst of seafood flavor in every bite? It’s kind of addictive. The peppers aren’t just vessels; they’re like a little cup of the salty sea, sturdy enough to hold all that flavor without turning soggy. It feels like a mini vacation, even if I’m only a few blocks from home. Who knew something so simple could make the night feel a little more special, even if only for a moment? Beef stew is fine, but this? It’s a whole other story.

    Seafood Stuffed Peppers

    Bright bell peppers are filled with a mixture of crab, shrimp, and garlic, then baked until tender and the filling is heated through. The dish features a vibrant combination of seafood flavors with a slightly firm texture from the peppers, finished with a golden-brown topping. It presents as colorful stuffed peppers with steaming, seafood-studded filling visible through their openings.
    Prep Time 20 minutes
    Cook Time 25 minutes
    Total Time 45 minutes
    Servings: 4
    Course: Main Course
    Cuisine: Seafood
    Calories: 250

    Ingredients
      

    • 4 pieces bell peppers preferably red or yellow, stems removed and seeds discarded
    • 1/2 pound crab meat fresh or canned, well drained
    • 1/2 pound shrimp peeled and deveined, chopped
    • 3 cloves garlic minced
    • 2 tablespoons olive oil
    • 1 cup cooked rice preferably short-grain
    • to taste salt and pepper
    • 1/2 cup shredded cheese optional, for topping

    Equipment

    • Baking Dish
    • Knife
    • Cutting board
    • Mixing bowls
    • Cooking spoon
    • Oven

    Method
     

    1. Preheat the oven to 375°F (190°C). Using a knife and cutting board, carefully cut off the tops of the bell peppers and remove the seeds and membranes. Set aside.
    2. In a skillet, heat olive oil over medium heat until shimmering. Add minced garlic and sauté until fragrant, about 30 seconds. Add chopped shrimp and cook until they turn pink and opaque, about 2-3 minutes. Stir in crab meat and cooked rice, then season with salt and pepper. Cook for another minute, until ingredients are combined and heated through.
      4 pieces bell peppers
    3. Fill each hollowed-out pepper with the seafood and rice mixture, pressing gently to pack. Place the stuffed peppers in a baking dish upright, ensuring they sit stably.
      4 pieces bell peppers
    4. Sprinkle shredded cheese over the top of each stuffed pepper if desired. Bake in the preheated oven for 20-25 minutes, until the peppers are tender and the cheese is golden brown.
      4 pieces bell peppers
    5. Remove from oven and let cool slightly. Serve hot, garnished with fresh herbs if desired.

    Maybe next time I’ll toss in some chopped fennel or a dash of hot sauce — because if there’s one thing about seafood, it never hurts to shake things up. Just got to keep that ocean vibe alive, right? Anyway, this dish keeps calling me back, maybe because it reminds me how a little seafood can turn a basic vegetable into a little celebration.

  • One Pan Chicken Burrito Bowl: No-Buss, No Fuss, Just Good Stuff

    One Pan Chicken Burrito Bowl: No-Buss, No Fuss, Just Good Stuff

    Did I really just throw everything into one pan and call it dinner? Yep. I’m not the sort to fuss over multiple pots unless I’m deliberately trying to get lost in a cookbook. Today this dish is about the smell of smoky paprika mingling with roasted chicken juices and that faint hint of cumin. It hits your nose before you even get a bite. It’s perfect for those nights when time is tight but I still want something that feels like it took a little thought. Plus, I’ll admit, sometimes I just want a meal I can make, eat, and not worry about for the next few hours. We’ve all been there. So yeah, this is the kind of thing I want to throw together after a long day. Less dishes, more flavor. That’s the goal.

    One-Pan Smoky Chicken and Rice

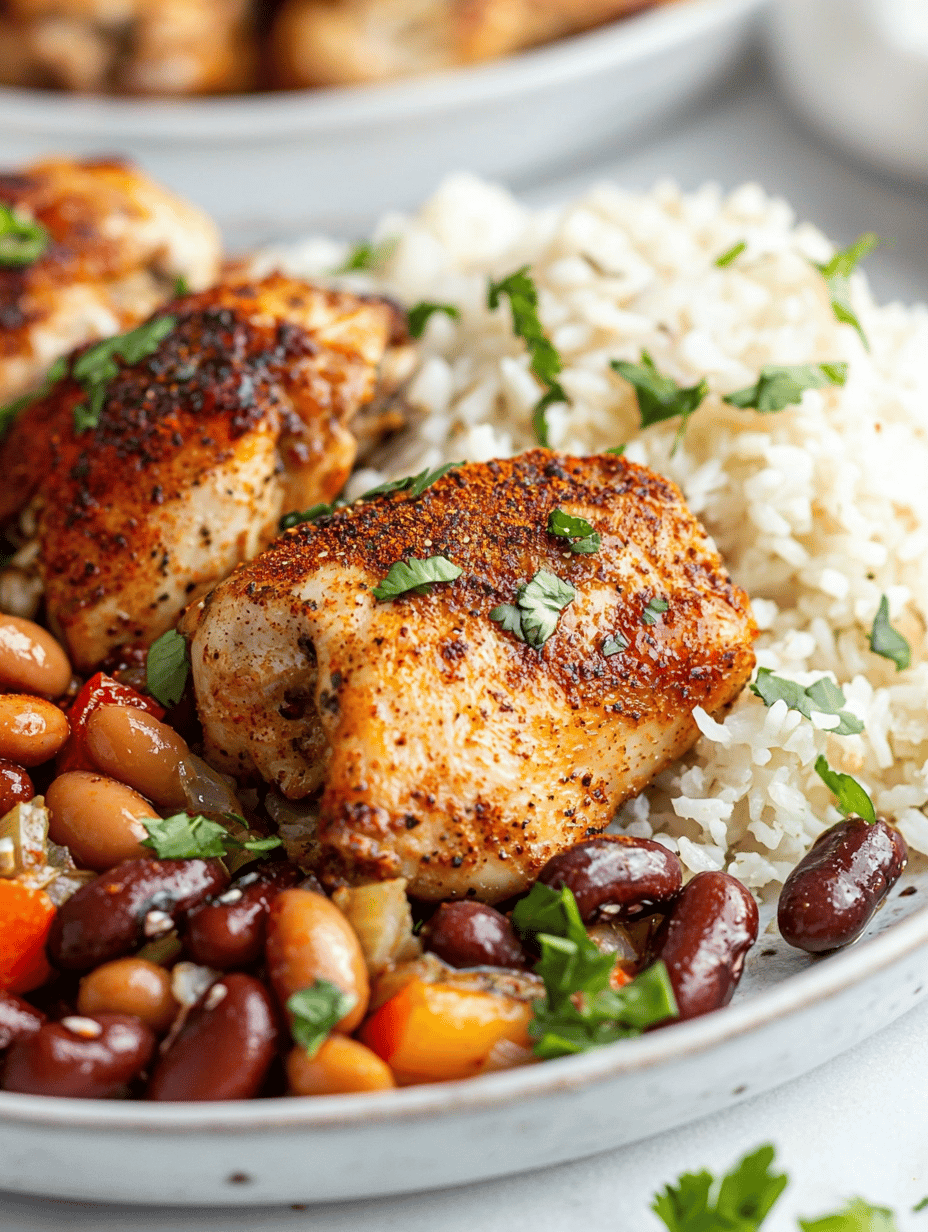
    This dish involves cooking chicken, rice, and spices together in a single pan, allowing flavors to meld as the rice absorbs the smoky paprika and cumin-infused juices. The final product has a tender chicken atop fluffy, flavorful rice with a slightly smoky aroma and vibrant appearance.
    Prep Time 10 minutes
    Cook Time 30 minutes
    Total Time 40 minutes
    Servings: 4
    Course: Main Course
    Cuisine: Global
    Calories: 580

    Ingredients
      

    • 4 pieces bone-in, skin-on chicken thighs or skinless boneless if preferred
    • 1 cup long-grain white rice rinsed
    • 1 tablespoon smoked paprika
    • 1 teaspoon ground cumin
    • 1 tablespoon olive oil
    • 2 cups chicken broth or water plus bouillon cube
    • 1 medium yellow onion finely chopped
    • 2 cloves garlic minced
    • to taste salt and pepper

    Equipment

    • Large skillet or frying pan
    • Measuring spoons
    • Knife
    • Cutting board
    • Stirring spoon

    Method
     

    1. Pat the chicken thighs dry with paper towels. Rub them with smoked paprika, cumin, salt, and pepper. Heat the olive oil in a large skillet over medium-high heat. Once hot, add the chicken thighs skin-side down and cook until the skin is golden brown, about 5-7 minutes. Flip and sear the other side for an additional 3-4 minutes. Remove the chicken from the pan and set aside.
    2. Add the chopped onion to the same skillet and sauté until translucent and fragrant, about 3 minutes. Add the minced garlic and cook for another 30 seconds until fragrant. Stir in the rinsed rice, coating it with the oil and spices, and cook for 1-2 minutes until the rice begins to turn slightly translucent.
    3. Pour in the chicken broth, scraping any browned bits from the bottom of the skillet. Return the seared chicken thighs to the pan, placing them on top of the rice. Bring the mixture to a boil, then reduce heat to low, cover the skillet, and simmer for 20 minutes, or until the rice is tender and has absorbed most of the liquid. Check occasionally and add a splash of water if needed.
    4. Once cooked, remove the skillet from heat and let it sit, covered, for 5 minutes to allow flavors to settle. Remove the chicken thighs and fluff the rice with a fork. Serve the chicken on top of the rice, garnished with fresh herbs if desired.
    5. Optionally, garnish with chopped herbs or a squeeze of lemon for added freshness and serve hot.

    Honestly, I don’t even need a plate. Just grab a fork and call it good. Probably better that way. Sometimes the simplest meals are the ones I remember most. Plus, these chicken bits get crispy enough if you leave them in the pan a little longer. No fancy tricks. Just decent food, in real time, on a busy Tuesday.

  • Chicken Alfredo Lasagna Rolls: The Lazy Person’s Gourmet Upgrade

    Chicken Alfredo Lasagna Rolls: The Lazy Person’s Gourmet Upgrade

    I never thought I’d say this about a lasagna, but I made a tiny mistake. I accidentally cooked the chicken with the garlic instead of seasoning it separately, and—wow—the aroma was wild. It hit me mid-morning how often we forget the power of a good chicken rub. This dish isn’t about perfect layering; it’s about that buttery, cheesy smell drifting through the kitchen in the afternoon, the kind that makes your neighbor peek over the fence. Right now, I’m obsessed with anything that takes comfort food and makes it feel a little fancy—like I slipped into a different vibe without much fuss. I mean, chicken, cheese, pasta. But the way the garlic and creamy sauce mingle when you bake these rolls—something about that scent sinks right in. I think I might be onto something here for a quick weekend dinner, or whenever you need a little something special.

    Cheesy Garlic Chicken Lasagna Rolls

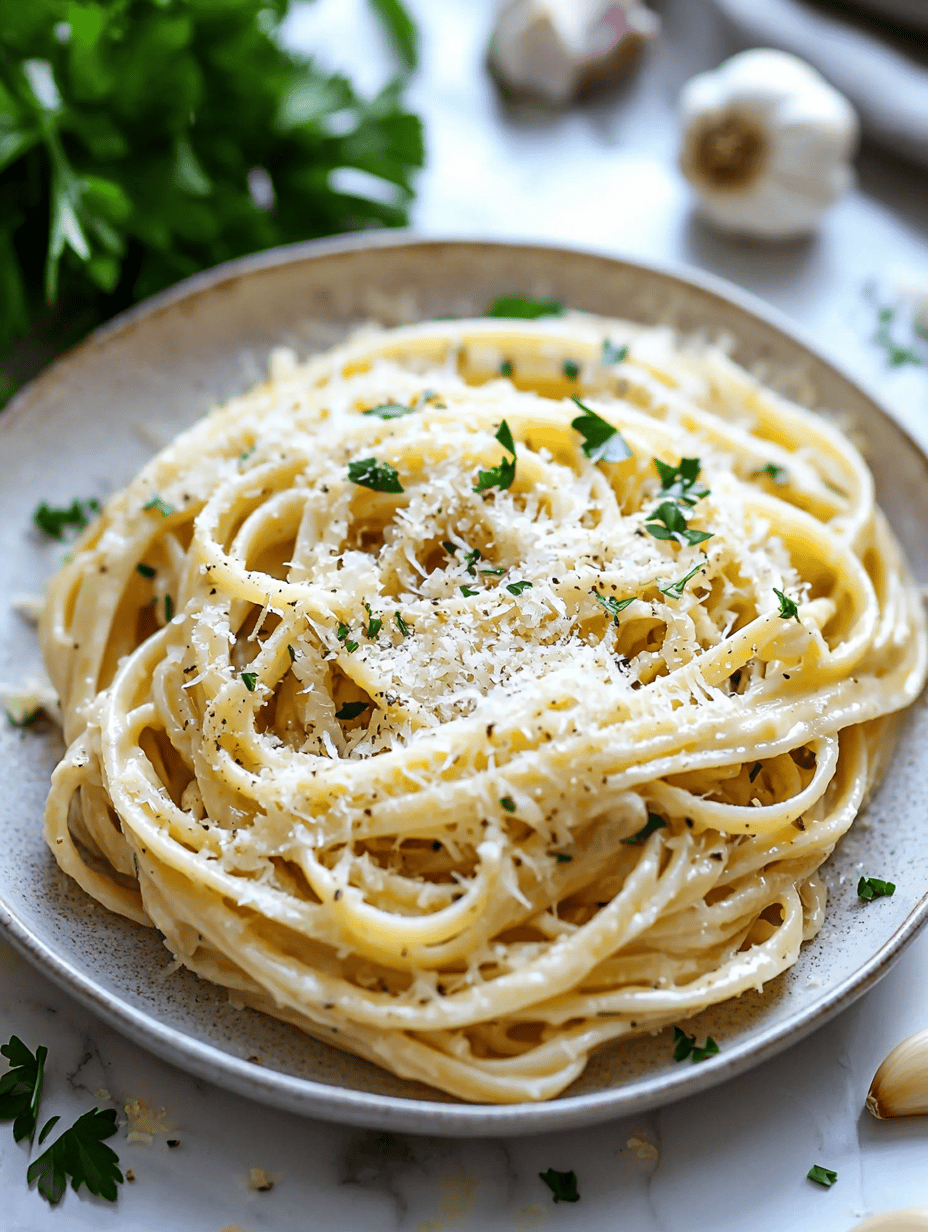
    These lasagna rolls are assembled by rolling cooked pasta with seasoned chicken, cheese, and garlic-infused sauce, then baked until bubbly and golden on top. The dish features a creamy, cheesy interior with a crispy, browned exterior, showcasing the harmonious blend of tender pasta and flavorful fillings in a compact form.
    Prep Time 20 minutes
    Cook Time 30 minutes
    Total Time 50 minutes
    Servings: 4
    Course: Main Course
    Cuisine: Italian
    Calories: 580

    Ingredients
      

    • 12 oz lasagna noodles uncooked
    • 2 cups cooked shredded chicken seasoned or plain
    • 1 cup mozzarella cheese shredded
    • 0.5 cup Parmesan cheese grated
    • 4 cloves garlic minced
    • 1 cup cream sauce prepared or homemade
    • 2 tbsp olive oil
    • to taste salt and pepper

    Equipment

    • Large pot
    • Skillet
    • Blender or food processor
    • Baking Dish
    • Cooking spoon
    • Knife

    Method
     

    1. Cook the lasagna noodles in boiling salted water until al dente, about 8-10 minutes. Drain and lay flat on a lightly oiled surface to prevent sticking.
      12 oz lasagna noodles
    2. In a skillet, heat olive oil over medium heat. Add minced garlic and cook until fragrant, about 30 seconds, until golden brown edges appear. Add shredded chicken and stir to combine, cooking for another 2-3 minutes.
      4 cloves garlic, 2 tbsp olive oil, 2 cups cooked shredded chicken
    3. In a blender or food processor, combine cooked garlic, chicken mixture, cream sauce, and half of the shredded mozzarella. Blend until smooth and creamy, seasoning with salt and pepper to taste. The mixture should be thick but pourable.
      1 cup mozzarella cheese, 0.5 cup Parmesan cheese, 1 cup cream sauce
    4. Preheat the oven to 375°F (190°C). Spread a thin layer of the garlic chicken sauce on the bottom of a baking dish.
    5. Lay a lasagna noodle flat, spread a spoonful of the chicken garlic filling over it, then roll tightly to form a log. Place the rolled noodle seam side down in the baking dish. Repeat with remaining noodles and filling.
    6. Pour the remaining sauce evenly over the assembled rolls. Top with the remaining mozzarella and grated Parmesan cheese. Bake uncovered for 25-30 minutes, until bubbling and the cheese is golden brown.

    This isn’t your average lasagna. It’s a bit more laid-back, a little less serious, but just as comforting. No fuss, just good carbs and cheesy goodness. Sometimes, I think the best recipes are the ones that catch you off guard, make you smile before you even take the first bite. That’s how I feel about these rolls. Who knew laziness could be this tasty?

  • Boursin Chicken: The Cheese Secret No One Tells You About

    Boursin Chicken: The Cheese Secret No One Tells You About

    Last night I noticed the smell first—rich garlic and creamy herbs wafting from the oven, like a little secret my fridge is hiding. It’s not just the taste, but how the butter melts into the Boursin: smooth, almost addictive, making every bite feel like a little rebellion against bland weeknight dinners. I didn’t plan anything fancy, just a simple chicken bake that turned into this weird, comforting moment I couldn’t ignore. Honestly, I never thought cheese could make me feel this tender—like it’s whispering, “This is your moment.” I don’t usually get excited about chicken, but the way the Boursin turns drippy and fragrant? That’s different. Right now, with all the chaos, this feels like a small act of rebellion. Like, I didn’t need perfect ingredients, just the right one: cheese that melts your worries away, one spoonful at a time.
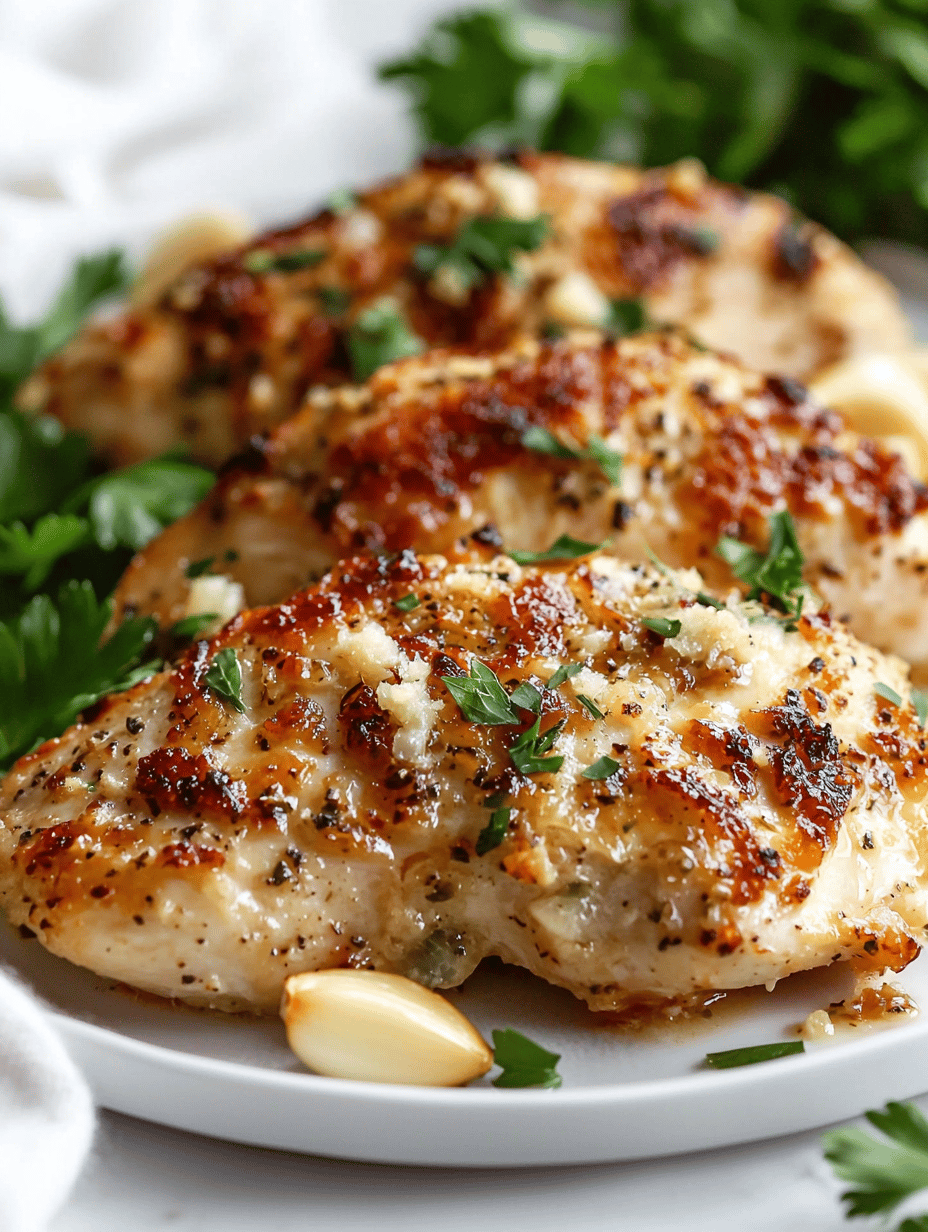
    Boursin Chicken Bake

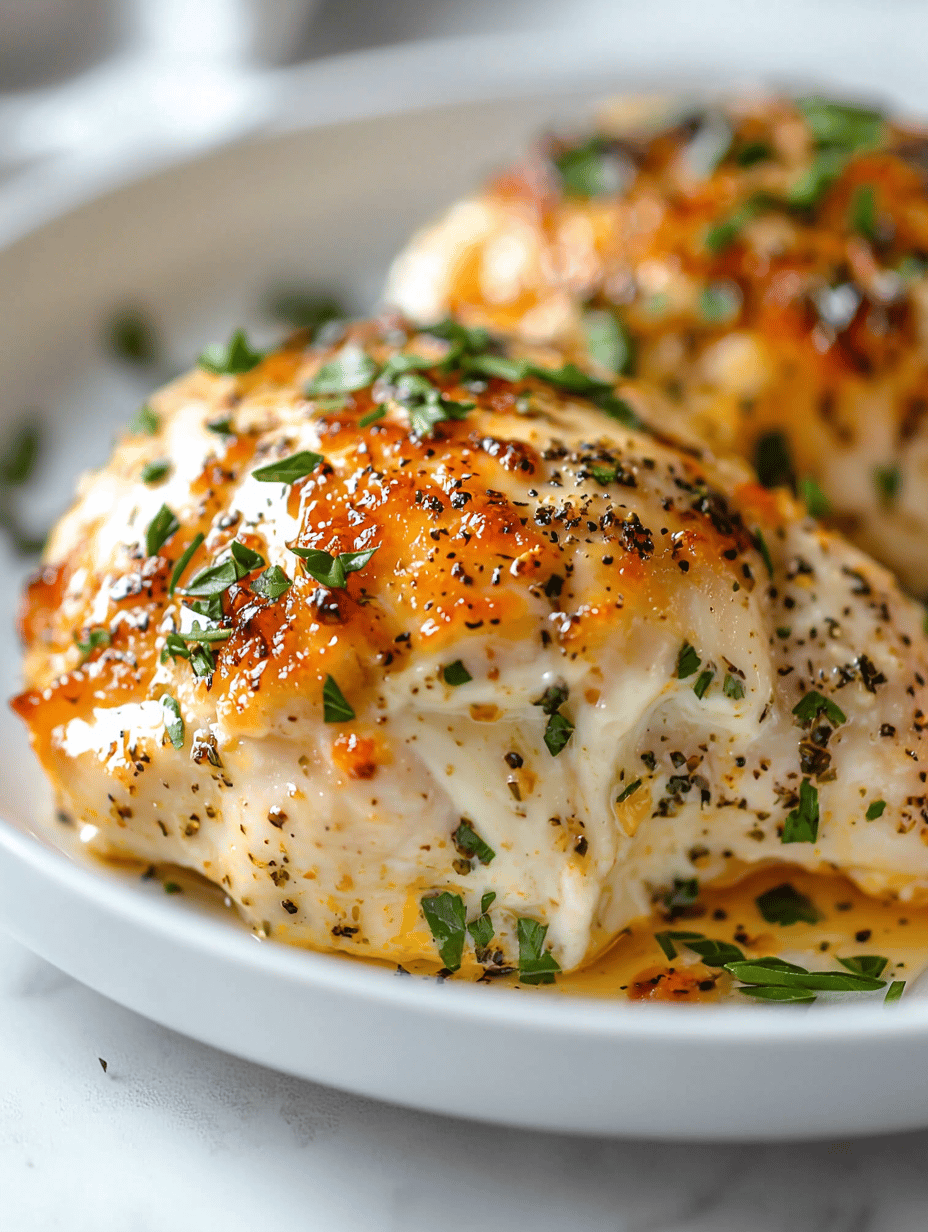
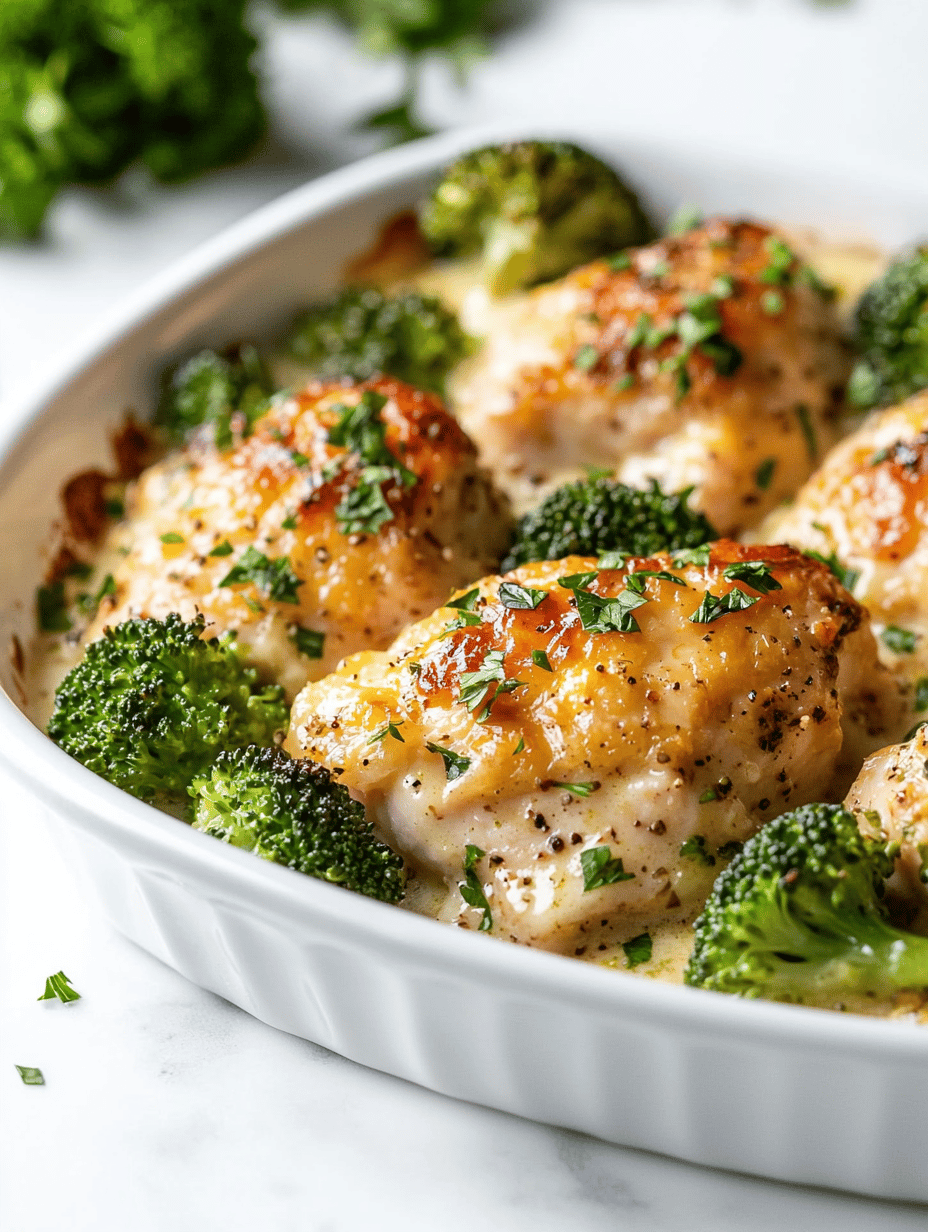
    This dish involves baking chicken breasts topped with creamy Boursin cheese and herbs, resulting in a tender, juicy meat with a richly melted, fragrant cheese sauce. The key cooking methods are baking and melting, producing a smooth, saucy final texture with a golden, slightly bubbly appearance on top.
    Prep Time 10 minutes
    Cook Time 25 minutes
    Total Time 35 minutes
    Servings: 4
    Course: Main Course
    Cuisine: French
    Calories: 350

    Ingredients
      

    • 4 pieces boneless, skinless chicken breasts
    • 1 cup Boursin cheese or similar herbed soft cheese
    • 2 cloves garlic minced
    • 1 tablespoon olive oil
    • 1 teaspoon dried thyme or herbs de Provence
    • salt and pepper to taste

    Equipment

    • Baking Dish
    • Mixing spoon
    • Knife
    • Measuring cups and spoons
    • Oven

    Method
     

    1. Preheat the oven to 375°F (190°C). Arrange four boneless, skinless chicken breasts in a baking dish.
    2. Rub each chicken breast with olive oil, then sprinkle evenly with salt, pepper, and dried thyme. Spread minced garlic on top of each piece for added aroma.
    3. Evenly dollop and spread the Boursin cheese over each chicken breast, covering the surface completely.
    4. Place the dish in the preheated oven and bake uncovered for about 25 minutes, or until the chicken is cooked through and the cheese is bubbly and starting to golden around the edges.
    5. Remove from oven and let rest for 5 minutes. Serve hot, with the cheese sauce gently pooling around the chicken for a creamy presentation.

    Sometimes, the best ideas are just accidental. It’s funny how a splash of cheese can turn simple into something worth remembering. I don’t know. Maybe I’ll just keep cooking it and see what else this cheese can do. Until then, I’ll be over here, waiting for the next surprise to pop out of my oven.

  • The Coconut Chicken That Smells Like Summer Break

    The Coconut Chicken That Smells Like Summer Break

    I’m not usually one for overthinking recipes, but I recently realized I’ve been craving something that smells like my childhood memories in Rio—those sticky nights, the faint hint of roasting coconut mixing with salty sea air. This dish isn’t just about the taste; it’s about the smell. The sweet, toasted coconut that immediately transports you to a split second in Brazil, carefree, sun on your face. It’s the kind of thing that makes you pause mid-dinner, inhale deep, and think about a sunny day you can’t quite remember but wish you could repeat. It feels rebellious, really. Mixing coconut into chicken? Seems obvious now, but I’d never seen it done this way until I hit that craving. It’s not trendy or complicated. It’s just honest, simple comfort with a tropical twist—something that feels essential lately. Because sometimes, all you need is a little smell of summer to get through the week.

    Toasted Coconut Chicken

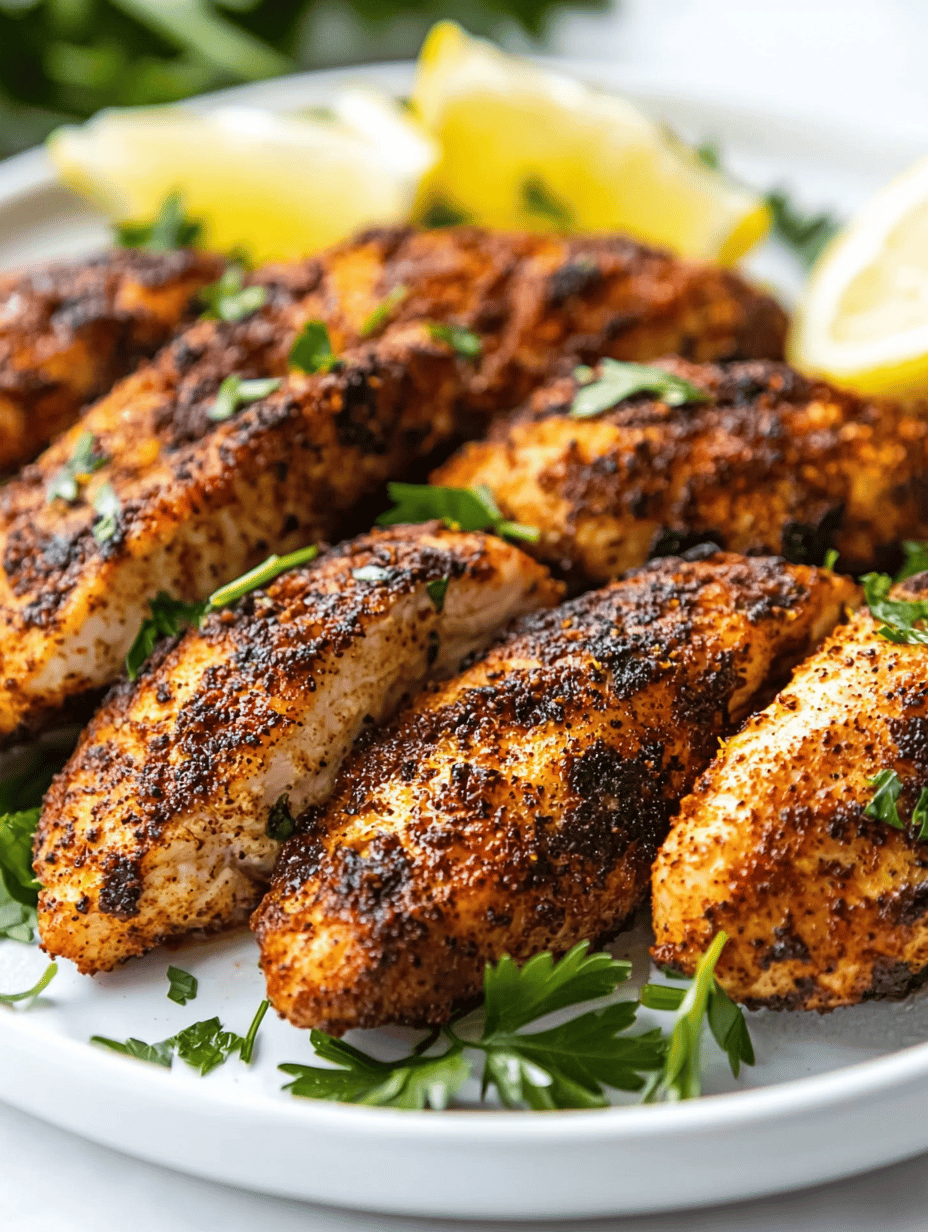
    This dish features chicken breasts coated with a mixture of toasted shredded coconut and seasonings, then pan-fried to achieve a crispy exterior. The toasted coconut imparts a golden-brown crust and a nutty aroma, while the inside remains tender and juicy, creating a contrast in textures with a tropical flavor profile.
    Prep Time 10 minutes
    Cook Time 15 minutes
    Total Time 25 minutes
    Servings: 4
    Course: Main Course
    Cuisine: Brazilian-inspired
    Calories: 350

    Ingredients
      

    • 4 pieces chicken breasts boneless, skinless
    • 1 cup shredded unsweetened coconut preferably fresh or toasted
    • 1 cup all-purpose flour
    • 2 eggs large eggs beaten
    • 1 cup bread crumbs
    • 2 tablespoons olive oil for frying
    • to taste salt and pepper seasoned to preference

    Equipment

    • Non-stick skillet
    • Shallow bowl
    • Knife
    • Cutting board
    • Measuring spoons
    • Tongs

    Method
     

    1. Place the shredded coconut in a dry skillet over medium heat. Toast, stirring frequently, until golden brown and fragrant, about 3-5 minutes. Remove from heat and set aside to cool slightly.
      4 pieces chicken breasts
    2. Flatten each chicken breast to an even thickness of about 1/2 inch using a meat mallet or rolling pin, then season both sides with salt and pepper.
      4 pieces chicken breasts
    3. Set up a breading station with three shallow bowls: one with flour, one with beaten eggs, and one with toasted coconut mixed with bread crumbs.
      4 pieces chicken breasts
    4. Dredge each chicken piece first in the flour, ensuring an even coat; then dip into the beaten eggs, and finally press into the toasted coconut mixture, pressing gently to adhere.
      4 pieces chicken breasts
    5. Heat olive oil in a non-stick skillet over medium heat until shimmering. Carefully place the coated chicken breasts into the skillet, cooking for about 4-5 minutes per side, until the outside is golden brown and crispy, and the internal temperature reaches 165°F (74°C).
      4 pieces chicken breasts
    6. Remove the chicken from the skillet and let rest for a few minutes. Slice if desired, then serve immediately, showcasing the crispy coconut crust and tender interior.

    Plus, it’s good when you want to pretend you’re on vacation but don’t have the energy to leave the house. You probably don’t even need that many ingredients. Just a bit of patience to toast the coconut. Maybe a splash of lime at the end, if you’re feeling fancy. Either way, it’s a reminder that some of the best flavors come from just trusting the basics and a little coconut magic. Plus, it smells pretty great the next morning, too.

  • Creamy White Chicken Enchiladas: A Comfort Food with a Twist You Didn’t Expect

    Creamy White Chicken Enchiladas: A Comfort Food with a Twist You Didn’t Expect

    Bringing the Old-school into Something Unexpected

    I’ve been thinking about how some of the best comfort food sneaks up on you. Like, you’re craving something familiar but your brain craves a little twist. These enchiladas aren’t just your typical spicy tomato mess. Instead, the sauce is creamy—like, really creamy—the kind that sticks to your fingers after a bite and makes you want more. It’s almost like a secret between you and the pan. And honestly, I never thought I’d crave cheesy, saucy, chicken-stuffed tortillas during the middle of spring. But here we are. They smell like sautéed onions mingling with a hint of garlic, and the creaminess—oh man, it hits different than the usual. Once you make these, they might just become your go-to for that slow Sunday meal or an impromptu dinner party. Sometimes, I think I cook just to see how much comfort a plate can carry.

    Creamy Chicken Enchiladas

    This dish features rolled tortillas filled with seasoned cooked chicken and melted cheese, topped with a rich, creamy sauce made with sautéed onions and garlic. The enchiladas are baked until bubbling and golden, resulting in a tender, cheesy casserole with a smooth, sauce-coated texture.
    Prep Time 20 minutes
    Cook Time 25 minutes
    Total Time 45 minutes
    Servings: 4
    Course: Main Course
    Cuisine: Mexican
    Calories: 450

    Ingredients
      

    • 2 cups shredded cooked chicken preferably rotisserie or boiled
    • 8 large flour tortillas 10-inch size recommended
    • 1 cup shredded cheese cheddar, Monterey Jack, or blend
    • 1 medium onion finely diced
    • 3 cloves garlic minced
    • 2 cups heavy cream
    • 2 tablespoons butter
    • 2 tablespoons flour for thickening sauce
    • 1/2 teaspoon cumin optional, adds flavor
    • to taste salt and pepper

    Equipment

    • Skillet
    • Baking Dish
    • Mixing Bowl
    • Knife
    • Cutting board
    • Whisk

    Method
     

    1. Heat a skillet over medium heat and add the butter. Once melted and foaming, sauté the diced onion and minced garlic until translucent and fragrant, about 3-4 minutes. Stir in the flour and cook for another minute, until the mixture turns golden and thickens slightly.
      3 cloves garlic, 2 cups heavy cream, 2 tablespoons butter, 2 tablespoons flour
    2. Gradually pour in the heavy cream while whisking continuously to avoid lumps. Add cumin, salt, and pepper. Cook the mixture, stirring constantly, until the sauce thickens and becomes smooth, about 5 minutes. The sauce should be creamy and pourable but not runny.
      2 cups heavy cream, 1/2 teaspoon cumin, to taste salt and pepper
    3. Warm the flour tortillas briefly in a dry skillet or microwave to soften. Place a tortilla on a clean surface, spread 2-3 tablespoons of the creamy sauce over it, then add a scoop of shredded chicken and sprinkle with cheese. Roll up the tortilla snugly to enclose the filling. Repeat with remaining tortillas.
      2 cups shredded cooked chicken, 8 large flour tortillas, 1 cup shredded cheese
    4. Arrange the filled tortillas seam-side down in a greased baking dish. Pour the remaining sauce over the top, ensuring each enchilada is well coated. Sprinkle extra cheese on top for a cheesy crust.
      2 cups shredded cooked chicken
    5. Bake the enchiladas in a preheated oven at 375°F (190°C) for about 20-25 minutes, or until the sauce is bubbling and the cheese on top is golden brown. Remove from oven and let rest for 5 minutes before serving to allow the sauce to set.
    6. Serve the creamy chicken enchiladas hot, garnished with fresh herbs or additional toppings if desired. Use a spoon to scoop out a portion, highlighting the saucy, cheesy interior.

    There’s something quietly satisfying about knowing how easy it is to pull this together. No fancy ingredients, just staples that sit in your fridge and pantry. And the best part? No one’s gonna guess how simple it was. Sometimes, I wonder if the secret magic is just in the way the sauce coats every bite. Or maybe it’s that extra splash of lime at the end. Whatever it is, these enchiladas feel like a little victory — unexpected, perfect, and just a bit indulgent.

  • Cowboy Butter Chicken: When Spice Meets Grease in the Most Unexpected Way

    Cowboy Butter Chicken: When Spice Meets Grease in the Most Unexpected Way

    Why this recipe made me stop scrolling

    I was flipping through old recipe books, looking for something simple but I kept sniffing this weird combo of melted butter and smoked paprika. That smell — smoky, a little charred, with a zing of garlic — it hit me hard. Like, why don’t I cook with butter like this all the time? Usually, butter is shy, humble, maybe a splash at the end. But this? It’s the main act. Something about stirring butter with chili powder, cayenne, and a splash of bourbon just feels like the cowboy spirit – reckless but honest.

    Right now, with winter still lingering and everyone craving comfort food that’s loud and unapologetic, it feels perfect. No fancy ingredients, just butter, spice, and chicken. I’ve made a mess trying to perfect that sauce, but when it all comes together—crisp skin, juicy meat, lips coated in smoky heat—that’s the real reason I keep cooking. It’s raw. It’s imperfect. And it somehow hits harder than a fancy dinner ever will.

    Smoky Butter Chicken

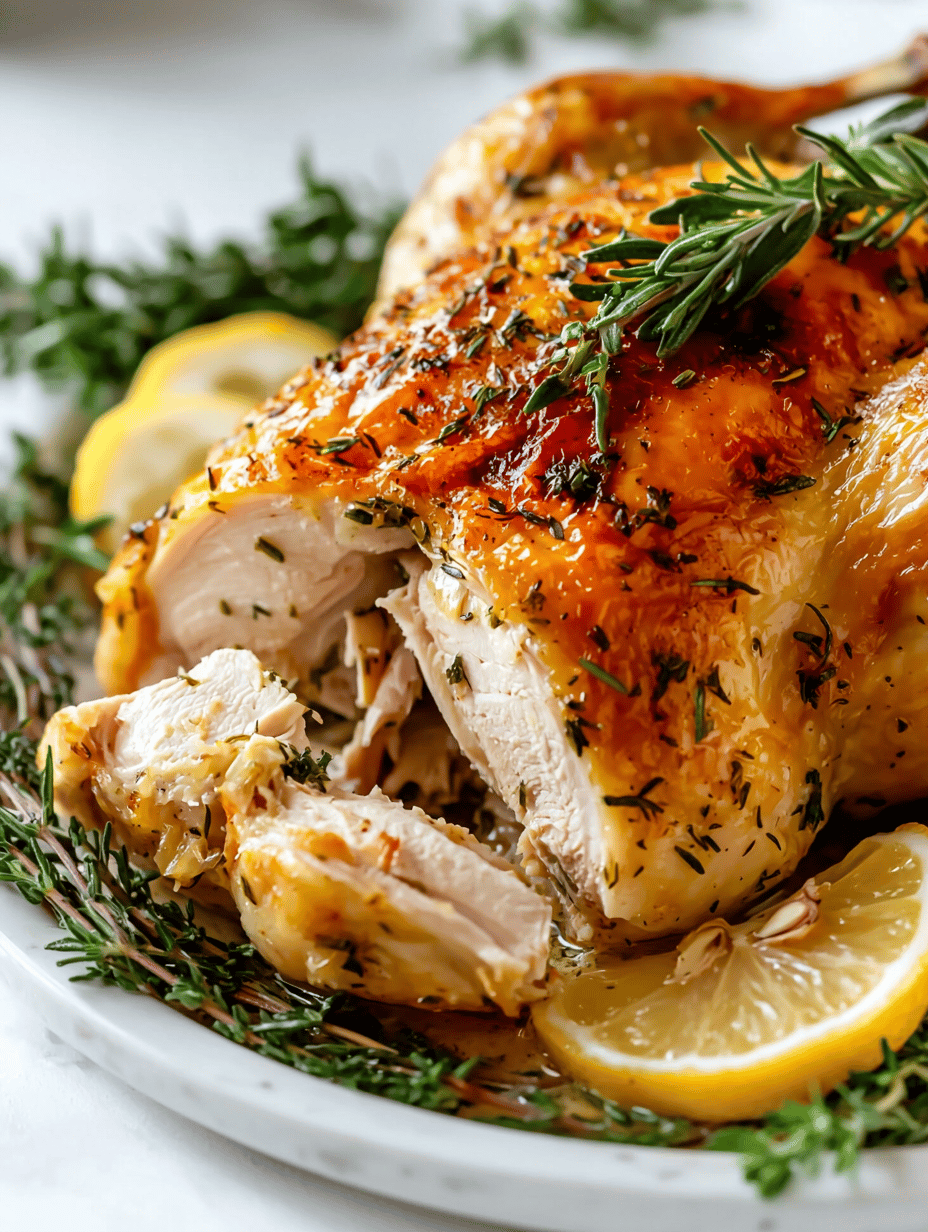
    This dish features chicken cooked with a rich, smoky butter sauce infused with smoked paprika, chili powder, cayenne, and bourbon. The chicken is roasted until crispy with a juicy interior, and the sauce develops a glossy, flavorful coating, creating a visually appealing and bold-flavored main course.
    Prep Time 10 minutes
    Cook Time 30 minutes
    Total Time 40 minutes
    Servings: 4
    Course: Main Course
    Cuisine: American
    Calories: 450

    Ingredients
      

    • 4 pieces bone-in, skin-on chicken thighs preferably evenly sized
    • 4 tablespoons unsalted butter divided
    • 1 teaspoon smoked paprika
    • 1/2 teaspoon chili powder
    • 1/4 teaspoon cayenne pepper
    • 1 tablespoon bourbon
    • 3 cloves garlic minced
    • 1 teaspoon salt
    • 1/2 teaspoon black pepper

    Equipment

    • Baking sheet or roasting pan
    • Skillet or saucepan
    • Tongs or spatula
    • Measuring spoons
    • Chef’s knife

    Method
     

    1. Preheat the oven to 425°F (220°C). Place chicken thighs on a baking sheet lined with parchment paper. Rub 2 tablespoons of butter over the chicken skin and season with salt, pepper, smoked paprika, chili powder, and cayenne. Roast for 25-30 minutes until skin is crispy and meat is cooked through.
    2. Meanwhile, melt the remaining 2 tablespoons of butter in a skillet over medium heat. Add minced garlic and cook until fragrant, about 1 minute, until fragrant and slightly golden. Add bourbon and cook until alcohol evaporates, about 2 minutes, stirring occasionally.
    3. Stir in smoked paprika, chili powder, and cayenne pepper into the skillet. Cook the mixture, stirring, for about 1-2 minutes until the spices are toasted and smell aromatic. Watch for the mixture to thicken slightly and become glossy.
    4. Once the chicken is done roasting, transfer it to the skillet with the sauce. Use tongs to coat each piece thoroughly in the smoky butter sauce, letting it simmer for 2-3 minutes until the chicken skin is glossy and the sauce is well integrated.
    5. Remove from heat and serve immediately, arranging the chicken on a platter with some of the sauce drizzled over the top. The chicken skin should be browned and crispy, with a shiny, smoky, spicy coating.

    What’s next

    Maybe I’ll try doubling the spice or adding some honey next time. Or just eat it straight off the plate because that sauce clings to the chicken like a badge of honor. Who needs fancy when you can make something this bold with a few simple ingredients? Yeah, I’ll probably burn my tongue again. And that’s okay.