
BEVERAGES
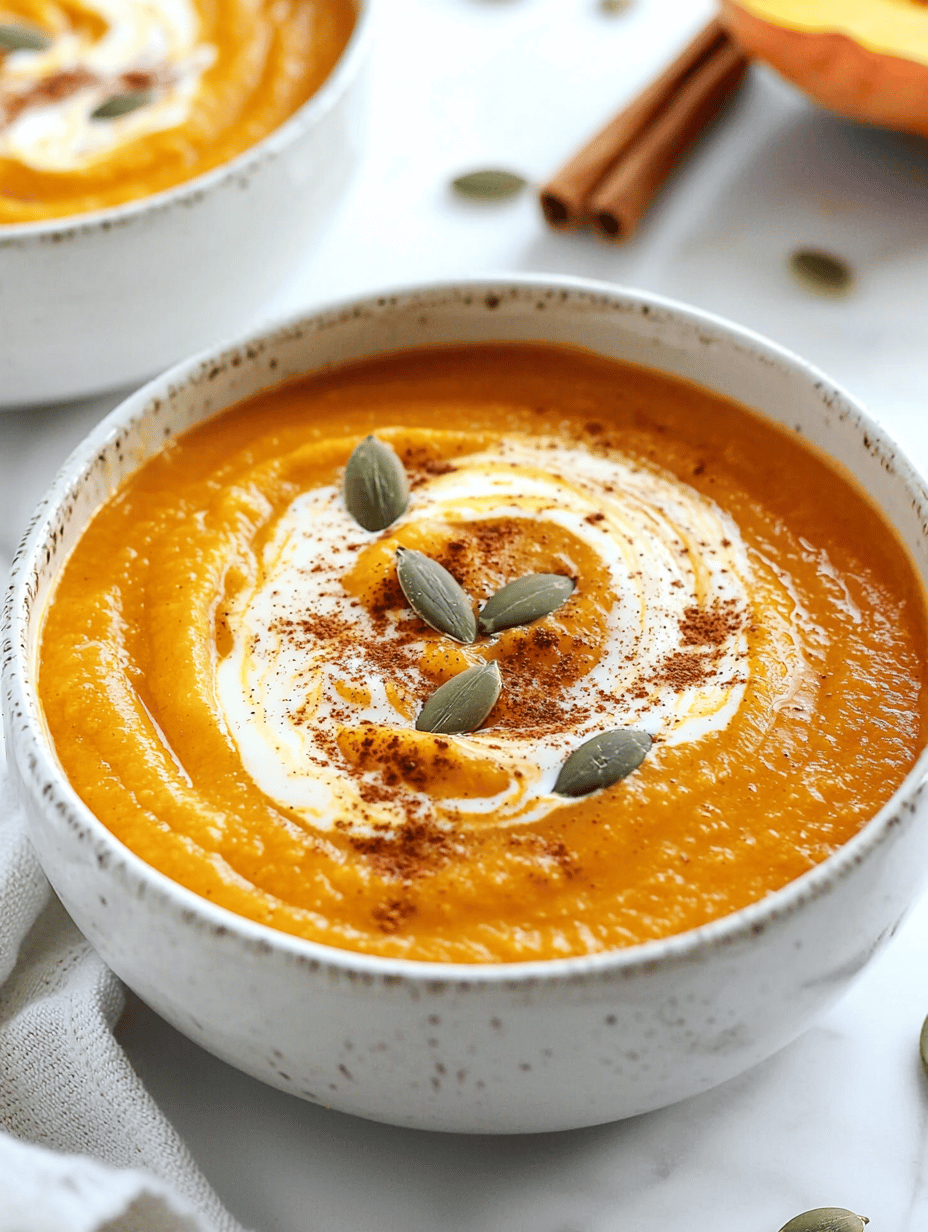
The Surprising Charm of Roasted Butternut Squash Soup with a Cinnamon Twist
Few soups whisper cool autumn evenings like roasted butternut squash. But I’ve discovered that adding a subtle cinnamon sprinkle transforms ...

Spice-Infused Fall Frittata: A Cozy Breakfast Revival
As the leaves turn vibrant shades of amber and cinnamon fills the air, I find myself craving more than just ...
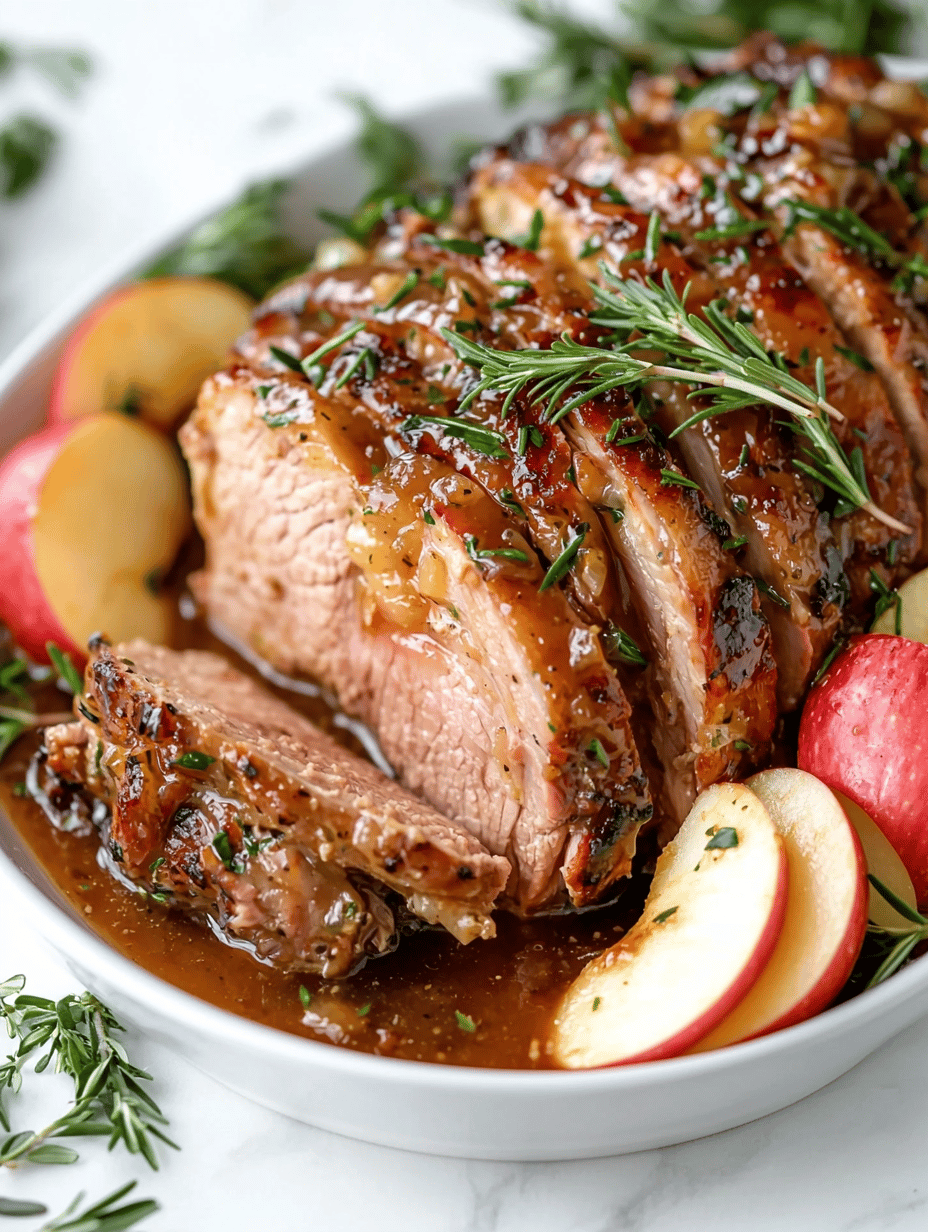
Slow Cooker Apple Cider Pork Roast: A Cozy Fall Escape
Every autumn, I find myself craving the warm, spicy aroma that fills the air when apples and cinnamon simmer together. ...
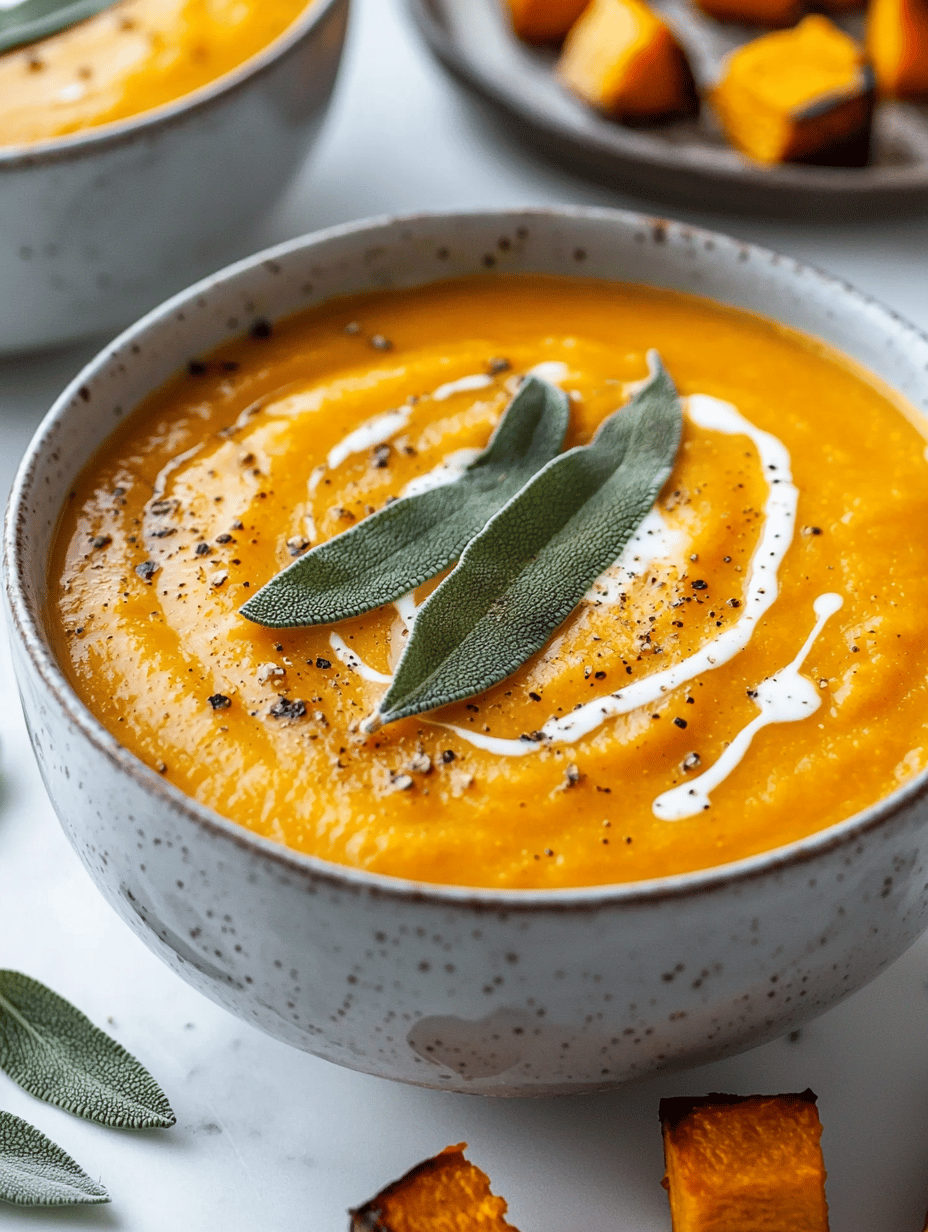
Hidden Garden: Vegan Pumpkin Soup with a Touch of Sage
As the leaves turn crisp and the air takes on a cool whisper, I find myself craving those unexpected bursts ...
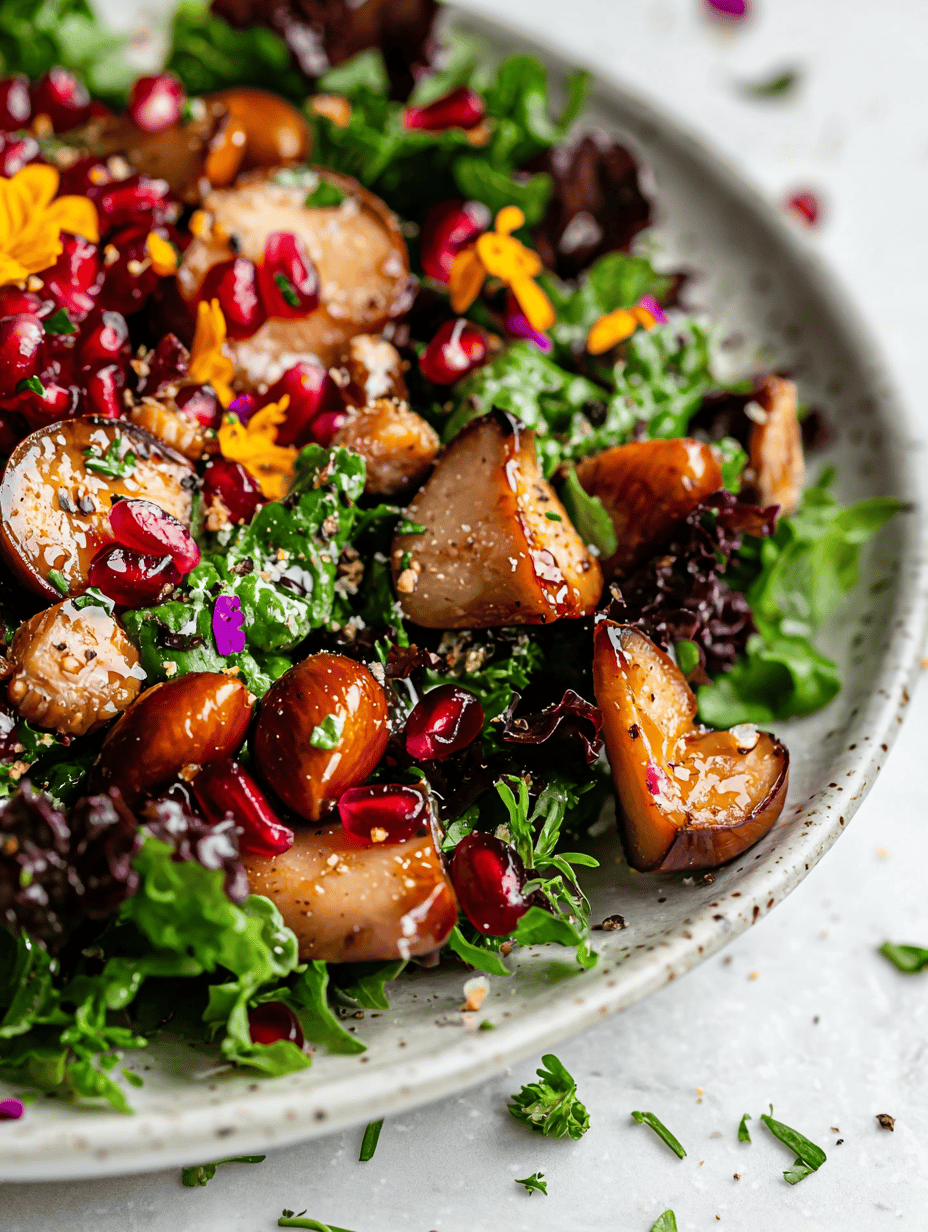
Autumn Quinoa Salad: A Roast Chestnut & Pomegranate Symphony
The air thickens with the scent of roasted chestnuts this season. This recipe transforms those earthy, sweet aromas into a ...
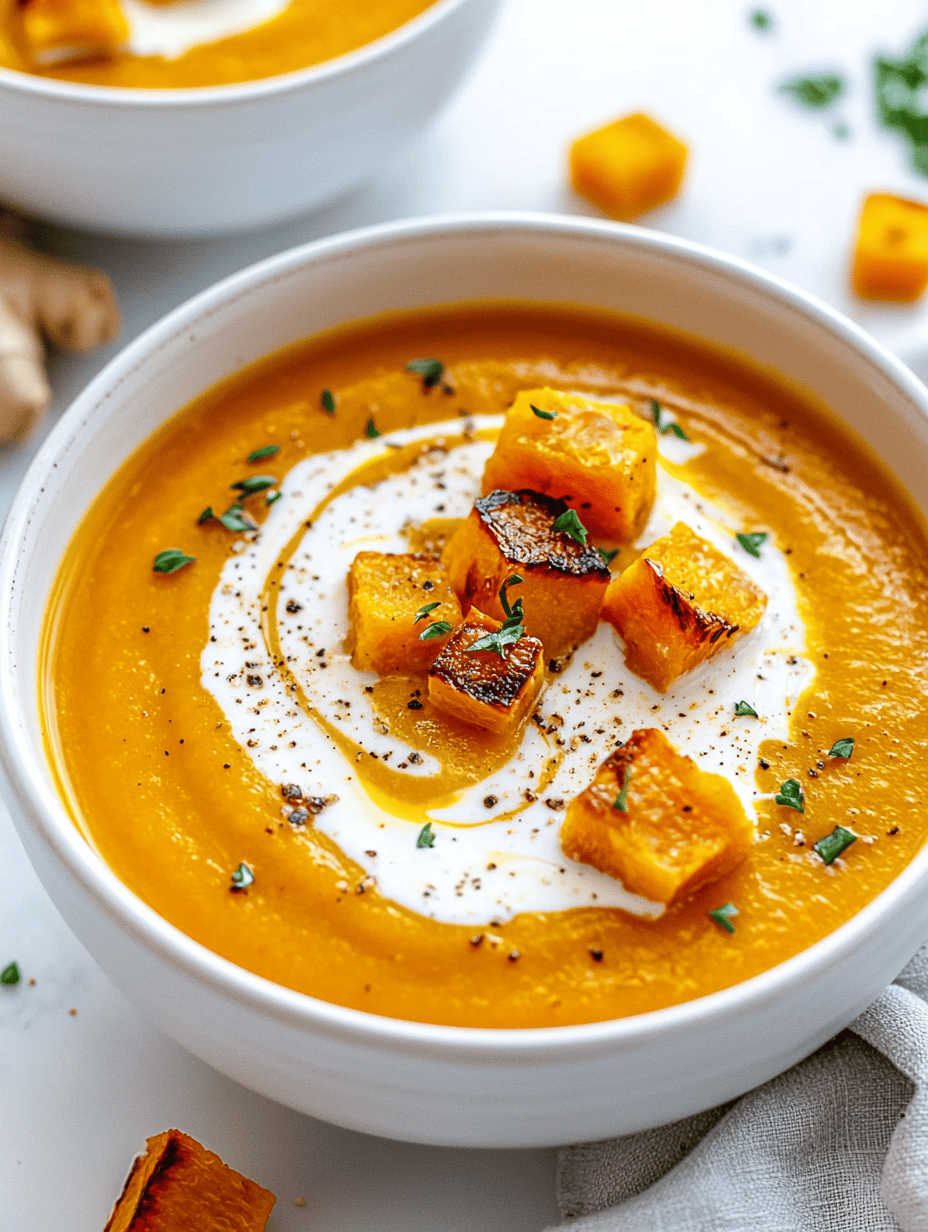
Hidden Depths: The Surprising Elegance of Ginger-Infused Butternut Squash Soup
One chilly evening, I found myself sniffing through a bowl of roasted butternut squash. The aroma of charred edges and ...
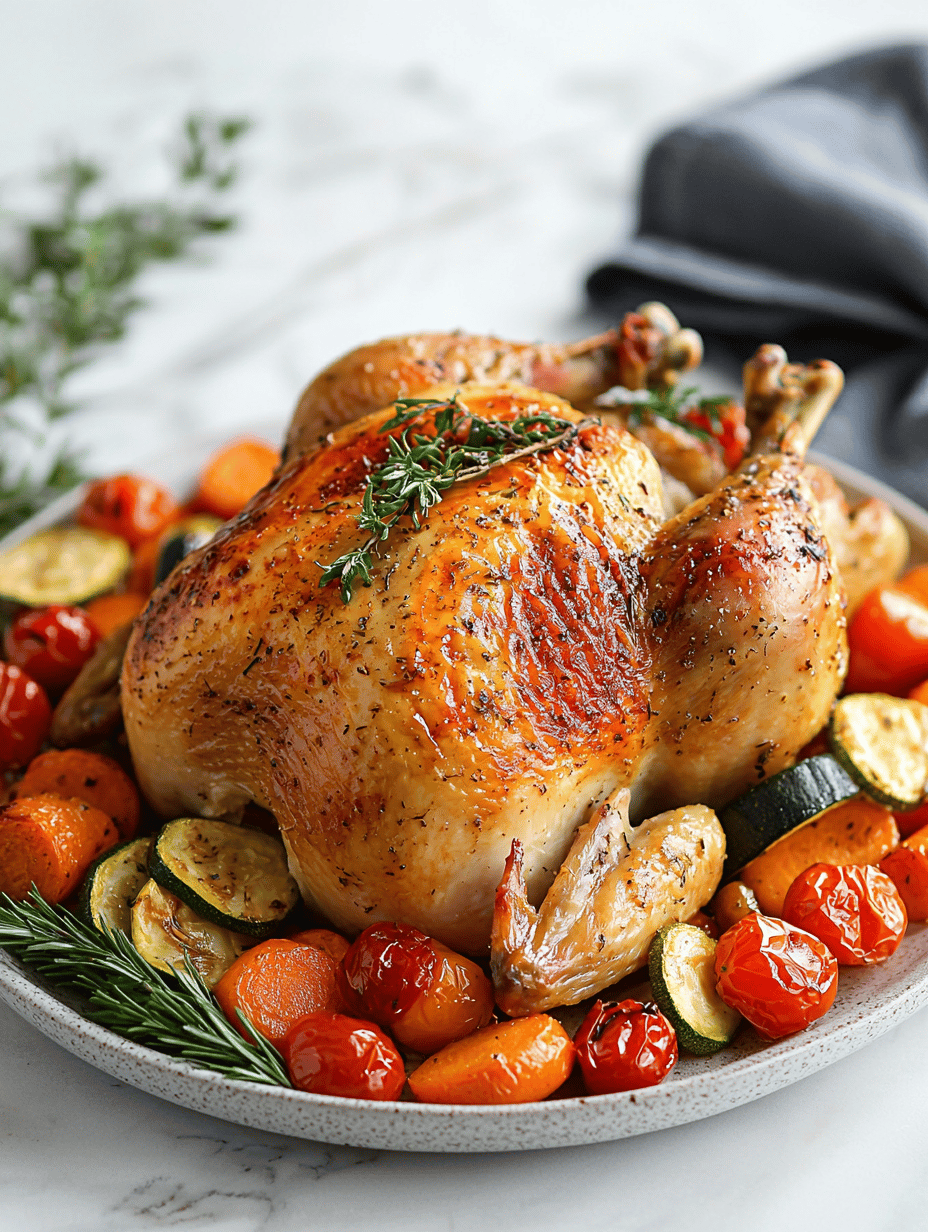
One-Pan Fall Chicken Dinner That Captures the Cozy Season in Every Bite
As the leaves turn and the air crisps, I find myself craving meals that mirror the season’s warmth. This one-pan ...

Seasonal Serenity: Fall Turkey Chili with Sweet Potatoes that Ground You
Every autumn, I find comfort in cooking dishes that mirror the changing landscape—warm, earthy, with a hint of spice. This ...
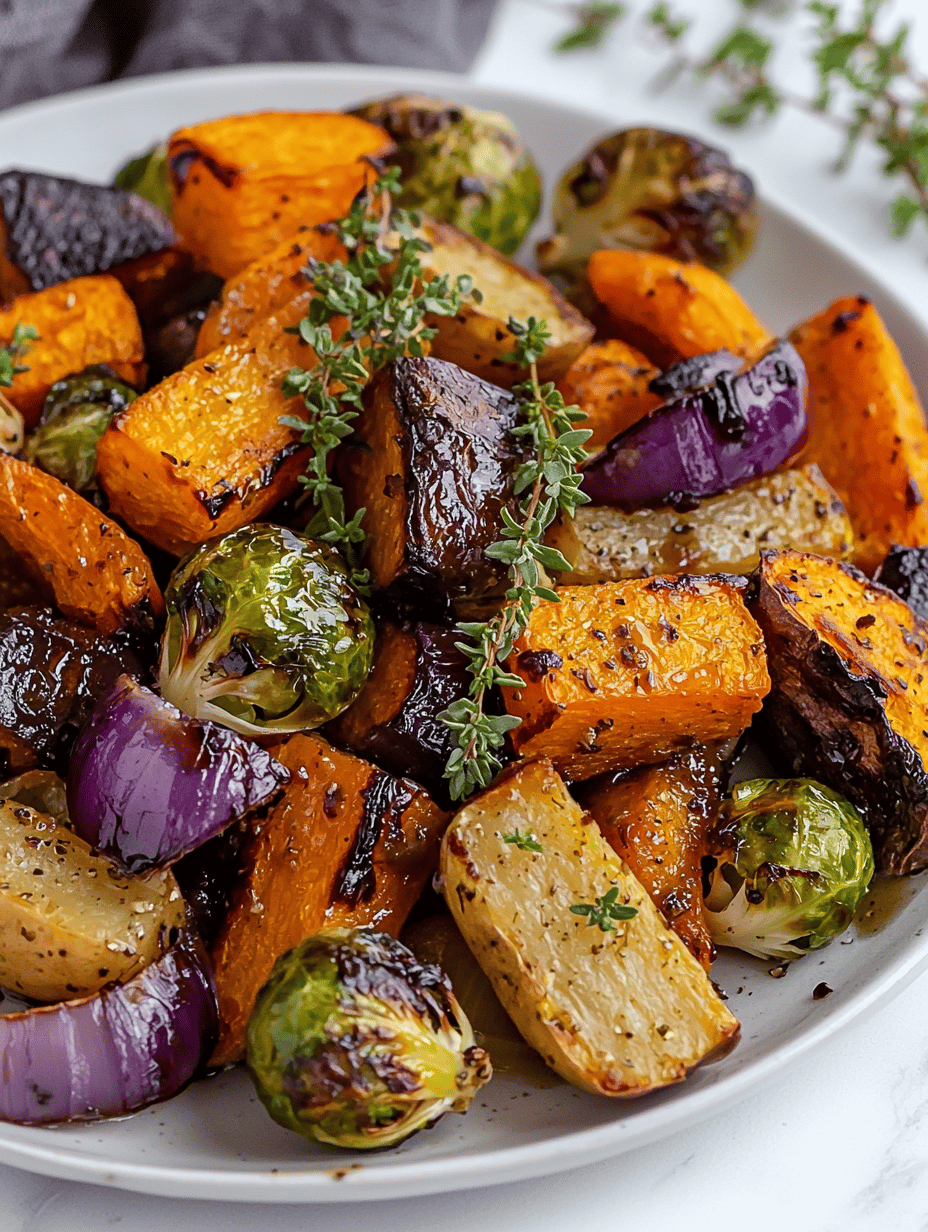
Autumn’s Hidden Gem: Roasted Vegetables with Balsamic Glaze
Every fall, I find myself enchanted by the way the scent of roasting vegetables fills the air, especially when a ...
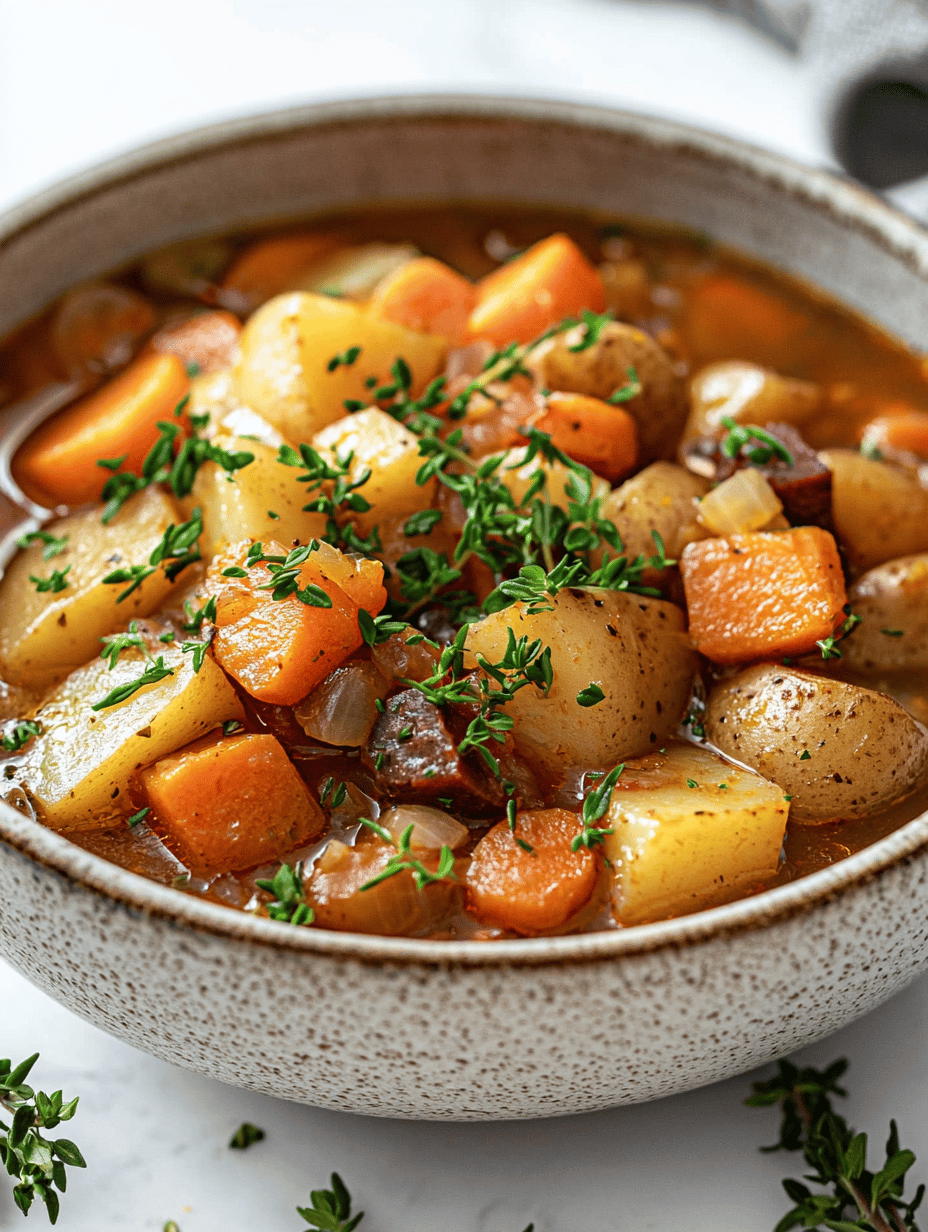
Earthy Autumn: A Fall Vegetable Stew with a Twist of Nostalgia
When I first discovered the secret to making this stew, it was in an old family cookbook tucked between pages ...
The Surprising Charm of Roasted Butternut Squash Soup with a Cinnamon Twist
Few soups whisper cool autumn evenings like roasted butternut squash. But I’ve discovered that adding ...
READ MORESpice-Infused Fall Frittata: A Cozy Breakfast Revival
As the leaves turn vibrant shades of amber and cinnamon fills the air, I find ...
READ MORESlow Cooker Apple Cider Pork Roast: A Cozy Fall Escape
Every autumn, I find myself craving the warm, spicy aroma that fills the air when ...
READ MOREHidden Garden: Vegan Pumpkin Soup with a Touch of Sage
As the leaves turn crisp and the air takes on a cool whisper, I find ...
READ MOREAutumn Quinoa Salad: A Roast Chestnut & Pomegranate Symphony
The air thickens with the scent of roasted chestnuts this season. This recipe transforms those ...
READ MOREHidden Depths: The Surprising Elegance of Ginger-Infused Butternut Squash Soup
One chilly evening, I found myself sniffing through a bowl of roasted butternut squash. The ...
READ MOREOne-Pan Fall Chicken Dinner That Captures the Cozy Season in Every Bite
As the leaves turn and the air crisps, I find myself craving meals that mirror ...
READ MORESeasonal Serenity: Fall Turkey Chili with Sweet Potatoes that Ground You
Every autumn, I find comfort in cooking dishes that mirror the changing landscape—warm, earthy, with ...
READ MOREAutumn’s Hidden Gem: Roasted Vegetables with Balsamic Glaze
Every fall, I find myself enchanted by the way the scent of roasting vegetables fills ...
READ MOREEarthy Autumn: A Fall Vegetable Stew with a Twist of Nostalgia
When I first discovered the secret to making this stew, it was in an old ...
READ MORE