
BEVERAGES
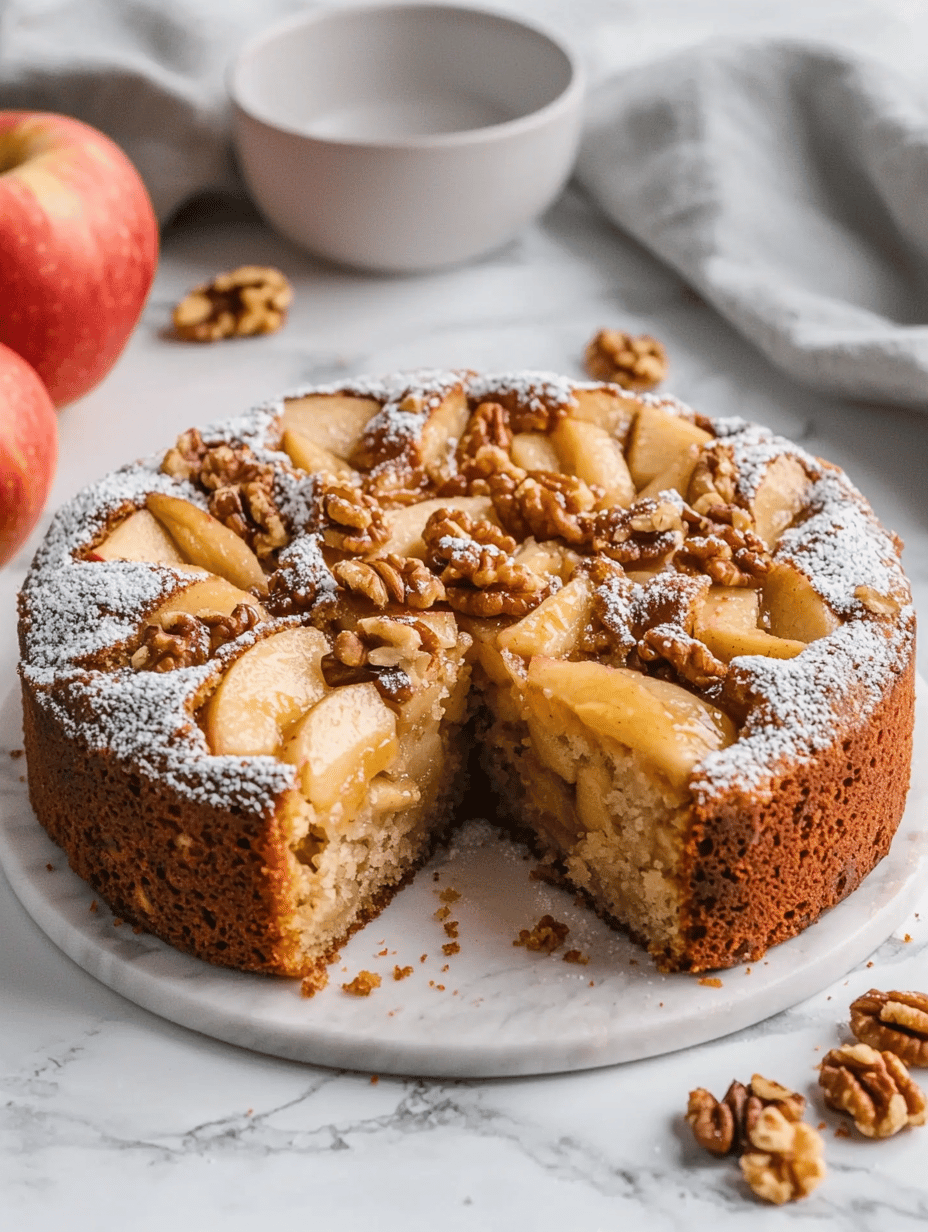
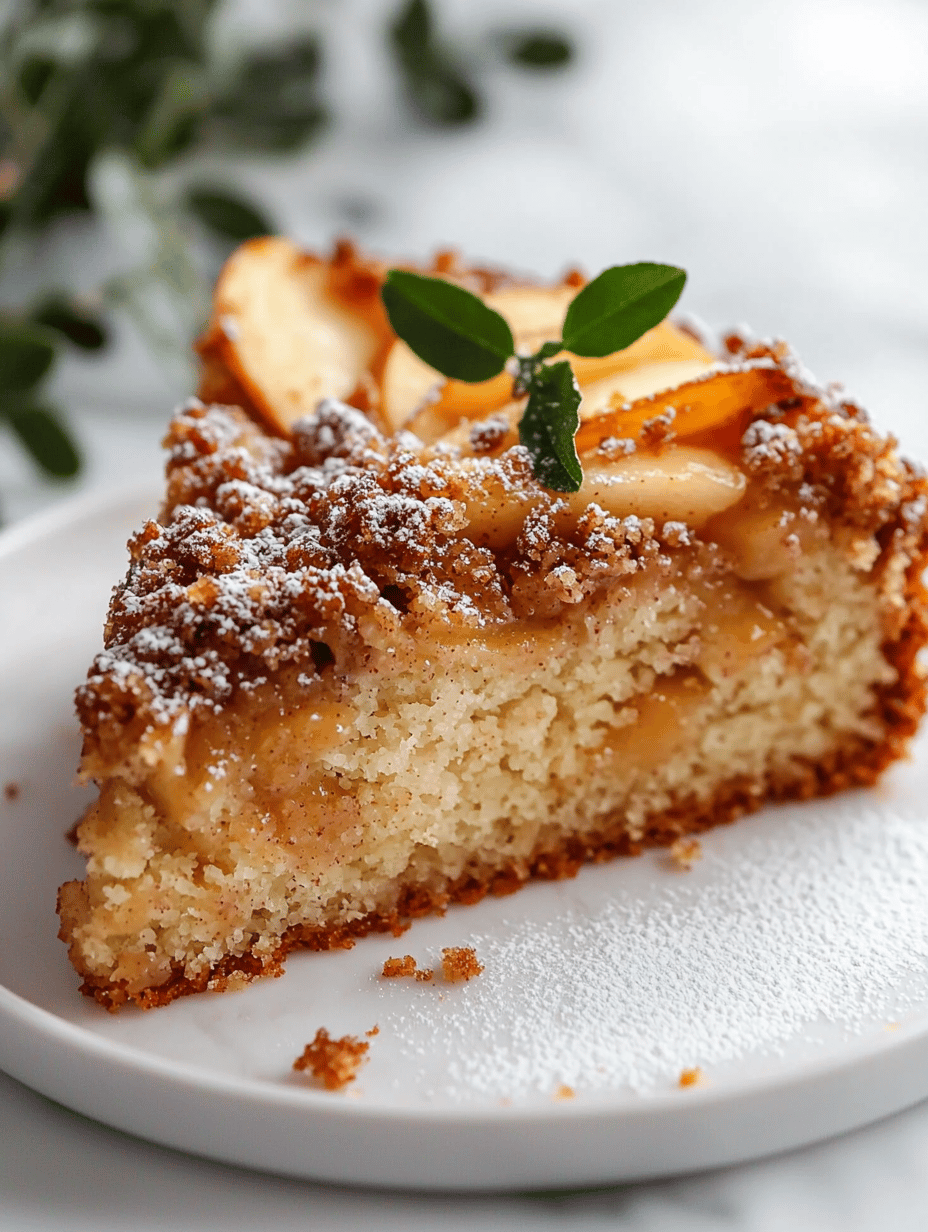
The Forgotten Flavor: Apple Walnut Cake with a Cinnamon Twist
Recently, I found a vintage cookbook tucked away in a dusty corner of my grandmother’s attic. Among the yellowed pages, ...
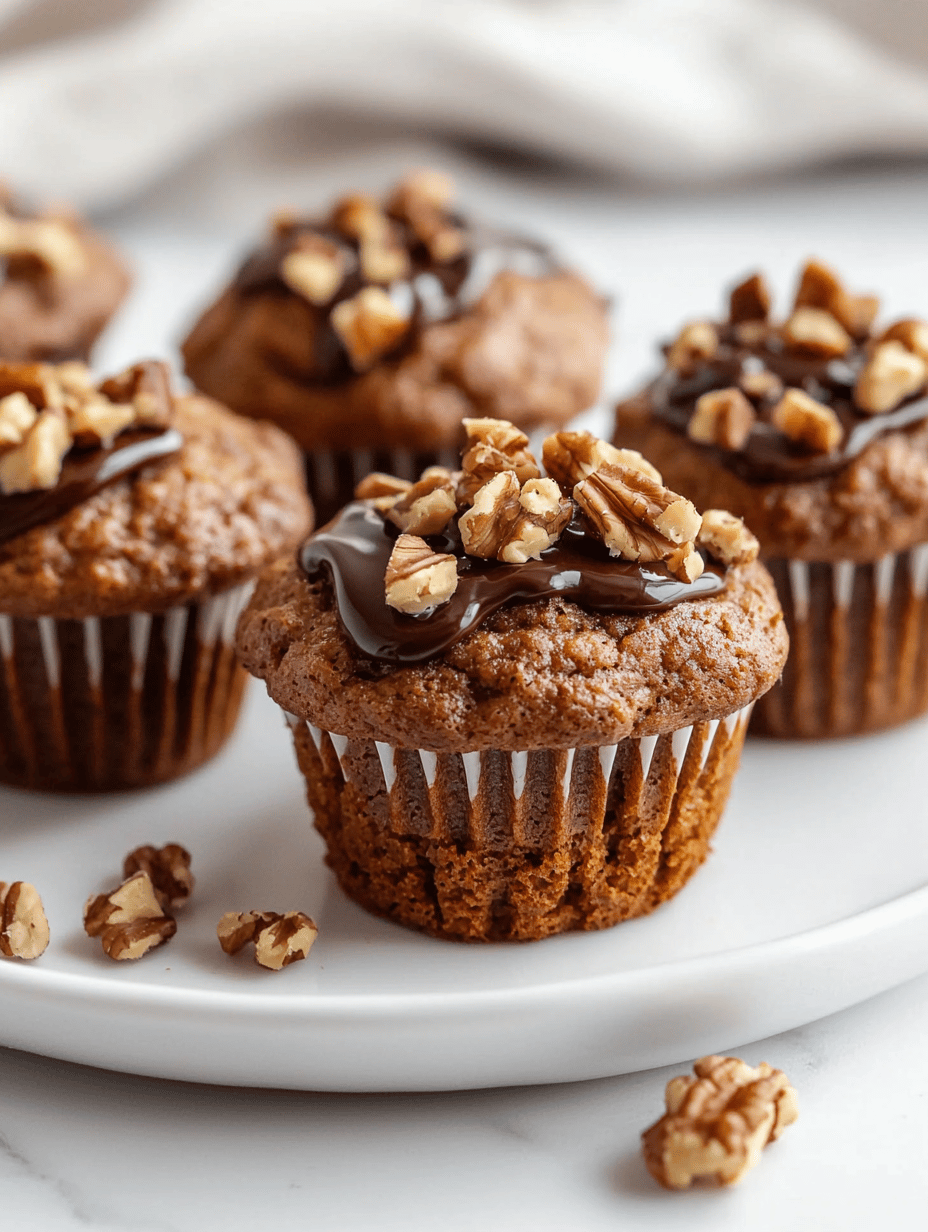
Unexpected Comfort: The Secret Bite of Pumpkin Chocolate Chip Muffins
When the air turns crisper and pumpkin spices drift through the kitchen, I find myself craving more than just a ...
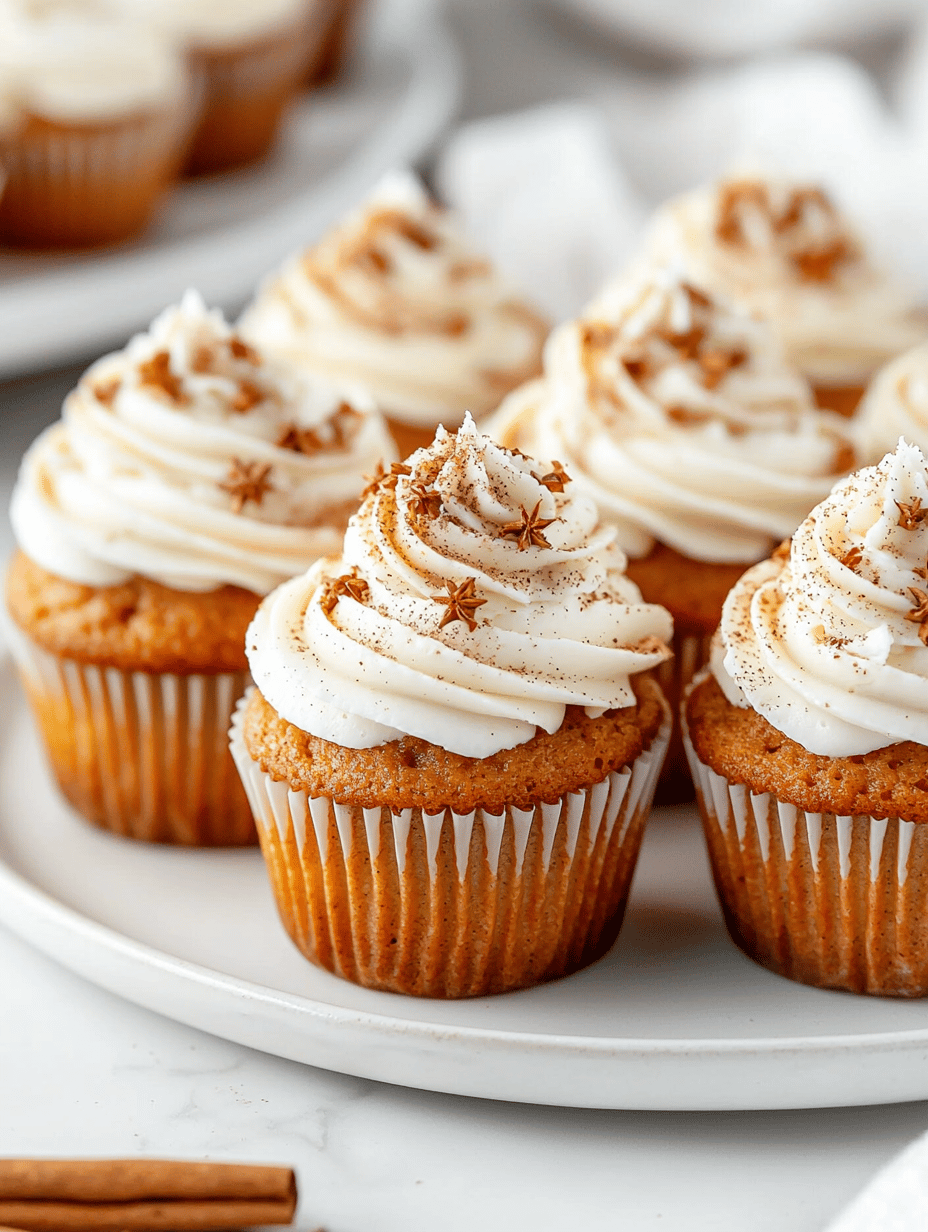
Spiced Pumpkin Cupcakes with Cream Cheese Frosting: A Fall Baking Revival
As the air turns crisper and the scent of cinnamon fills the kitchen, I find myself craving more than just ...
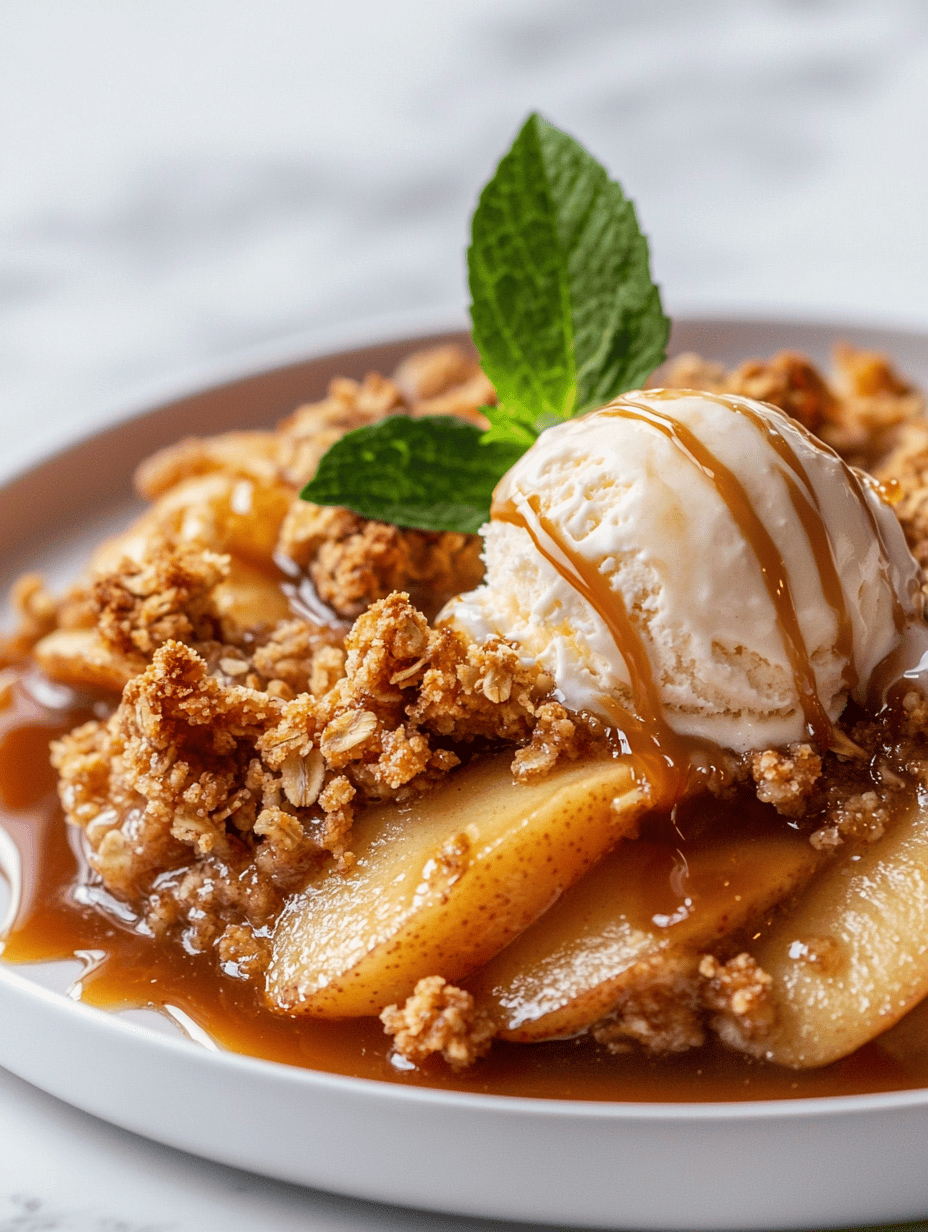
The Unexpected Charm of Caramel Apple Crisp: A Fall Nostalgia Twist
As the leaves turn golden and the air smells of cinnamon and cider, I find myself craving a dessert that ...
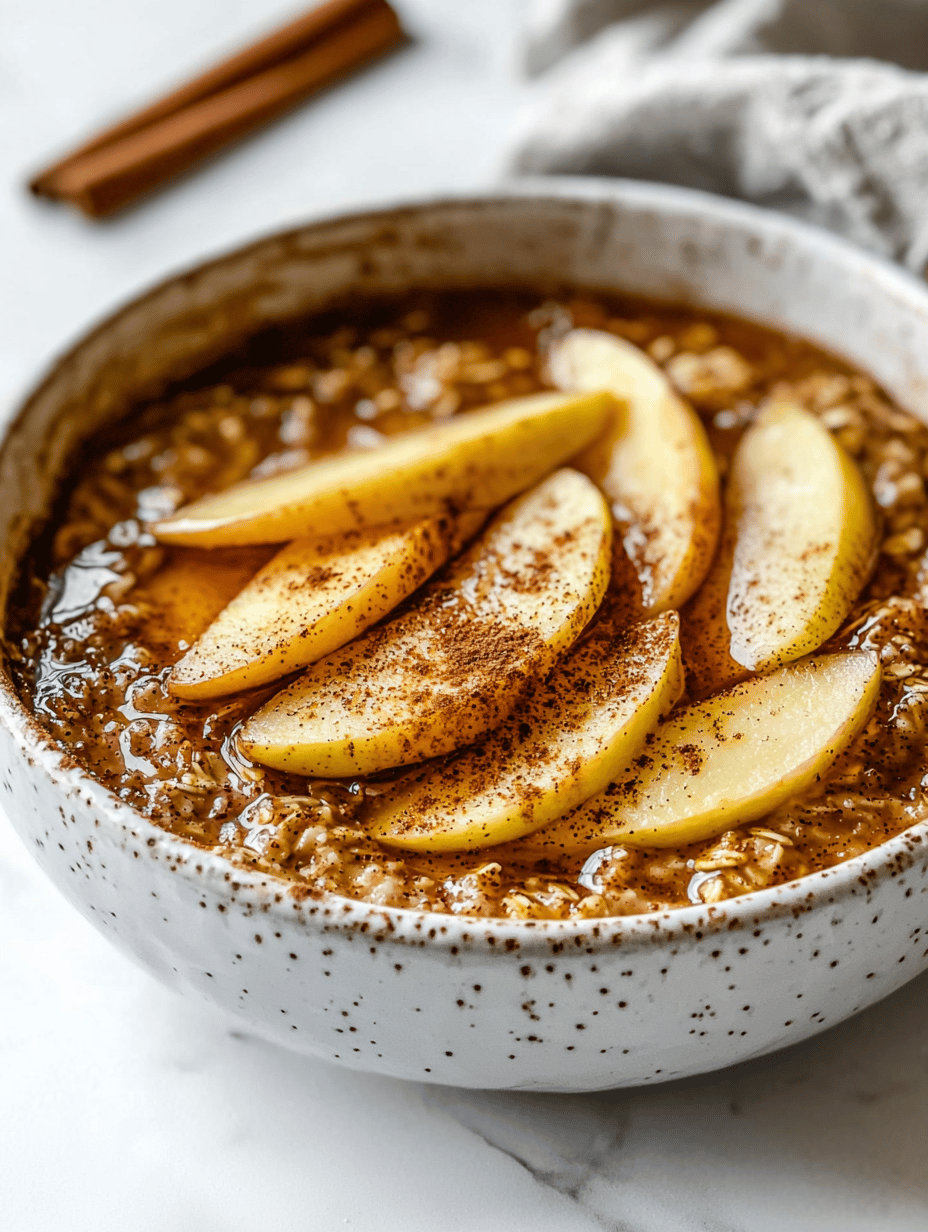
Morning Magic: The Surprising Nostalgia of Baked Oatmeal with a Cinnamon Apple Twist
On chilly mornings, I find myself longing for a comforting aroma that fills the kitchen. The scent of cinnamon mingles ...

Unusual Cinnamon Sugar Pumpkin Donuts That Reel You Into Fall
There’s a certain magic in transforming seasonal ingredients into everyday comfort. These pumpkin donuts are not just a treat—they whisper ...
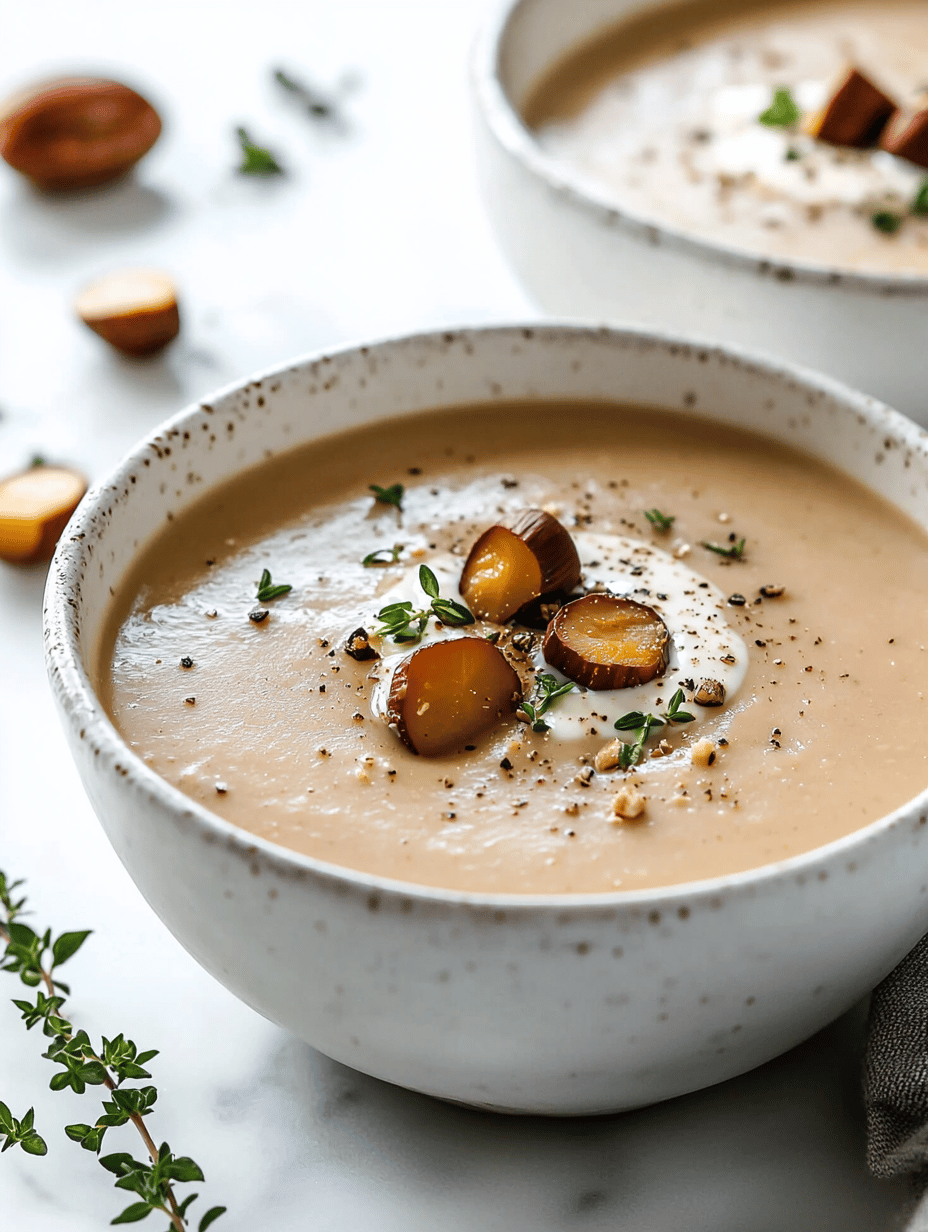
The Secret Weapon in Your Fall Soup Rotation: Potato Soup with a Twist
As the leaves turn crisp and the air drops in temperature, I find myself reaching for comfort plus a dash ...
The Surprising Elegance of Spiced Apple Cake with a Twist
Apple cake often feels like a humble comfort, but this version elevates it with an unexpected hint of cardamom and ...

Refreshing Elegance: The Honey Deuce that Evokes Summer Memories
Every summer, I find myself craving more than just the usual lemonade or iced tea. The Honey Deuce stands out ...
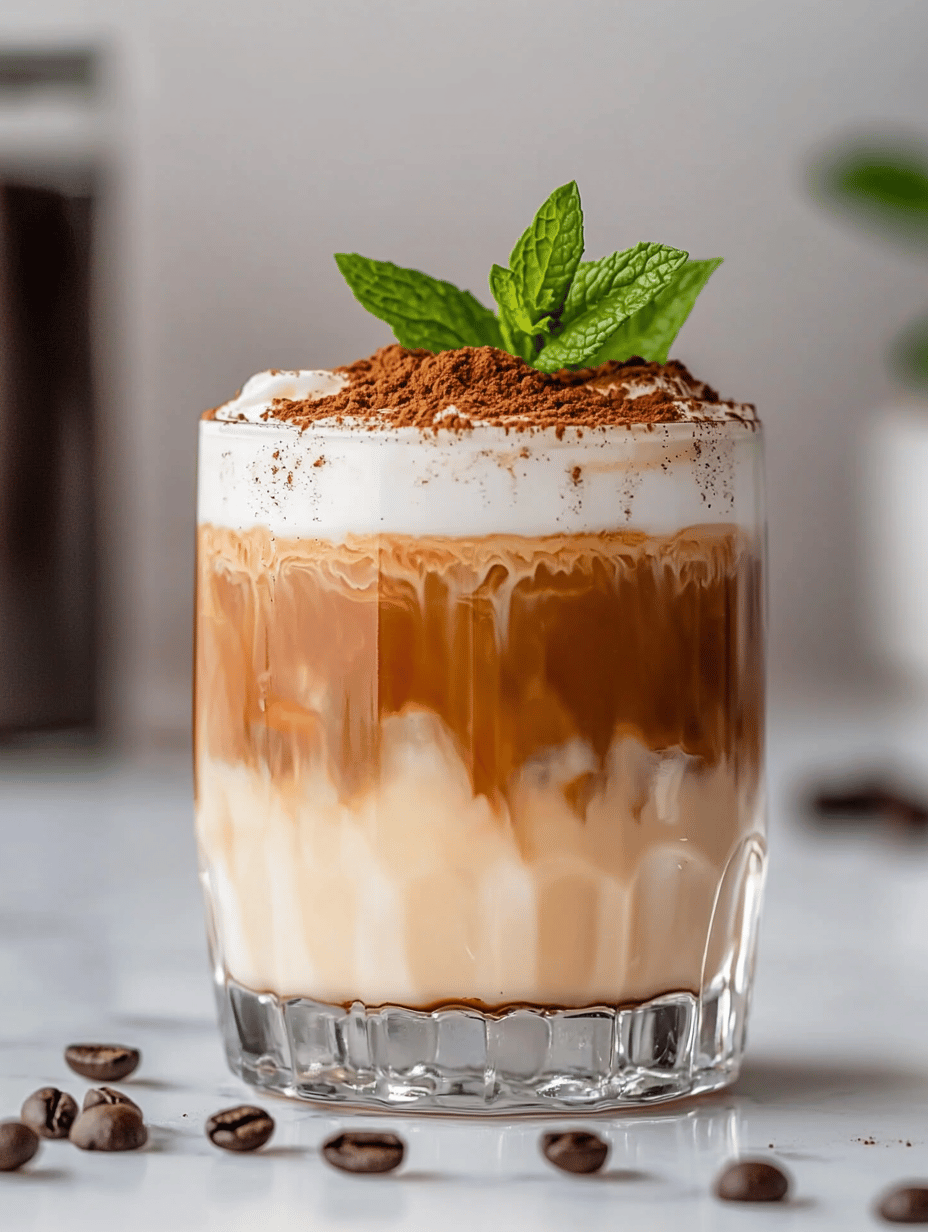
The Art of Chilling: Elevate Your Coffee with a Homemade Cold Foam Twist
Watching that velvety cold foam dance atop my iced latte feels like capturing a fleeting cloud in a cup. There’s ...
Fall Dessert and Baking Recipes
The Forgotten Flavor: Apple Walnut Cake with a Cinnamon Twist
Recently, I found a vintage cookbook tucked away in a dusty corner of my grandmother’s ...
READ MOREFall Dessert and Baking Recipes
Unexpected Comfort: The Secret Bite of Pumpkin Chocolate Chip Muffins
When the air turns crisper and pumpkin spices drift through the kitchen, I find myself ...
READ MOREFall Dessert and Baking Recipes
Spiced Pumpkin Cupcakes with Cream Cheese Frosting: A Fall Baking Revival
As the air turns crisper and the scent of cinnamon fills the kitchen, I find ...
READ MOREFall Dessert and Baking Recipes
The Unexpected Charm of Caramel Apple Crisp: A Fall Nostalgia Twist
As the leaves turn golden and the air smells of cinnamon and cider, I find ...
READ MOREFall Dessert and Baking Recipes
Morning Magic: The Surprising Nostalgia of Baked Oatmeal with a Cinnamon Apple Twist
On chilly mornings, I find myself longing for a comforting aroma that fills the kitchen. ...
READ MOREFall Dessert and Baking Recipes
Unusual Cinnamon Sugar Pumpkin Donuts That Reel You Into Fall
There’s a certain magic in transforming seasonal ingredients into everyday comfort. These pumpkin donuts are ...
READ MOREThe Secret Weapon in Your Fall Soup Rotation: Potato Soup with a Twist
As the leaves turn crisp and the air drops in temperature, I find myself reaching ...
READ MOREThe Surprising Elegance of Spiced Apple Cake with a Twist
Apple cake often feels like a humble comfort, but this version elevates it with an ...
READ MORERefreshing Elegance: The Honey Deuce that Evokes Summer Memories
Every summer, I find myself craving more than just the usual lemonade or iced tea. ...
READ MOREThe Art of Chilling: Elevate Your Coffee with a Homemade Cold Foam Twist
Watching that velvety cold foam dance atop my iced latte feels like capturing a fleeting ...
READ MORE