Making a cherry pie starts with that mess of pitted cherries spilling over the cutting board, juice beading at the edges. You’ll fold the filling into the crust, watching it ooze out a bit as you seal the edges, ready for the oven.
Baking it means hearing that first crack of the crust, then waiting for the aroma of baked fruit and sweet dough to fill the kitchen, a smell that’s both sharp and warm.
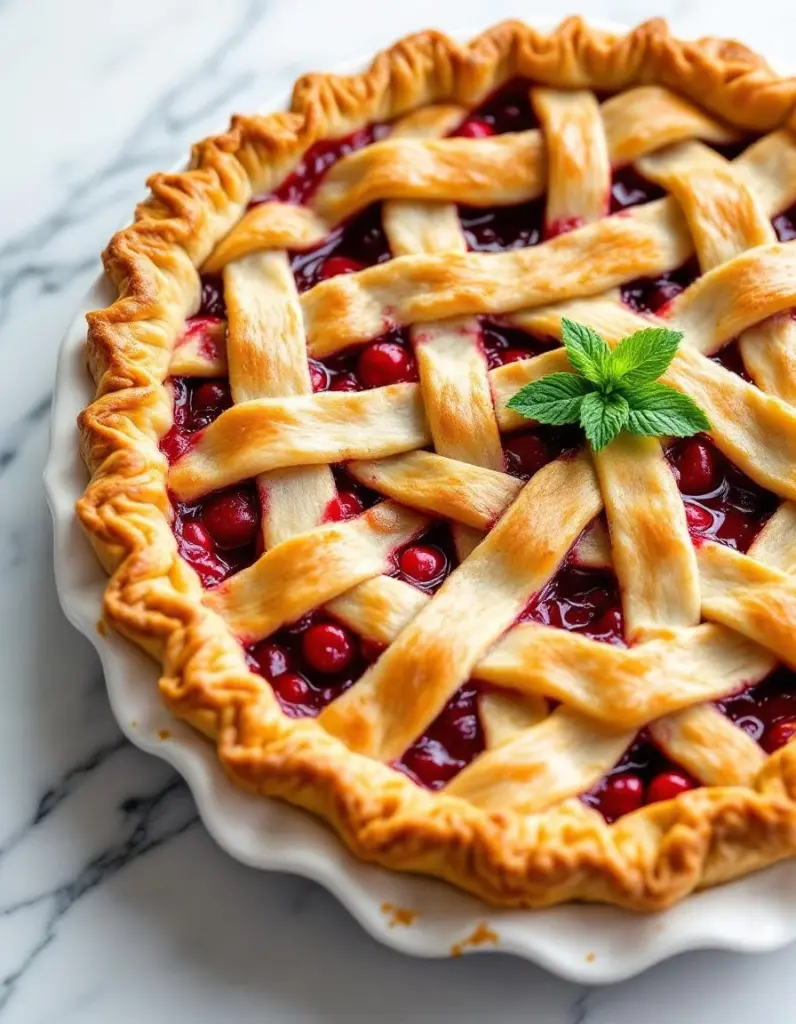
The satisfying crunch of the baked crust giving way to the juicy, oozy cherries inside.
Key ingredients and swaps
- Fresh cherries: I like to pit them myself, the burst of tart juice at each bite is worth it. Skip pitting and go for frozen if you’re in a rush, but you’ll miss that fresh pop.
- Sugar: Regular granulated works fine, but a little brown sugar adds a caramel undertone that complements the cherries’ tang. Adjust sweetness based on how ripe your fruit is.
- Lemon juice: Brightens up the filling and enhances the cherry flavor. Use bottled lemon juice if fresh isn’t available, but fresh zest is a nice touch if you have it.
- Cornstarch: I prefer cornstarch for thickening; it’s neutral and sets up clear. Tapioca starch can be a good substitute, especially if you want a glossier filling.
- Pie crust: I usually do my own, but store-bought works in a pinch. For flaky layers, keep the butter and water very cold, and don’t overwork the dough.
- Butter: A few small knobs on top before baking add richness and a nutty flavor. Skip if dairy isn’t your thing, but the pie won’t brown quite as beautifully.
- Egg wash: A beaten egg with a splash of water brushed on the crust gives that shiny, golden finish. Skipping it will give you a dull crust, but it still tastes good.

Classic Cherry Pie
Ingredients
Equipment
Method
- Combine the flour and a pinch of salt in a mixing bowl, then add cold butter pieces. Use a pastry cutter or your fingers to work the butter into the flour until the mixture resembles coarse crumbs. Gradually add ice water, one tablespoon at a time, mixing until the dough just comes together.
- Shape the dough into two disks, wrap each in plastic wrap, and refrigerate for at least 30 minutes. This helps relax the gluten and keeps the crust flaky.
- While the dough chills, prepare the cherry filling by combining pitted cherries, sugar, cornstarch, and lemon juice in a bowl. Stir gently until the cherries are coated and the mixture begins to thicken; set aside.
- Preheat your oven to 375°F (190°C). Remove one dough disk from the fridge and roll it out on a lightly floured surface into a 12-inch circle. Transfer it carefully to a pie dish, pressing gently to fit and trimming any excess.
- Pour the prepared cherry filling into the crust, spreading it evenly. Dot the filling with small knobs of butter if desired, for extra richness.
- Roll out the second dough disk into a similar circle and place it over the filling. Trim excess dough and crimp the edges to seal the pie. Cut a few small slits on top to allow steam to escape.
- Mix the beaten egg with water to make an egg wash, then brush it over the crust for a shiny, golden finish. This step adds a beautiful sheen after baking.
- Bake the pie in the preheated oven for about 50 minutes, or until the crust is golden brown and the filling is bubbling through the slits. If the edges brown too quickly, cover them with foil or a pie shield.
- Allow the pie to cool for at least 2 hours before slicing. This helps the filling set and prevents runny slices, making each piece easy to serve with a perfect, juicy center and crisp crust.
Common Cherry Pie Mistakes and Fixes
- FORGOT to chill the crust dough, resulting in a tough, greasy texture. Always refrigerate before rolling.
- DUMPED too much sugar, making the filling overly sweet and syrupy. Taste and adjust before baking.
- OVER-TORCHED the crust edges, causing bitterness. Cover edges with foil or a pie shield halfway through.
- MISSED letting the pie cool before slicing, leading to runny filling and squished slices. Wait at least 2 hours.
Make-Ahead and Storage Tips
- Prepare the pie crust and chill it a day ahead. Keeps it flaky and easy to roll.
- You can pit and macerate the cherries up to 24 hours in advance. Keep covered in the fridge.
- Assemble the pie the day you bake. The filling tastes best right after mixing, but can sit for a few hours.
- Freeze unbaked pie for up to 2 months, wrapped tightly. Bake directly from frozen, adding extra 10 minutes.
- Flavor intensifies overnight in the fridge, but the crust may soften. Best to reheat and crisp it up.
- Reheat slices in a 350°F oven for 10-15 minutes. Check for bubbling filling and a crispy crust before serving.
FAQs
1. Why is my cherry pie filling so runny?
Cherry pie filling can be a bit runny if not thickened properly. To fix this, add a little extra cornstarch or tapioca starch and cook it a minute longer before pouring into the crust.
2. Can I use frozen cherries for the pie?
Using frozen cherries can make the filling slightly more watery, so let them thaw completely and drain excess juice before mixing with sugar and thickener.
3. My crust is burning before the filling is done. How do I fix it?
If your crust edges brown too quickly, cover them with foil or a pie shield mid-baking. Every oven is different, so keep an eye after the first 20 minutes.
4. How do I avoid a tough crust?
To get a flaky, tender crust, keep your butter very cold and don’t overmix the dough. Rest it in the fridge at least 30 minutes before rolling out.
5. How should I reheat leftover cherry pie?
Reheat slices in a 350°F oven for about 10-15 minutes until the crust feels crispy and the filling bubbles slightly. Avoid microwaving, which makes the crust soggy.

I’m Mahek Manchanda, the curious heart behind Dramatically Stirring. Before this space existed, my life revolved around kitchens that were loud, demanding, and endlessly alive. I didn’t arrive at cooking through a single dramatic moment.