There’s something incredibly satisfying about biting into a chicken nugget that’s perfectly crispy on the outside and tender inside. But achieving that home-cooked crunch without relying on frozen or fast-food versions is a feat that’s often overlooked. I’ve found that a simple breading technique, with a little extra seasoning and a double-dip method, makes all the difference.
This recipe isn’t just about replicating fast food—it’s about making that crunch feel personal. It’s crunchy, juicy, and just a little messy, like the best comfort food should be. Plus, it’s surprisingly easy to pull off on a busy weeknight, with ingredients you probably already have in your pantry.
Once you master this crispy coating, you’ll find yourself reaching for these nuggets whenever cravings hit. They’re perfect for kids, game days, or just a quick snack that hits all the right notes. I love the way the breading crackles when you bite into it, revealing tender chicken underneath. Honestly, once you get the hang of it, you’ll never want that greasy, soggy stuff from the store again.
Focusing on how to achieve irresistibly crispy chicken nuggets using a simple home-made breading technique that mimics fast-food crunch, but with a personal, hands-on touch.
Personal Inspiration for Crispy Nuggets
- One afternoon, I was experimenting in the kitchen, tired of the usual frozen nuggets. I wanted something that felt homemade but still delivered that satisfying crunch. The idea struck me after I accidentally double-dipped a piece of chicken in the seasoned flour—crispiness multiplied, and flavor deepened. That moment of messy trial turned into this recipe, a way to get that perfect bite every time.
- Growing up, my family always made fried chicken on Sundays, and I remember the smell of sizzling oil filling the house. I wanted that nostalgic aroma but in tiny, snackable form. Making these nuggets at home is my way of recapturing those warm, chaotic kitchen mornings—minus the hours of prep and the greasy aftermath. They’re imperfect, but honest, just like those childhood mornings remembered.
- heading: The story behind this recipe
Ingredient breakdown
- Chicken breast: I prefer skinless, boneless chicken for a lean, tender bite. You can swap in thighs if you like juicier nuggets, but keep an eye on cook time—thighs cook faster and stay moist.
- Breadcrumbs: I go for panko because it’s light and crackly, giving a satisfying crunch. Regular breadcrumbs work, but they won’t be as airy—consider tossing in a pinch of garlic powder for extra flavor.
- Seasoned flour: I mix my own with salt, pepper, paprika, and a pinch of cayenne. If you’re in a pinch, seasoned store-bought flour saves time, but you might want to tweak the spice levels to suit your taste buds.
- Egg wash: I beat eggs with a splash of milk until frothy. For a richer coating, add a little hot sauce or Dijon mustard—your nuggets will get a smoky kick or a tangy note that lingers.
- Oil: I use neutral oil like vegetable or canola, heated to about 180°C (350°F). When the oil shimmers, I know it’s ready. If it smokes, turn down the heat—oil at the right temp crisps without greasing up the kitchen.
- Optional spices: I love adding garlic powder, onion powder, or even a dash of curry powder to my breading for an unexpected twist. Play around—these tiny tweaks make each batch uniquely yours.
- Salt and pepper: I salt my chicken lightly before breading, but a pinch of finishing salt right after frying really enhances the crunch and flavor.
Spotlight on key ingredients
Breadcrumbs:
- Chicken breast: I prefer skinless, boneless chicken for a lean, tender bite. You can swap in thighs if you like juicier nuggets, but keep an eye on cook time—thighs cook faster and stay moist.
- I go for panko because it’s light and crackly, giving a satisfying crunch. Regular breadcrumbs work, but they won’t be as airy—consider tossing in a pinch of garlic powder for extra flavor.
- Seasoned flour: I mix my own with salt, pepper, paprika, and a pinch of cayenne. If you’re in a pinch, seasoned store-bought flour saves time, but you might want to tweak the spice levels to suit your taste buds.
Notes for ingredient swaps
- Dairy-Free: Use almond or coconut milk in the egg wash. Slightly thinner coating, but still works well.
- Gluten-Free: Swap panko for crushed rice crackers or gluten-free bread crumbs. Keeps crunch, but different texture.
- Low-Sodium: Omit added salt, rely on spices for flavor. Be mindful of seasoning balance.
- Spicy: Add a pinch of cayenne or hot sauce to the egg wash for an extra kick that lingers.
- Herb-Infused: Mix dried herbs like thyme or oregano into the flour for a fragrant, herby bite.
- Vegan: Use chickpea flour batter with plant-based nuggets, but expect a different crunch and flavor profile.
- Sweet & Savory: Incorporate a dash of paprika or cumin into the breading for an unexpected flavor twist.
Equipment & Tools
- Deep frying pan or large skillet: Holds oil for frying the nuggets evenly.
- Candy or oil thermometer: Ensures the oil stays at the proper temperature for crispiness.
- Wire rack or paper towels: Drains excess oil and keeps nuggets crispy.
- Two shallow bowls: For breading stations—flour mixture and egg wash.
Step-by-step guide to fried nuggets
- Equipment & Tools: Gather a deep frying pan or large skillet, a candy or oil thermometer, a wire rack or paper towels, and two shallow bowls for breading.
- Prepare the chicken: Cut chicken breasts into bite-sized pieces, about 2 cm (3/4 inch) thick. Lightly season with salt and pepper, then set aside.
- Set up breading stations: In one bowl, mix seasoned flour with paprika, garlic powder, salt, and pepper. In the second bowl, beat eggs with a splash of milk. In a third, place panko breadcrumbs.
- Preheat oil: Fill your pan with enough neutral oil to submerge nuggets, about 5 cm (2 inches). Heat over medium heat until the oil shimmers at 180°C (350°F).
- Breading process: Dip each chicken piece first in seasoned flour, ensuring an even coat. Shake off excess.
- Next, dip into the egg wash, coating thoroughly.
- Finally, roll in panko breadcrumbs, pressing gently to adhere. Repeat with all pieces.
- Fry in batches: Carefully place nuggets into hot oil, not overcrowding the pan. Cook for 3–4 minutes per batch, turning occasionally, until golden brown and crispy.
- Check for doneness: The nuggets should be a deep golden, with a crackling crust. Use a probe thermometer—internal temp should reach 75°C (165°F).
- Rest & drain: Remove nuggets with a slotted spoon, rest on wire rack or paper towels for 2 minutes to drain excess oil.
- Final touch: Sprinkle with a pinch of finishing salt or your favorite spice blend for extra flavor before serving.
Let the nuggets rest briefly on a wire rack or paper towels. Serve hot with your favorite dips. For extra crispness, serve immediately after resting.
How to Know It’s Done
- Golden brown and crispy exterior with crackling sound when biting.
- Internal temperature reaches 75°C (165°F) for safety.
- Nuggets feel firm but tender when gently pressed.
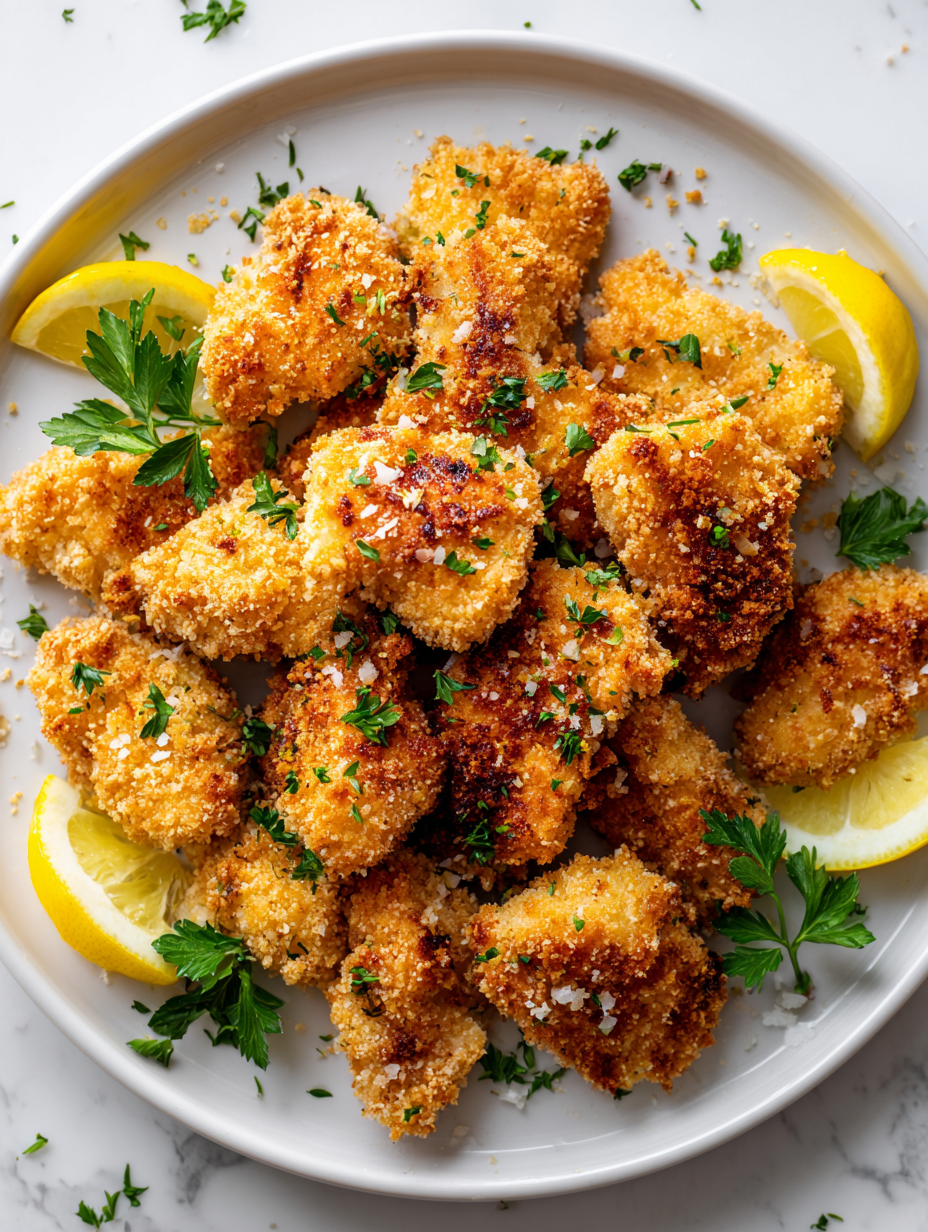
Homemade Crispy Chicken Nuggets
Ingredients
Equipment
Method
- Start by cutting the chicken breasts into small, bite-sized pieces—about 2 cm thick—then lightly season with salt and pepper. Set aside to let the flavors settle.
- In one shallow bowl, combine the seasoned flour with paprika, garlic powder, salt, and pepper. Mix well to evenly distribute the spices.
- In a second bowl, beat the eggs with a splash of milk until smooth and frothy—this will help the coating stick and create a tender finish.
- Pour the panko breadcrumbs into a third shallow bowl—they should look light and airy, ready to give your nuggets that perfect crunch.
- Heat the oil in your frying pan over medium heat until it shimmers—this is your sign that it's about 180°C (350°F) and ready for frying.
- Dip each piece of chicken first into the seasoned flour, pressing gently to ensure full coverage. Shake off any excess to avoid clumping.
- Next, dunk the floured chicken into the egg wash, making sure it’s fully coated—a little sizzle and froth will tell you it’s working.
- Finally, roll the chicken in the panko breadcrumbs, pressing gently to help the coating adhere. Repeat this process for all pieces.
- Carefully place the coated chicken pieces into the hot oil, working in small batches to keep the temperature steady. Fry for 3–4 minutes, turning occasionally, until they turn a deep golden brown and crackle with crispness.
- Remove the nuggets with a slotted spoon and place them on a wire rack or paper towels to drain excess oil. Rest for a couple of minutes to let the crust set.
- Finish by sprinkling a little finishing salt or your favorite seasoning if desired. Serve hot with dips like ketchup or honey mustard, and enjoy that irresistible crunch.
Pro tips for perfect nuggets
- Bolded Mini-Head: Use cold water in your egg wash to keep the coating crisp and prevent sogginess.
- Bolded Mini-Head: Press breadcrumbs firmly onto the chicken for a more durable, crackling crust that holds during frying.
- Bolded Mini-Head: Maintain oil temperature at 180°C (350°F) to ensure even cooking and avoid greasy nuggets.
- Bolded Mini-Head: Fry in small batches to prevent oil temperature drops, which can lead to soggy, uneven nuggets.
- Bolded Mini-Head: Rest fried nuggets on a wire rack instead of paper towels to keep the crust crisp and avoid steam sogginess.
- Bolded Mini-Head: Double-dip the chicken in flour and egg for an extra layer of crunch that won’t fall apart.
- Bolded Mini-Head: Use a thermometer to monitor oil temp, and adjust heat as needed to keep it steady during frying.
Common mistakes and how to fix them
- FORGOT to preheat oil → Ensure oil shimmers before frying.
- DUMPED too many nuggets at once → Fry in small batches for even crispiness.
- OVER-TORCHED the nuggets → Keep an eye on color; golden is ideal.
- UNDERCOATED with flour → Double-dip for maximum crunch and adhesion.
Quick fixes and pantry swaps
- When oil shimmers, splash a tiny drop of water—if it crackles, it’s ready.
- Splash in a little lemon juice if nuggets taste flat after frying.
- Patch soggy nuggets by quick re-fry at 180°C (350°F) for 1 minute.
- Shield delicate breading from over-torching by lowering heat immediately.
- Switch panko for crushed cornflakes when pantry’s low for extra crunch.
Prep, store, and reheat tips
- Prep the chicken and breading stations ahead of time. The seasoned flour and egg wash can sit in the fridge for up to 4 hours, keeping everything fresh and ready to dip.
- You can bread the chicken pieces a few hours in advance. Keep them covered in the fridge; they’ll stay crispier if not left out too long.
- Fried nuggets are best enjoyed fresh, but store leftovers in an airtight container in the fridge for up to 2 days. Reheat in an oven at 180°C (350°F) until crispy, about 10 minutes, for that just-fried crunch.
- Avoid microwave reheating; it makes the breading soggy. Reheat in an oven or air fryer for best sensory results—crisp, hot, and still crackling.
Top questions about fried chicken nuggets
1. Can I use chicken thighs instead of breasts?
Use chicken breast for lean, tender bites, but thighs can add juiciness and flavor if you prefer. Adjust cooking time accordingly.
2. Can I substitute chicken thighs for breasts?
Absolutely. Just cut them into similar-sized pieces and watch the cooking time, since thighs cook faster and stay moist.
3. Can I use regular breadcrumbs instead of panko?
Yes, panko breadcrumbs give a lighter, crunchier coating, but traditional crumbs work too—just expect a denser texture.
4. How do I reheat leftovers without losing crunch?
To keep the nuggets crispy, fry in small batches and serve immediately. Reheat in an oven or air fryer for best results.
5. How do I know when the oil is hot enough?
Ensure the oil temperature is about 180°C (350°F). When it shimmers and a small piece bubbles actively, it’s ready.
6. Why should I double-dip the chicken in flour and egg?
Double-dipping—flour, then egg, then breadcrumbs—creates a thicker, crunchier coating that holds up during frying.
7. Can I fry all nuggets at once?
Fry in small batches to maintain consistent oil temperature. Overcrowding causes sogginess and uneven browning.
8. What’s the safe temperature for cooked chicken nuggets?
Use a probe thermometer to check the internal temp. 75°C (165°F) means safe and fully cooked, with juicy inside.
9. How can I spice up the breading?
For extra flavor, add spices like garlic or paprika to the flour or breadcrumbs. Adjust to your taste for a personal touch.
10. What should I do if the oil starts smoking?
If oil smokes, turn down the heat immediately. Keep a lid nearby to cover the pan if needed to prevent splatters.
These nuggets aren’t just about crispy bites—they’re about the messy, satisfying joy of making something yourself. The smell of hot oil and seasoned chicken fills the kitchen, a reminder that simple ingredients can create real comfort. Whenever I make these, I feel a little more grounded, even in chaos.
They’re perfect for casual nights or unexpected guests, and they remind me that good food doesn’t have to be complicated. Plus, the crunch, the juiciness, that crackle when you bite—those are the moments I keep coming back for. Sometimes, it’s the simple things that make all the difference.

I’m Mahek Manchanda, the curious heart behind Dramatically Stirring. Before this space existed, my life revolved around kitchens that were loud, demanding, and endlessly alive. I didn’t arrive at cooking through a single dramatic moment.